Family Web

Welcome to
The Family Web

Public Albums
Location
Contact
Log In
Join Family Web

TinkerT Blog
 Visit 2000 Web Design 

Visit MountainMowzer's Page


Photo Albums

- Back -


More pictures and details about the bath remodel.


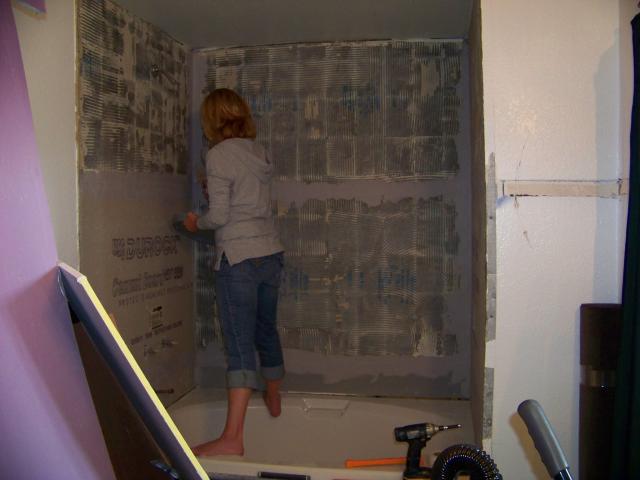
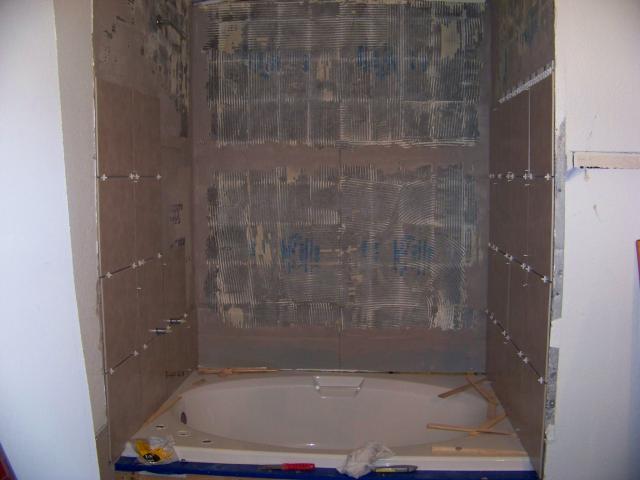
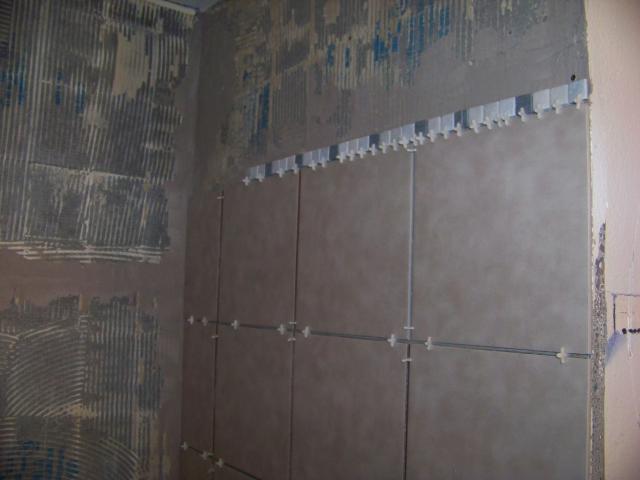
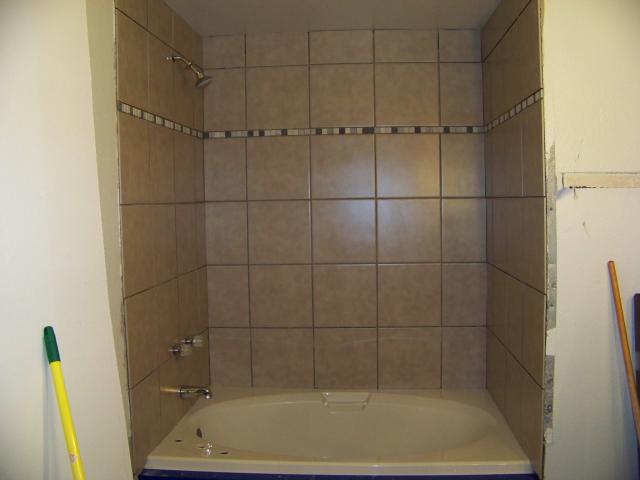
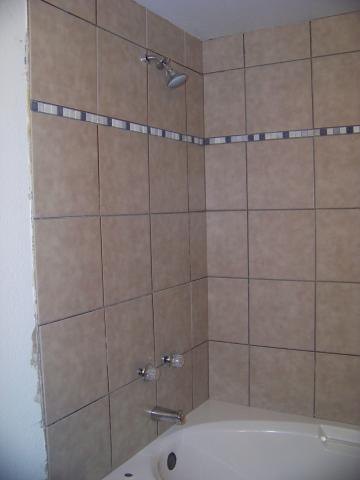
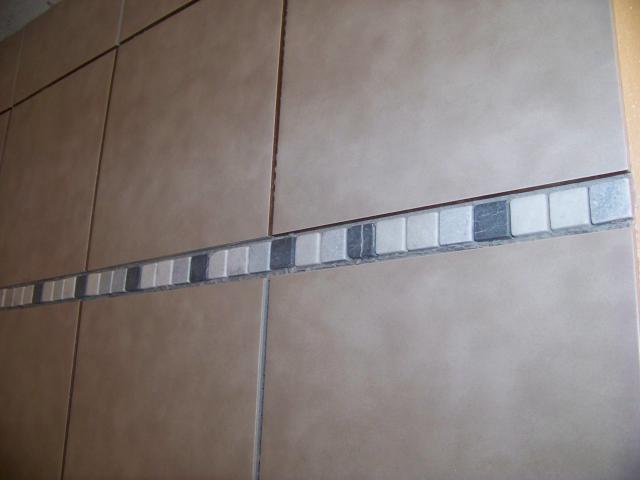
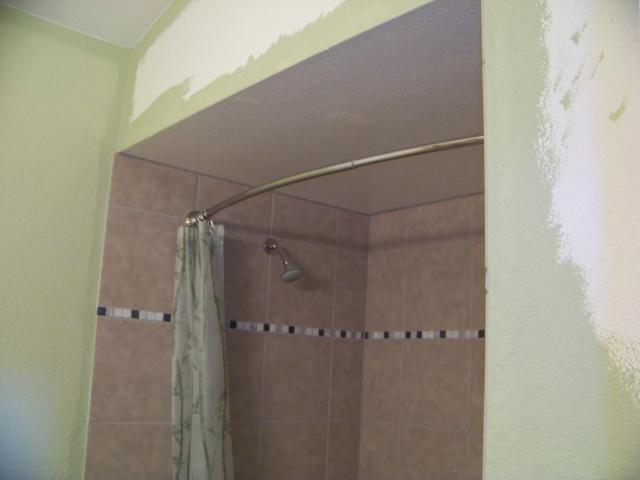
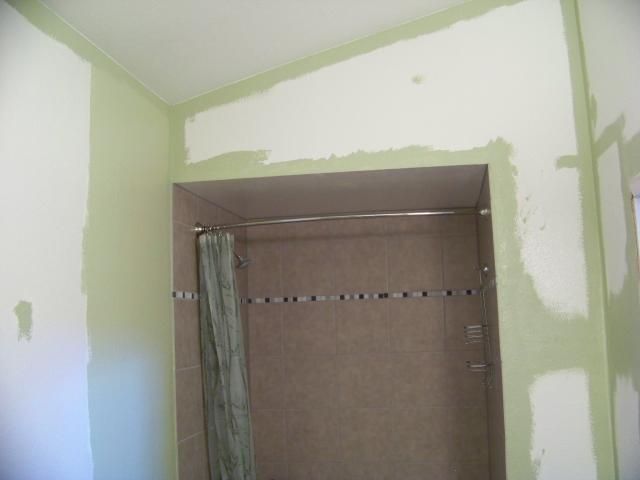
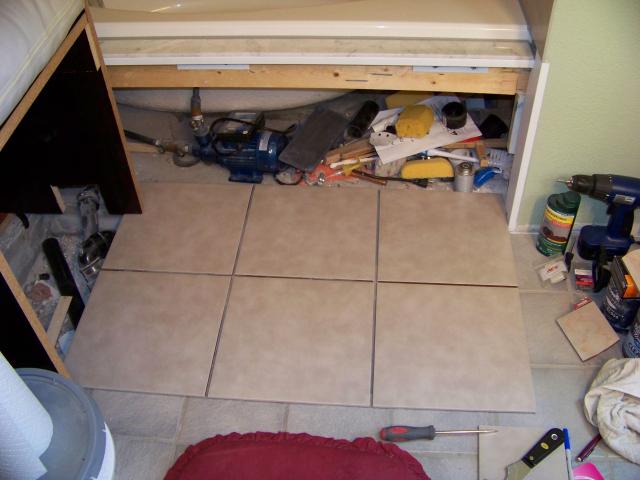
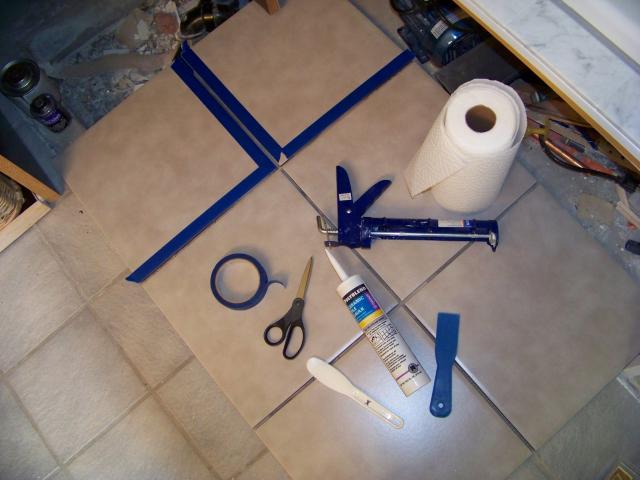
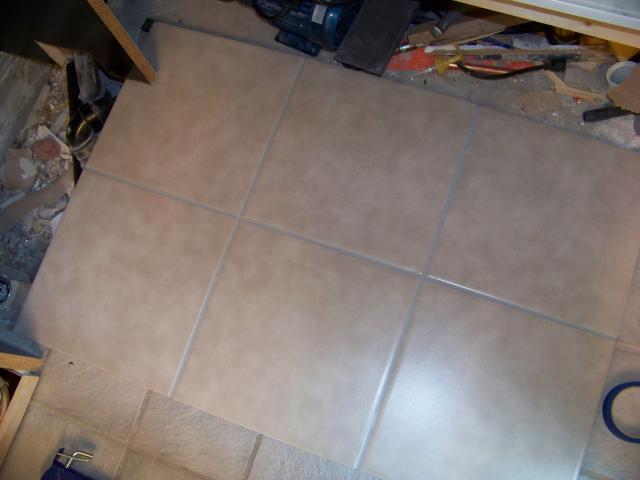
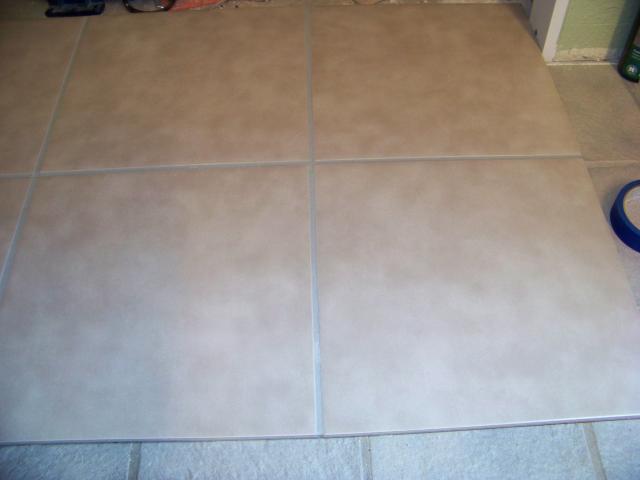
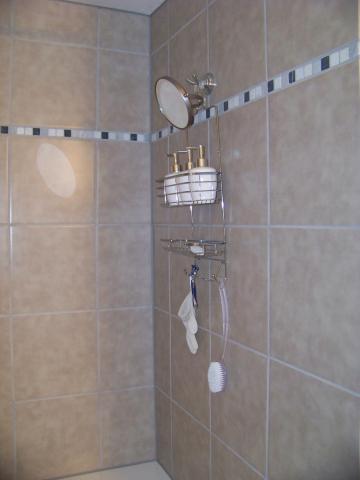
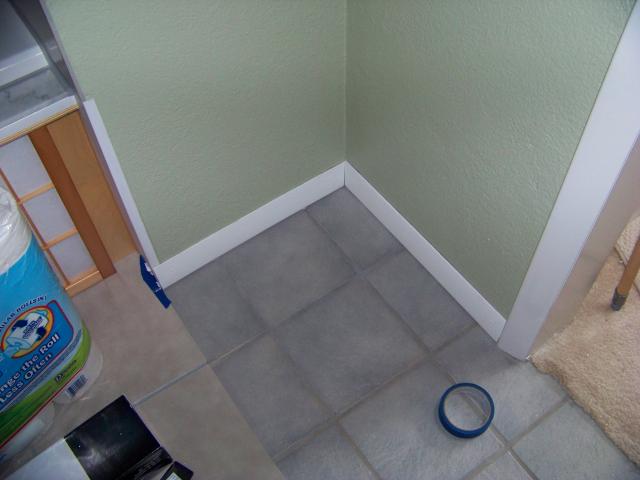
My sister Shelly and her bo Ernie came and did the bulk of the tiling.


It turned out so nice!


Chris and I will do the grout after it has had plenty of time to dry.


Checking spacing for the cover step.
Checking spacing for the cover/step.


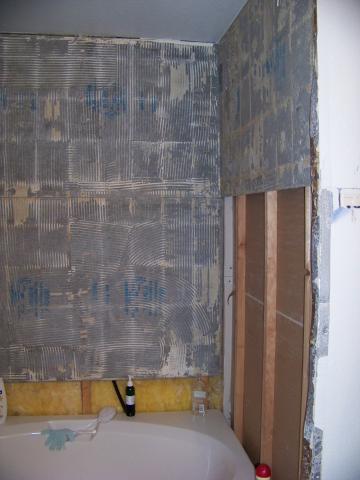
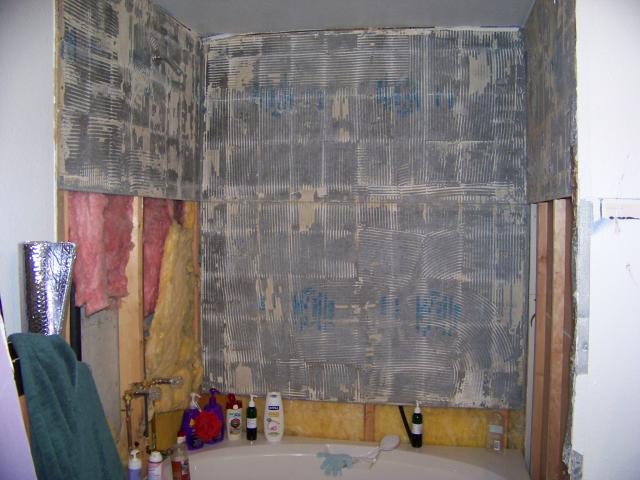
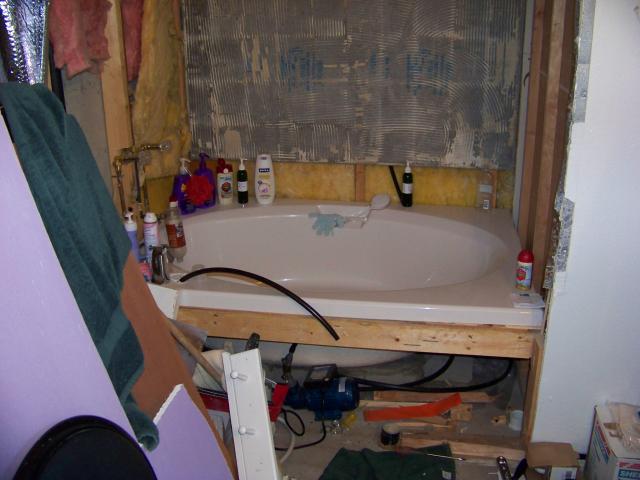
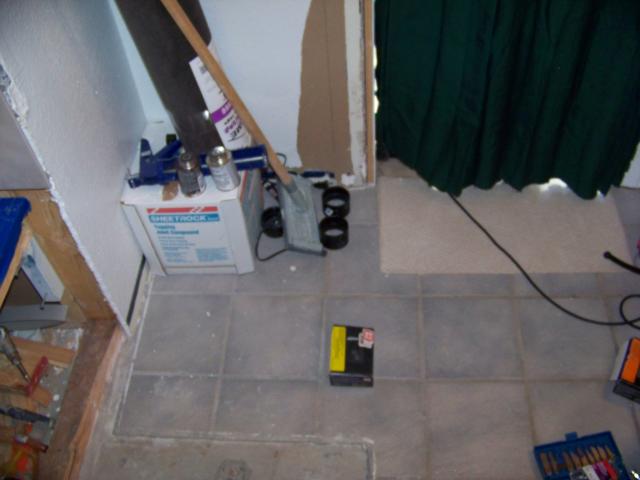
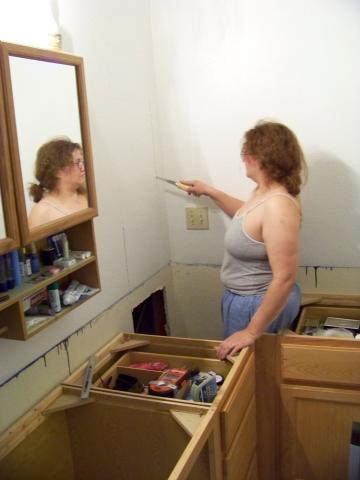
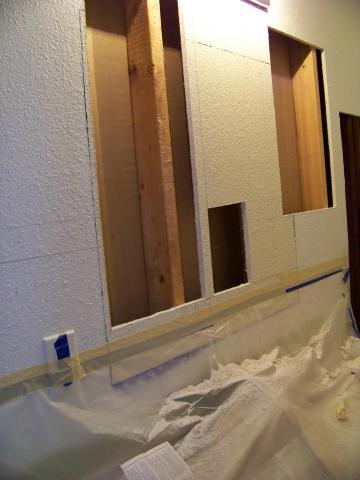
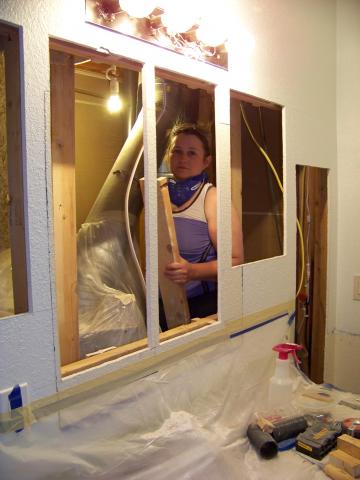
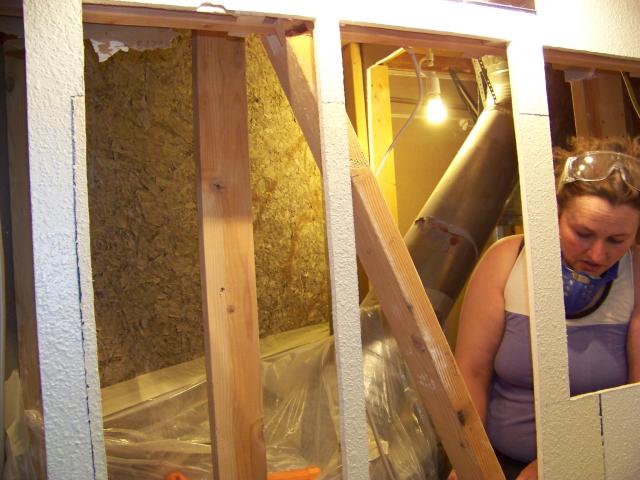
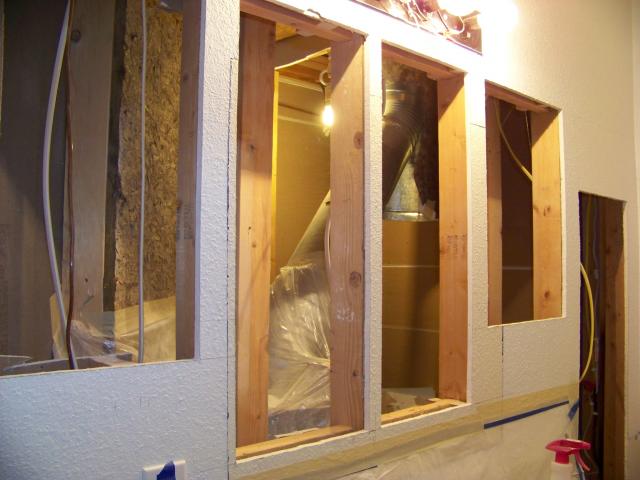
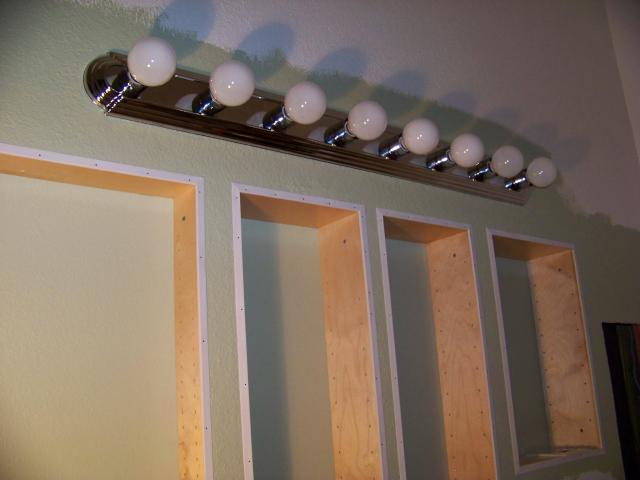
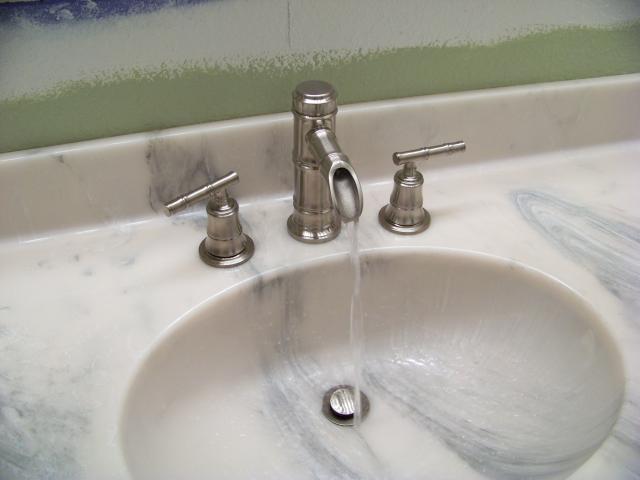
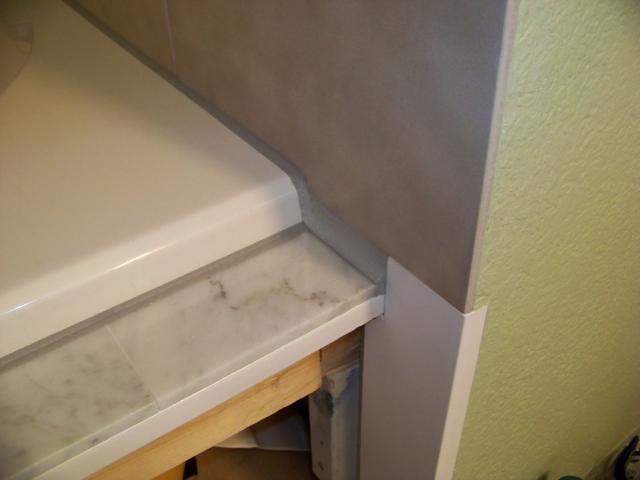
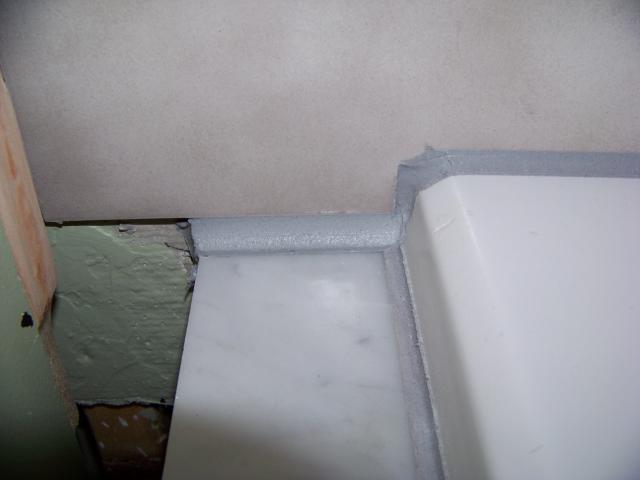
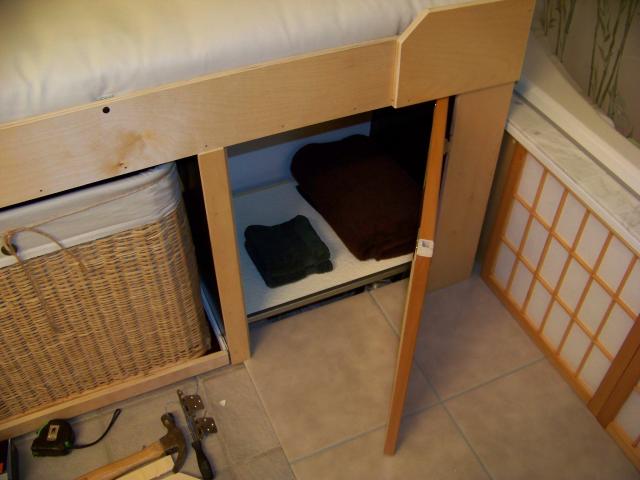
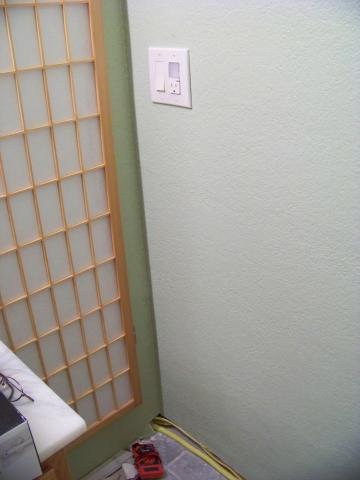
I will have to re-mud the area and texture where the trim was ripped off when the temporary wall was put in to hide the bathtub are for the sale of the house.
Getting Brave and Cutting Holes...


New Counter carefully covered with a blanket and plastic.


Bath Grout and Caulking done.


Inside the hidden area looking at the back of the bath wall.


Tub marble trim.
Tub marble trim.


Strong bracing made to move the supports.


Cutting out the supports to move them where needed.


Feather boards were needed to hold the wood for long cuts.


Miter saw came in handy for short cuts.


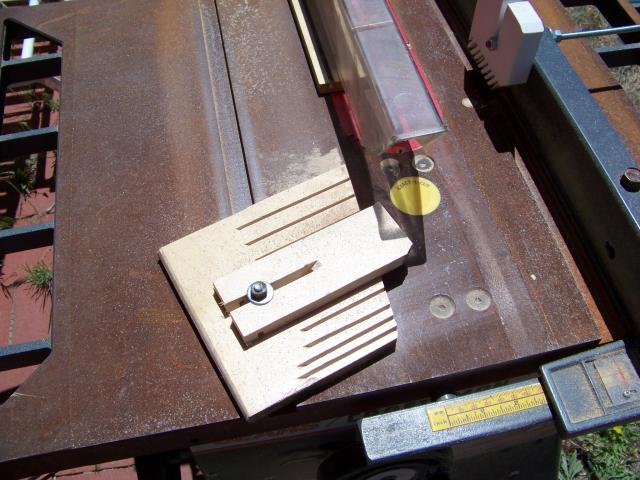
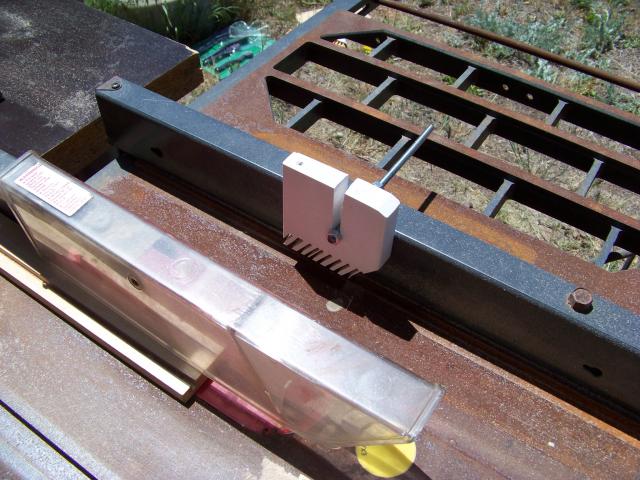
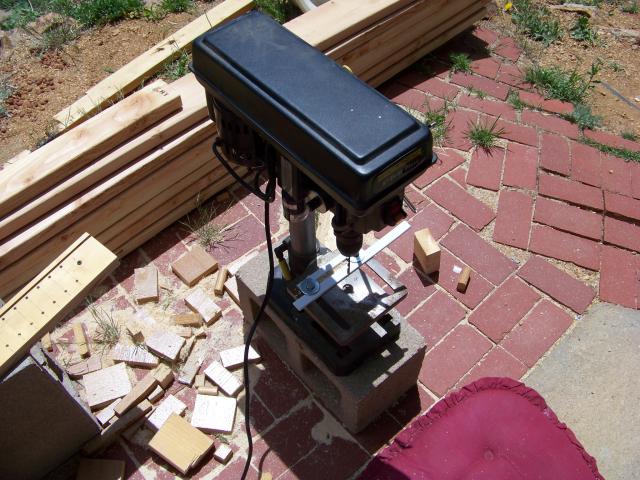
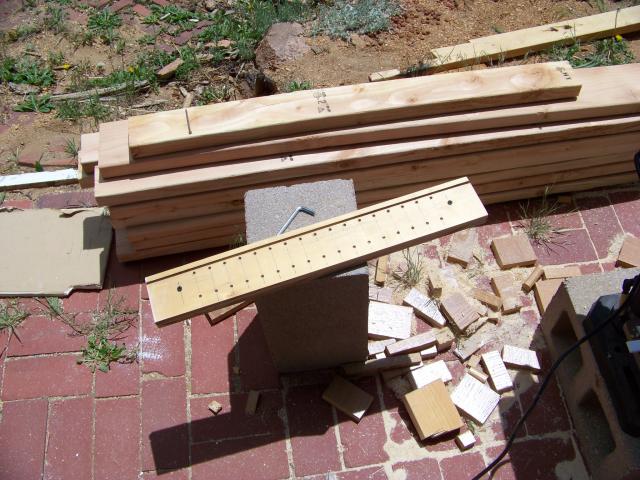
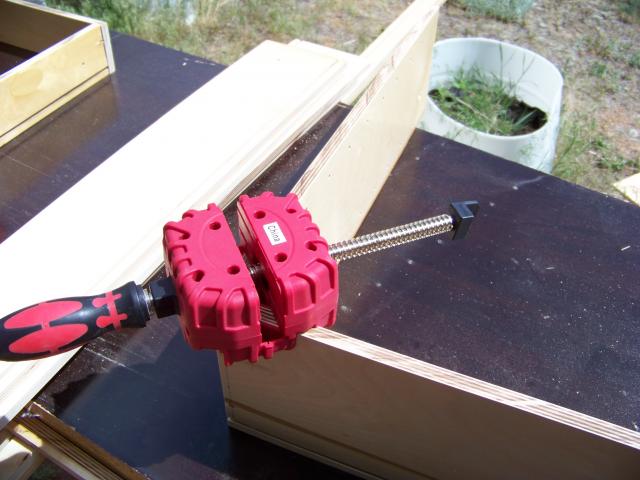
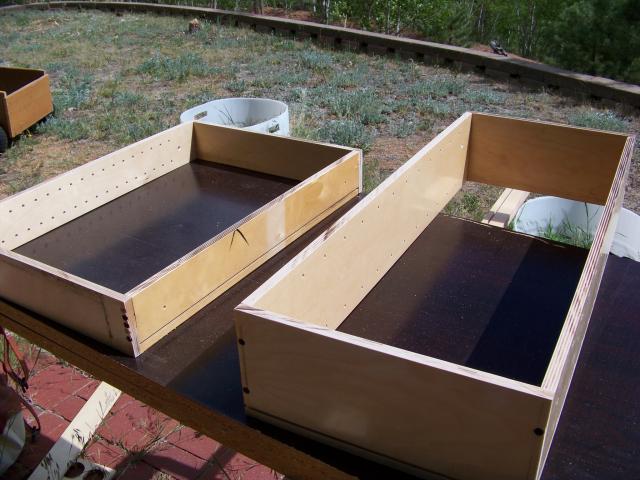
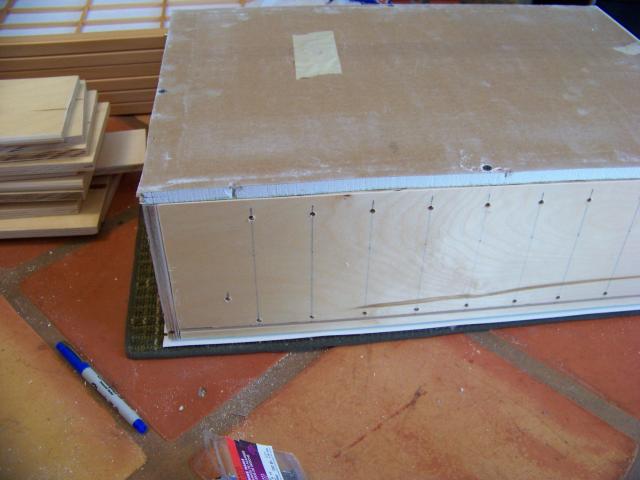
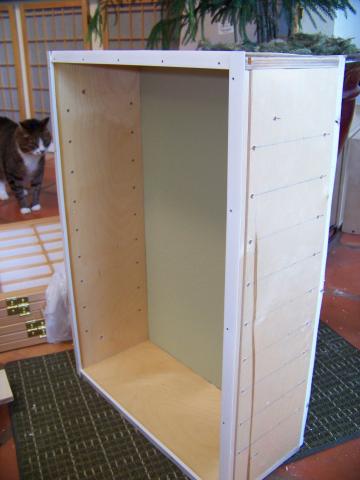
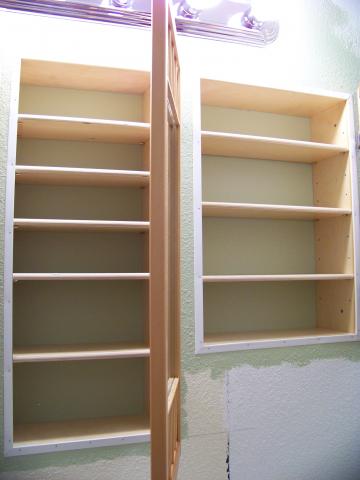
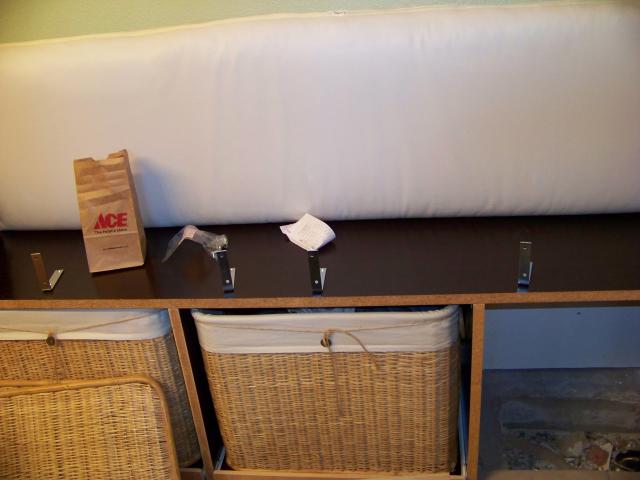
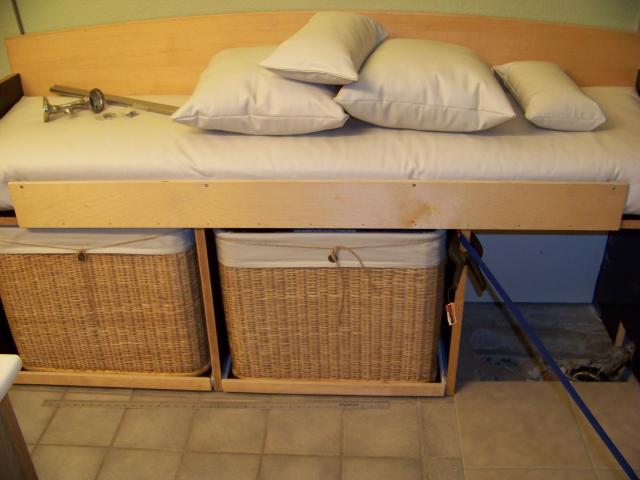
Drill press was used to drill holes in the sides of the cabinets for pegs that hold the shelves.


This little multi tool sure did a lot of work.


Cant beat this for a work-shop.
Can't beat this for a work-shop.


We re-used drywall painted with the sage paint for the backs of the cabinets.


White trim on front helped finnish the look.


Cheap mirror...
Cheap mirror...


New light installed.


WoW! that is bright!


Silicon Grout finnished the area next to the tub trim.


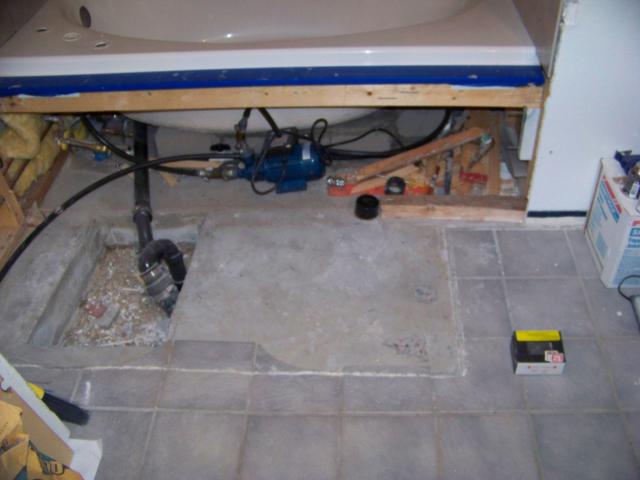
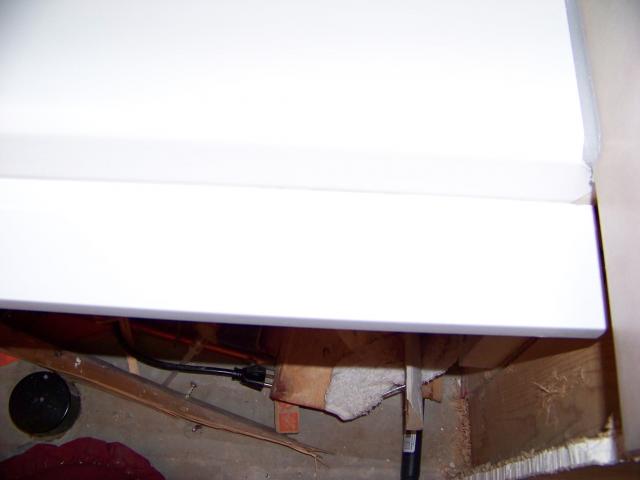
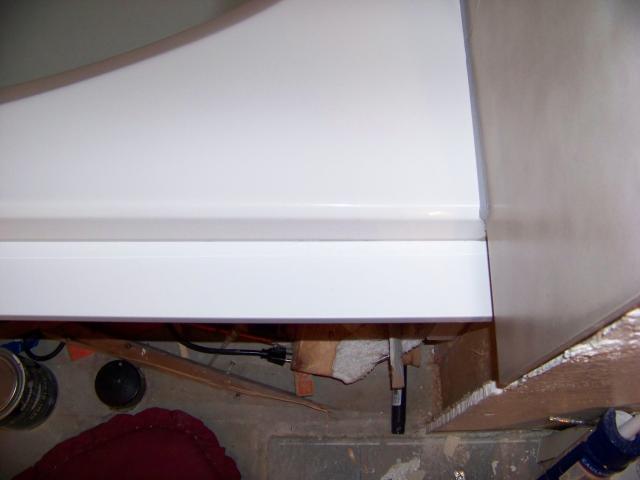
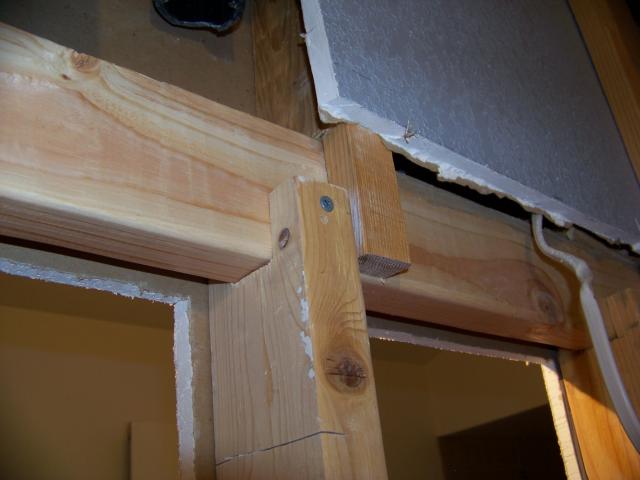
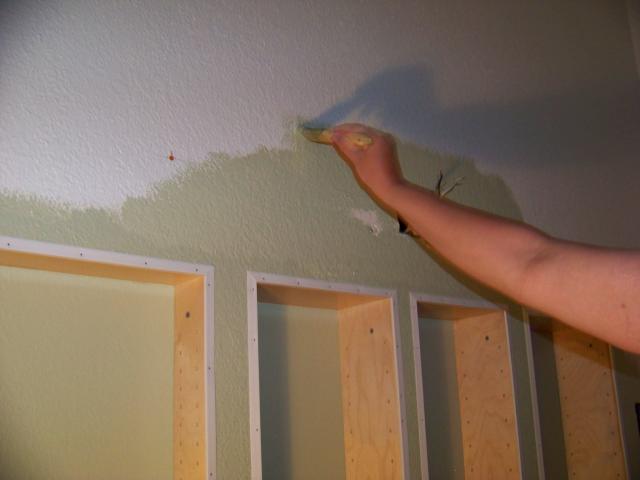
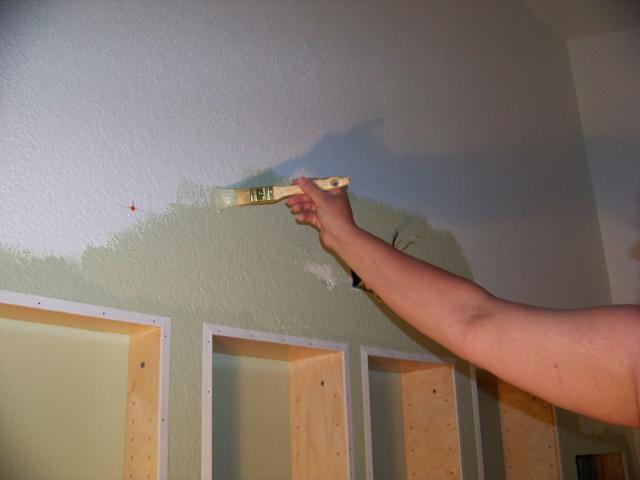
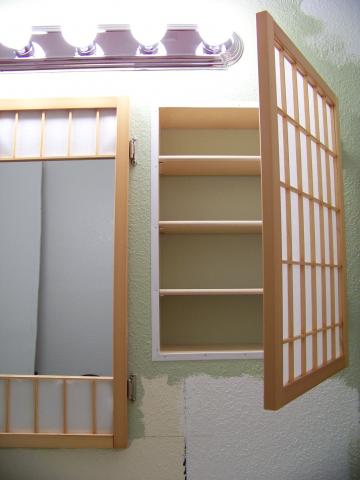
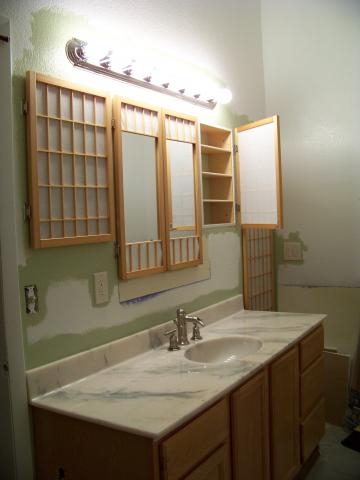
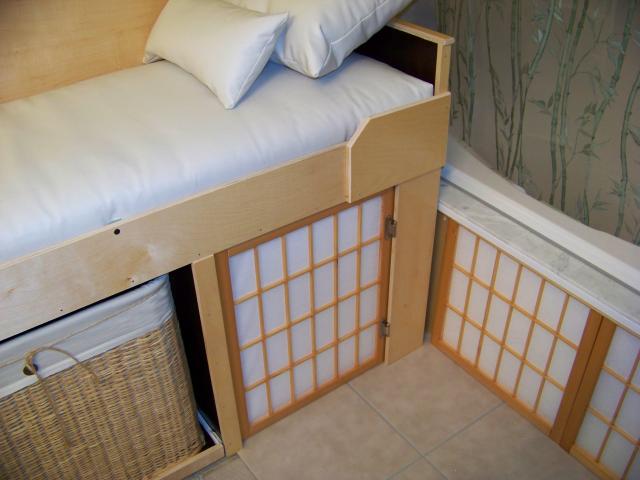
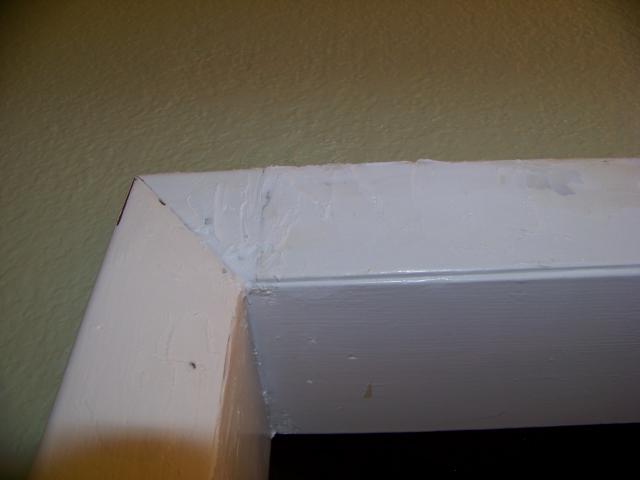
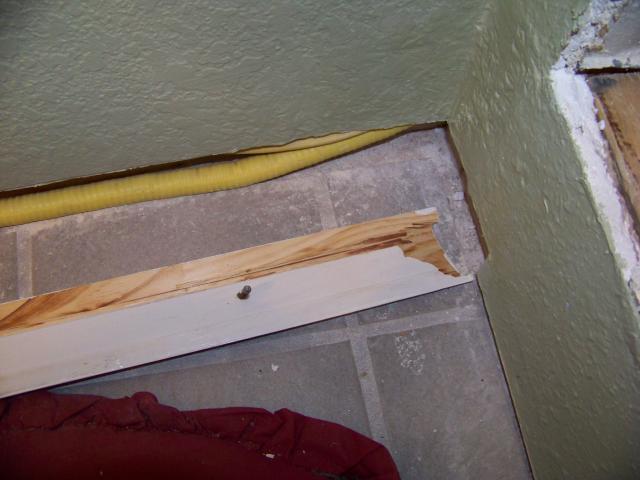
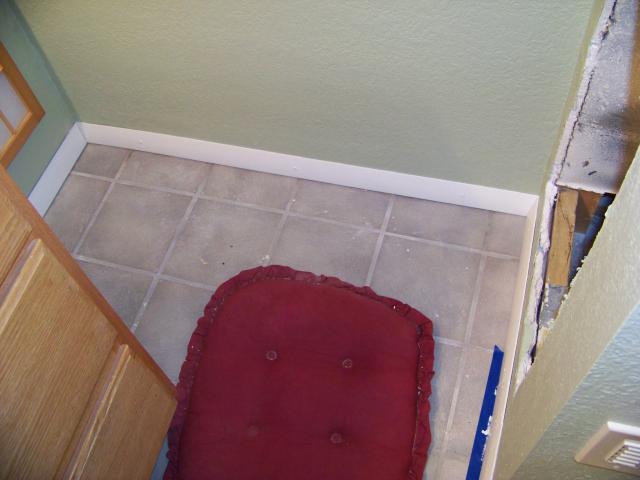
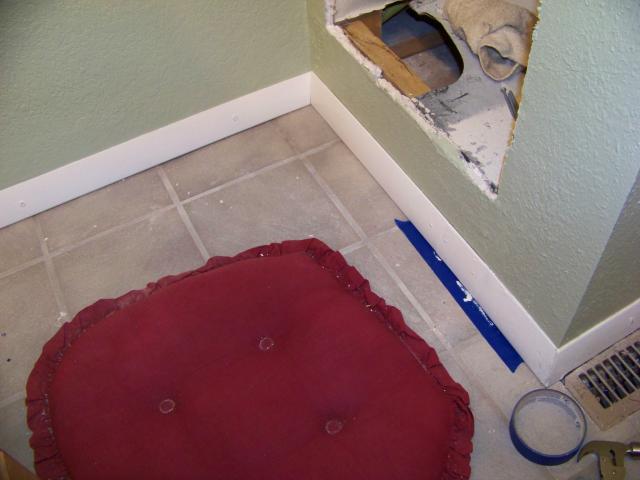
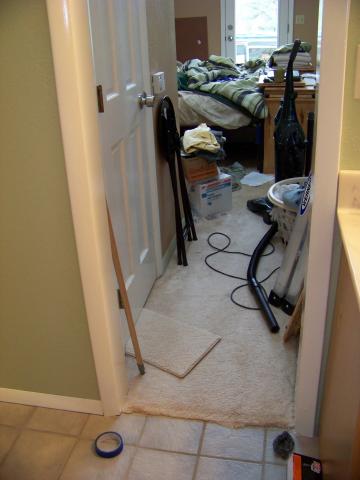
The side trim of the door was ripped off to fit the temporary wall they put in to hide the bath tub area.  This had to be done to sell the house as a bath and a half for FHA financing.


Trim had to be added in several pieces and then spackled and sanded smooth.


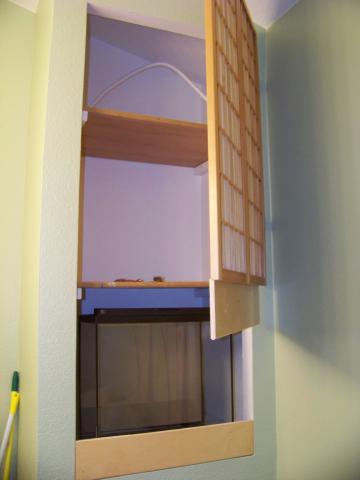
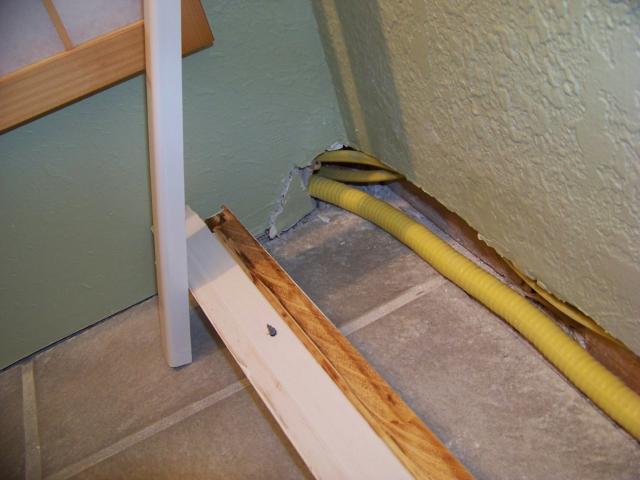
The gas line for the bedroom fireplace used to run through the middle of the cabinet on this end.  However, since there is no cabinet here anymore, I had to cut out the drywall below the trim line... and nibble out the inside of the trim as well to get it to fit without showing.  The change of electrical for the fan and adding electrical for the fish tank also ran in this space.


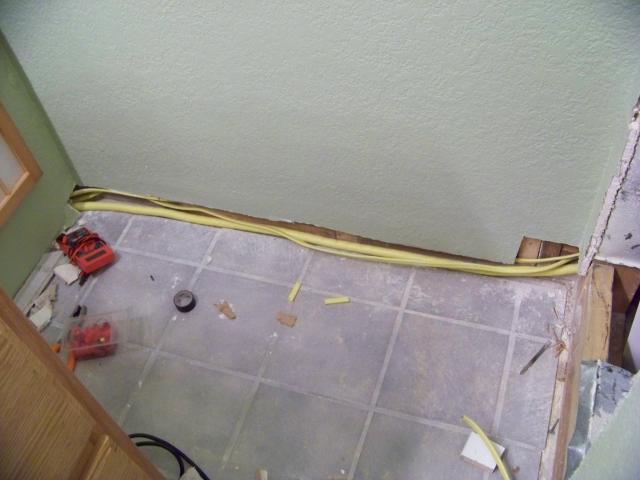
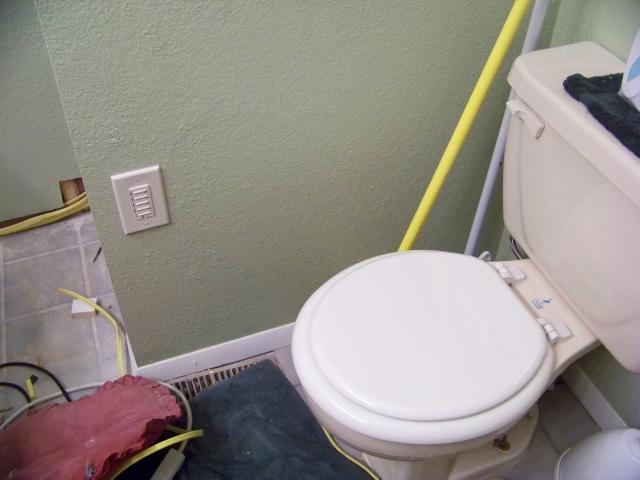
The light switch and fan switch was here and we changed it to a light switch for the little storage room and a plug with night-light.


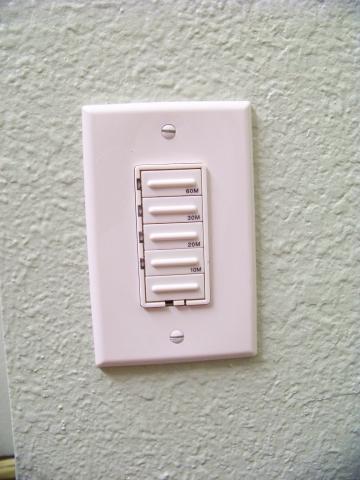
This was a phone plug.  We re-routed the fan control to here and installed a fancy timer.


Pick the time and the fan automatically shuts off afterwards.
Trim grooved and nibbled to fit the gas line.


Fits with no show!
Fits with no show!


Building the Web one strand at a time...
- Back -
- Home - 2000 Web Design © 2013 - 2024    |