|
|
|
|
|
|
|
|
|
|
|
|
|
|
|
|
|
|
|
|
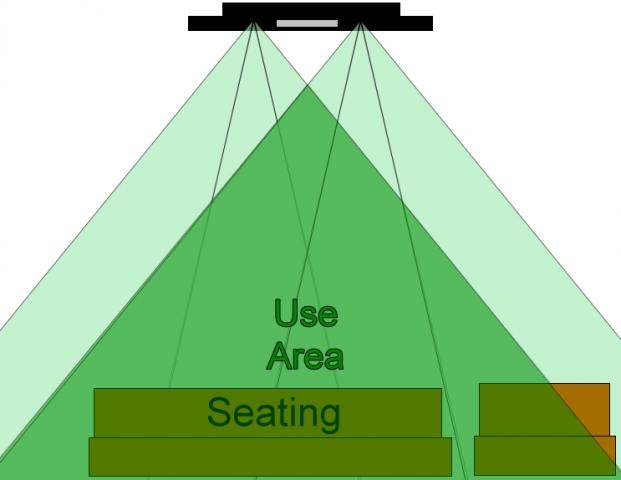
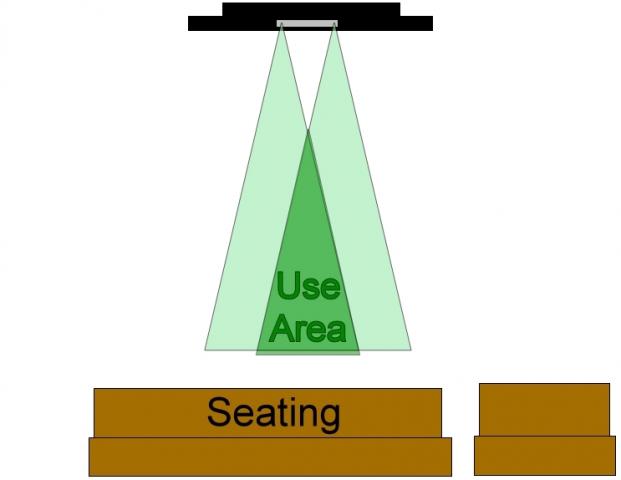
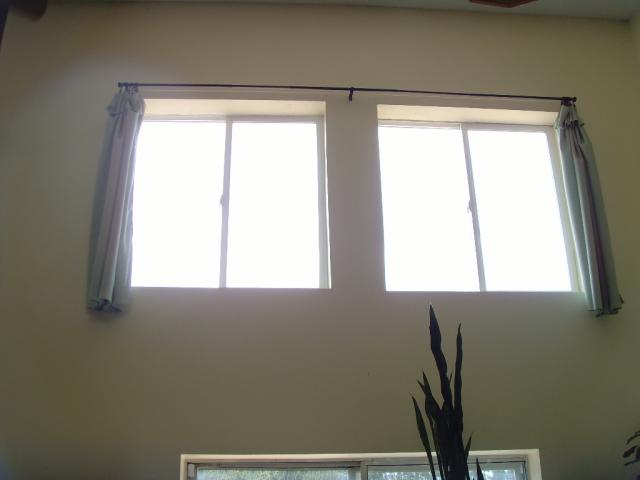
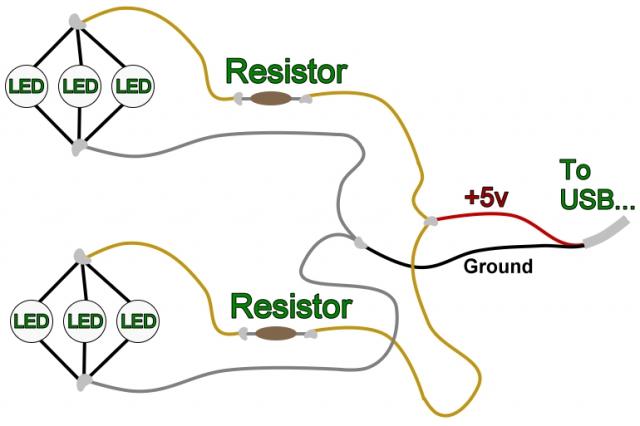
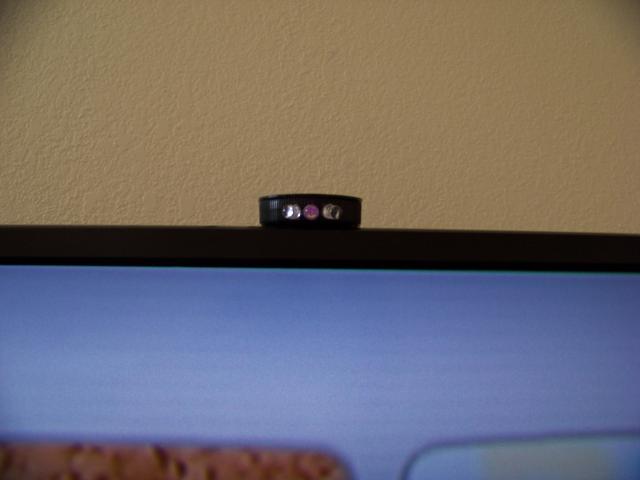
Upgraded Wii 'Sensor Bar' for extended range... near, far, and further to each side.
With a large living room, we needed an extended sensor bar, but the ones available in the store were all battery operated and would use too many batteries for me. So I made a new one from one LED on each side, but it's arc was too narrow.
Now I have three LED's per side and the range is great in all directions.
|
|
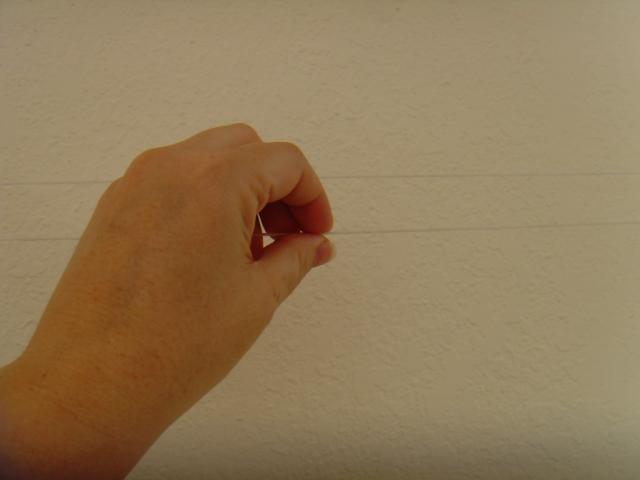
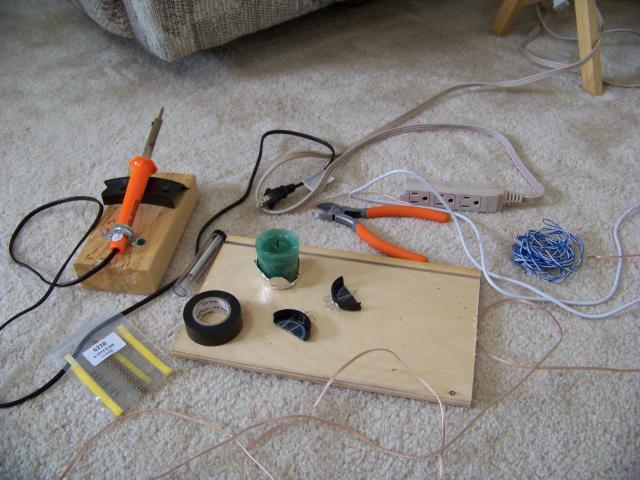
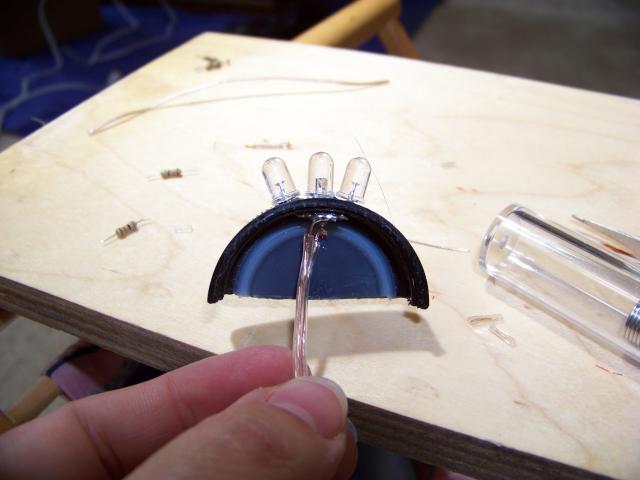
Not shown is the drill and tiny drill bit I used to drill the holes for the LED prongs to go through the bottle cap edge.
|
|
|
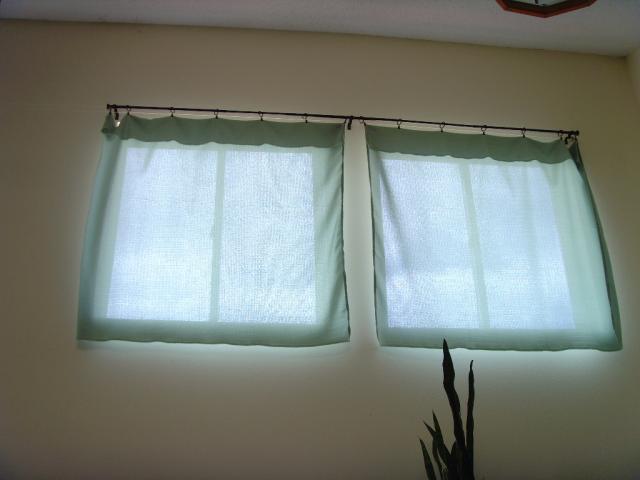
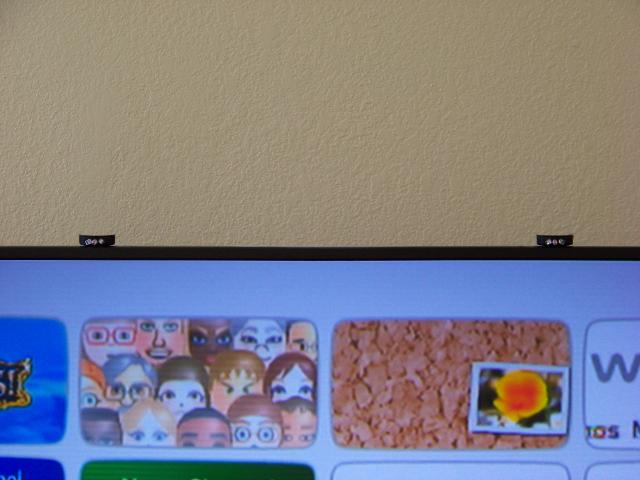
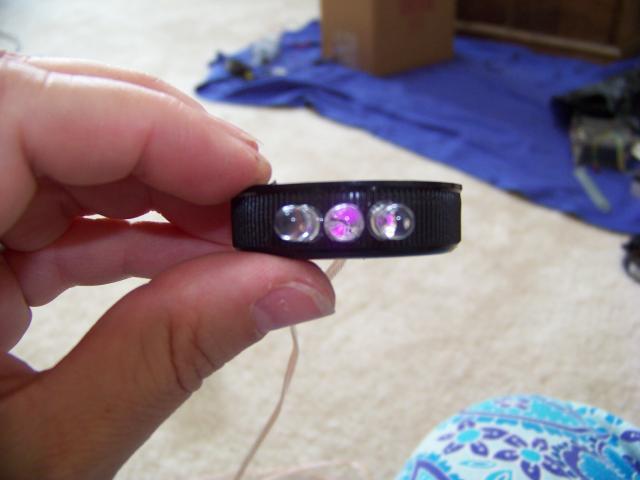
The arc of the lights gives a wide range. Instead of about 4 foot at the back of the room, the span is now over 12 foot, so people can play from any of the seating options there without having to adjust the 'sensor bar'. Also, it gives much better detection at close and far instead of one or the other.
|
So how do you tell if it works when you can't see IR light? A digital camera picks up the IR light as pink/purple.
|
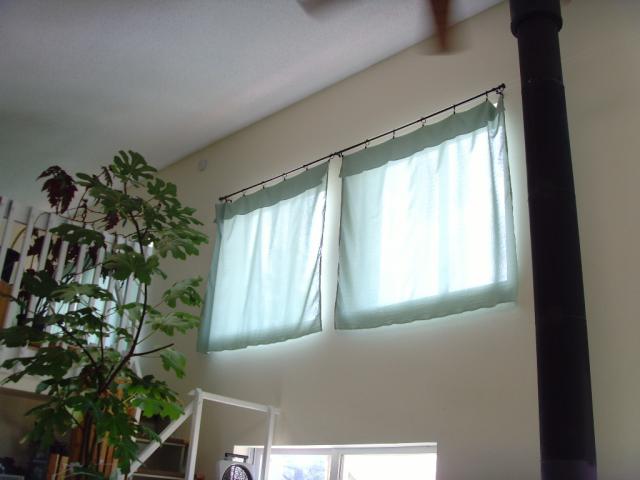
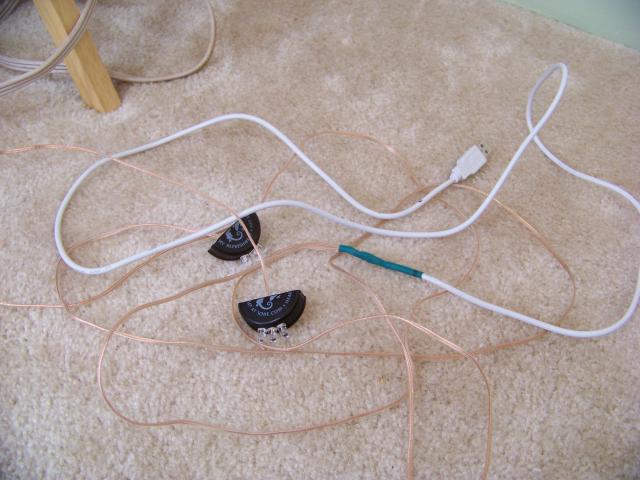
Powered directly from the Wii USB port, the lights are only on when the Wii is on and there is no hassle of changing out batteries. Two resistors are located in the green shrink tube area where the USB line is split to go to the two 'sensors'.
|
The three LED's give a much wider span to the IR light that the Wii remote can pick up easily.
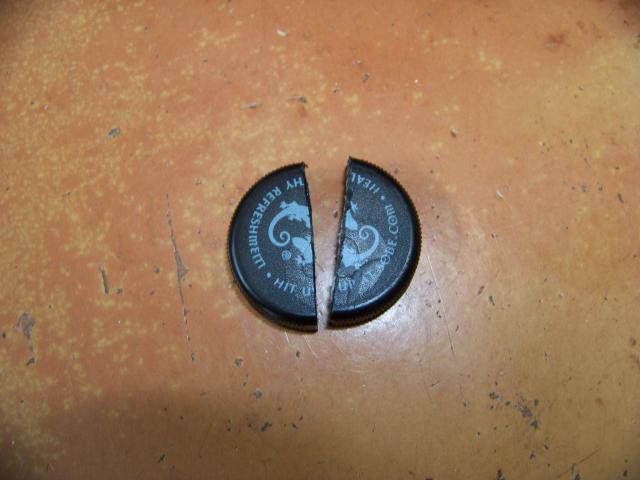
In case you didn't know... the 'sensor bar' is just a couple of IR lights... all the work is done by the Wii remote viewing these lights, so they are easily replaced with IR LED's.
|
|
|
|
|
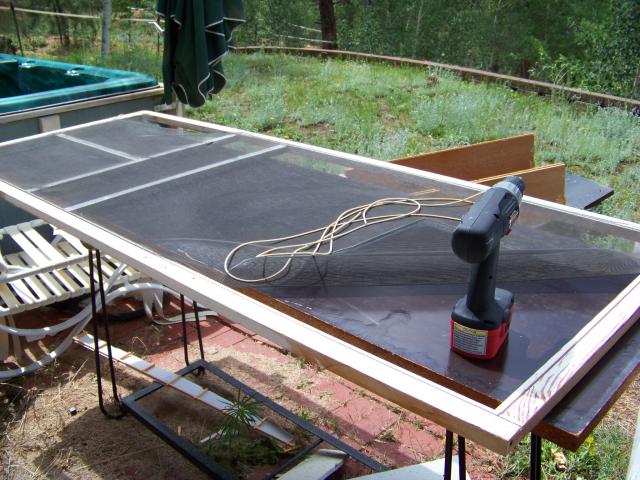
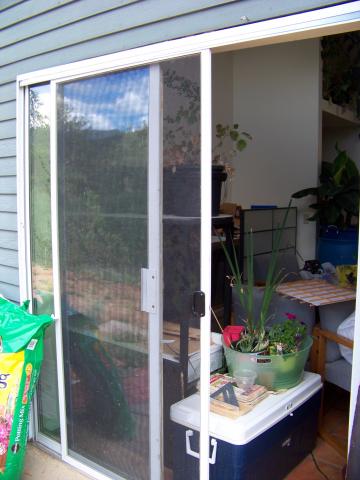
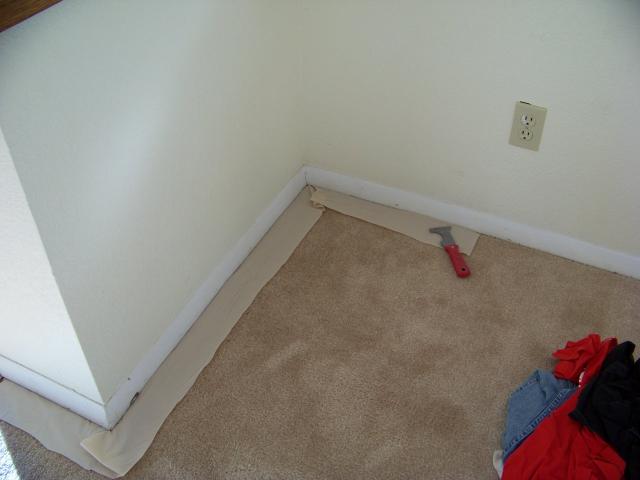
While painting the trim for the bathroom with the outdoor quality oil based white paint, I decided to re-do the screen door for the master bedroom. It was in poor condition with peeling paint and torn screen. The first step was to remove all the screen and sand off all the paint. Sanding was quite a chore with my little palm sander, but definitely worth it since it will last much longer without peeling paint under the new paint.
|
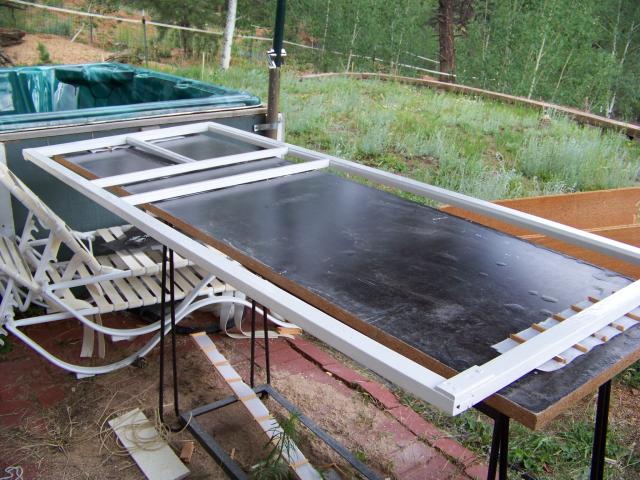
After two coats of paint and adding support blocks for the corners to keep the door more square it was ready for new screen and to be put back up.
|
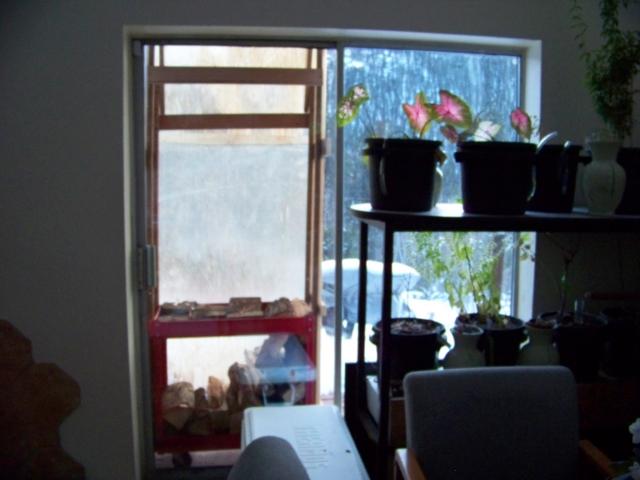
I purchased a used sliding door screen some time ago, but it was just a little too short for any of our doors. However, with a strip of extra J trim from the bathroom project placed at the top of the screen door, I was able to install the screen on the door that I use the most when doing house projects. It really helps since it slides smoothly and is much lighter than the glass door.
|
|
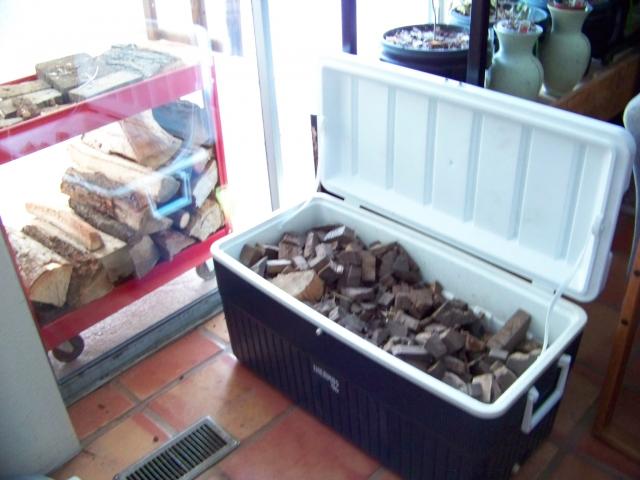
Keeps the cold blast of air from rushing into the house when getting wood and keeps it dry. Also is moveable for summer or when we need to move stuff in and out that doorway.
|
|
The cooler keeps any buggies from escaping into the house and keeps the wood chunks and chips easily available without making a mess,
|
|
|
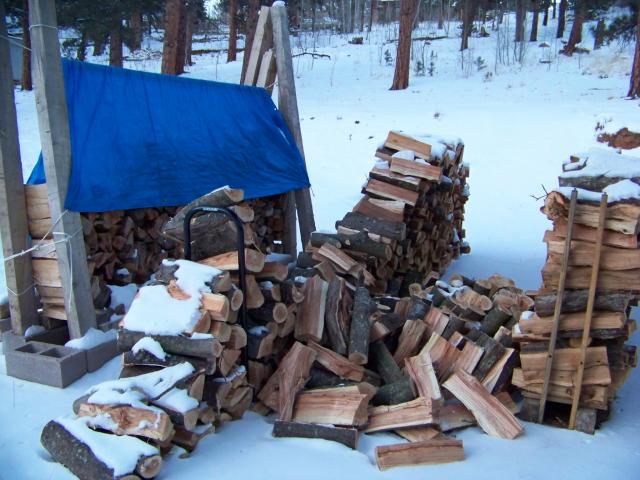
I will re-stack it when the snow melts.
|
|
|
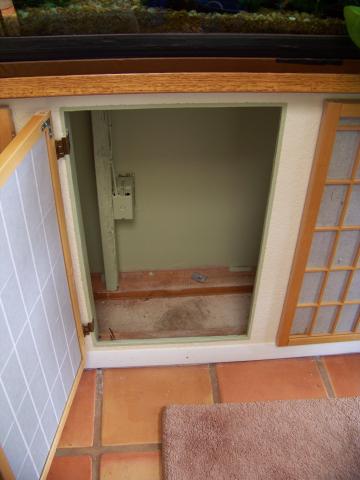
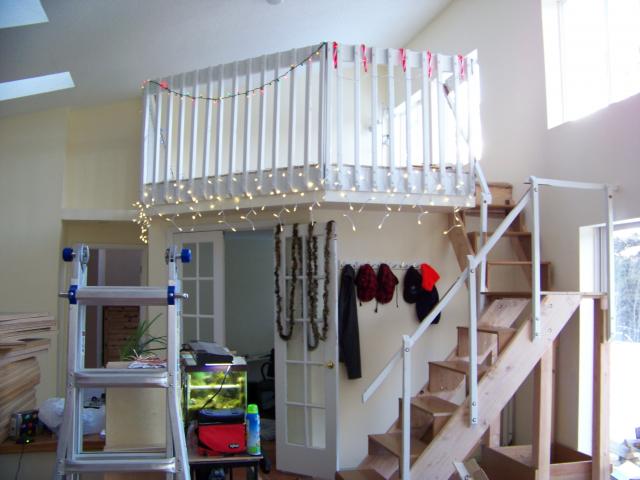
First step... plan, plan, plan. Then I marked the wall with Chris' help and started the cuts. Two supports had to be removed and placed between doors. The other two fell between without changes. I also added shims to existing supports to firm up some needed support for the fish tank.
|
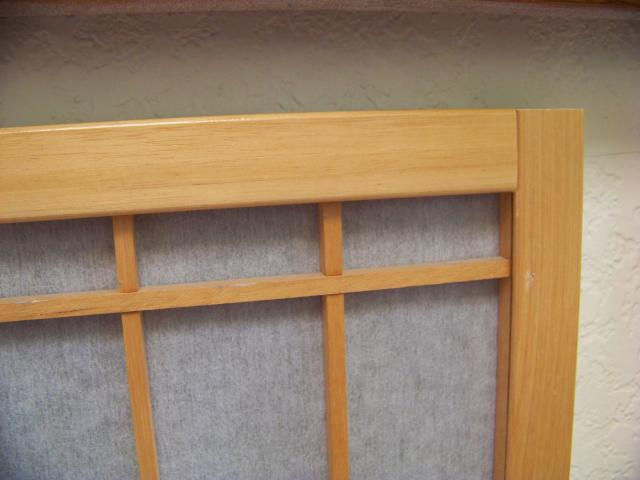
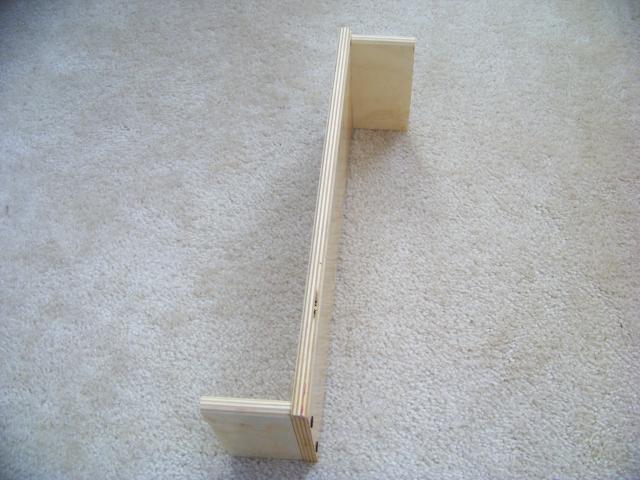
Shown here is one panel removed from the other two. I measured and measured and figured out where to cut so that I would have two doors and enough of the side trim from the middle to create the new top trim for the doors.
|
The sides are grooved so that the thin strips are held inside the groove.
|
|
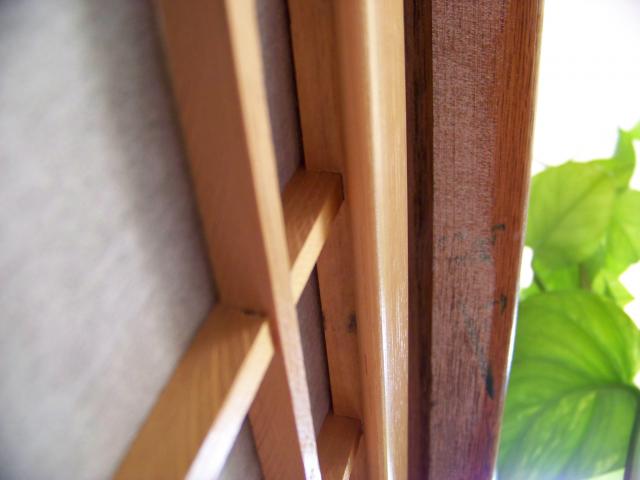
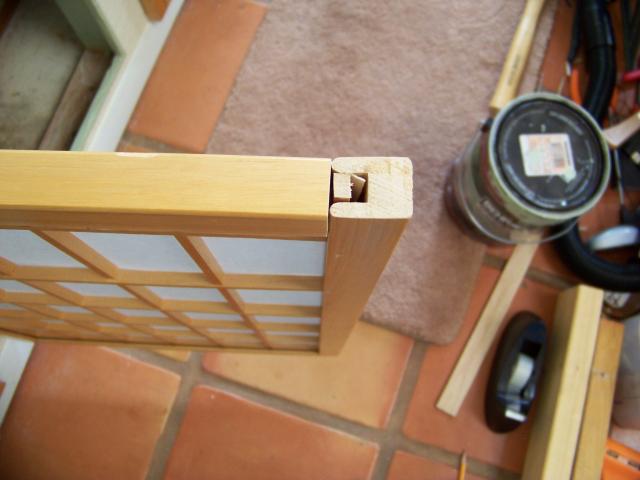
I used one of these pieces to add to the new ends to sandwich into the groove and hold everything in place. However, since each piece was created with a U on both the cross and the vertical, I had to nibble out the U until it was almost all the way through the thin wood.
|
|
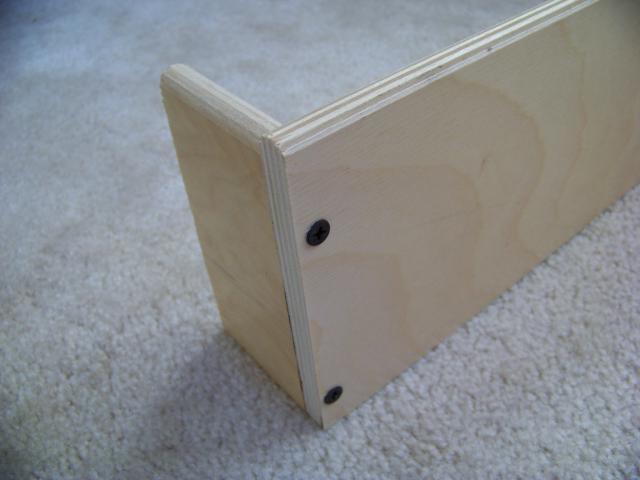
You can see the piece that I had to nibble at holding everything firm and even inside the new end's groove.
|
|
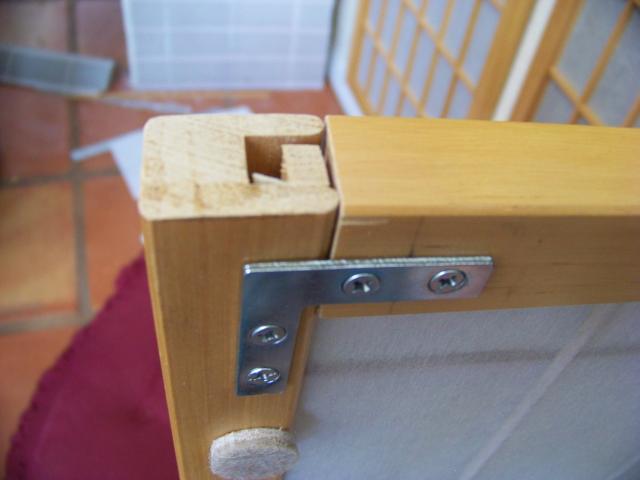
Everything would probably hold just fine from the pressure or with glue, but I decided that the corners would be stronger with an L bracket to be sure everything held in place.
|
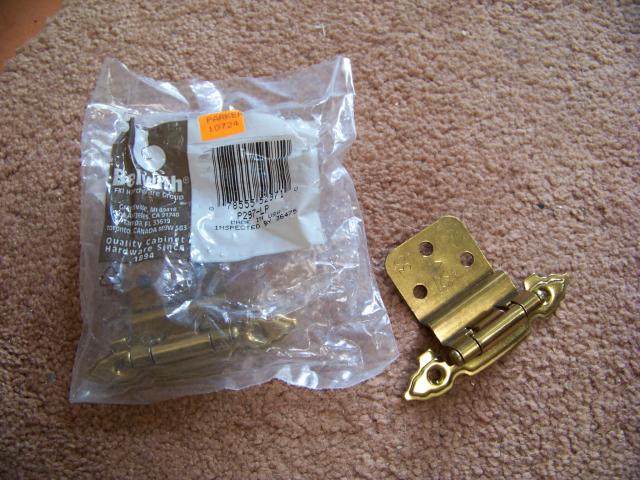
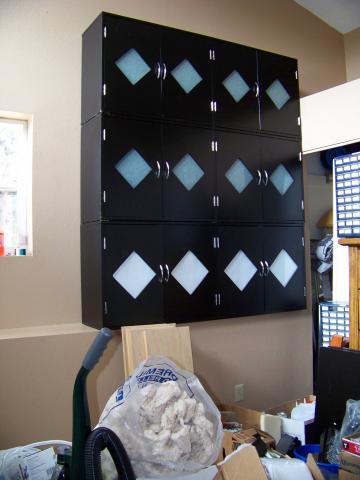
Like most of my other projects, I am using almost all materials I already have. These cupboard hinges were ones we got at Habitat for Humanity resale with the plans for re-doing the cupboards in Aurora. We never got to it, but they come in handy now.
|
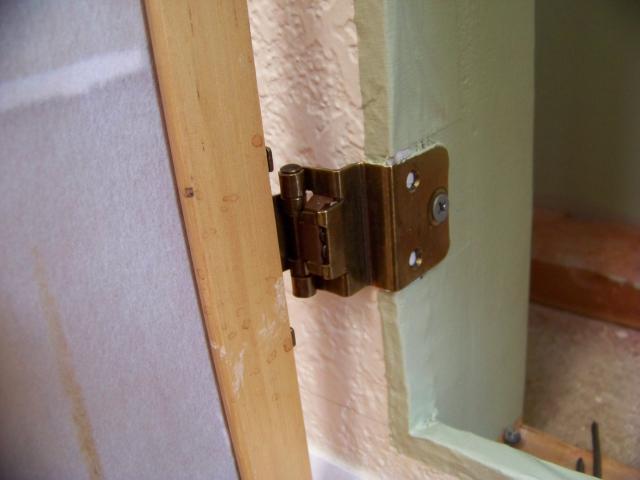
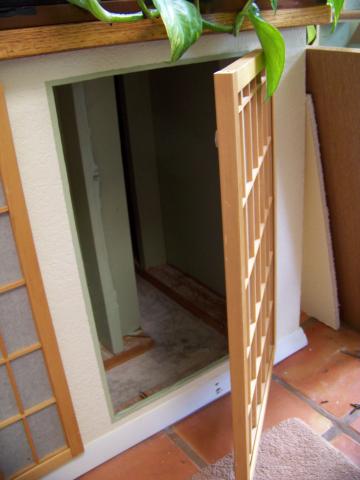
I was originally worried that the spring close would be too strong for my panel doors, but it works out very well. They are very easy to open, but the spring close holds them firmly closed without needing some kind of latch or anything.
|
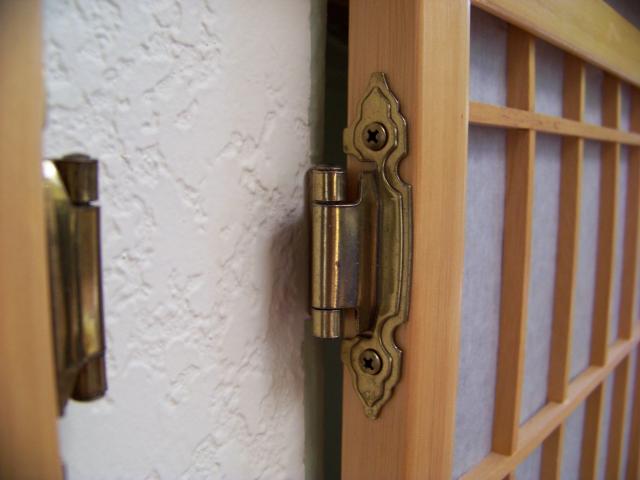
They look nice on the outside, too.
|
|
|
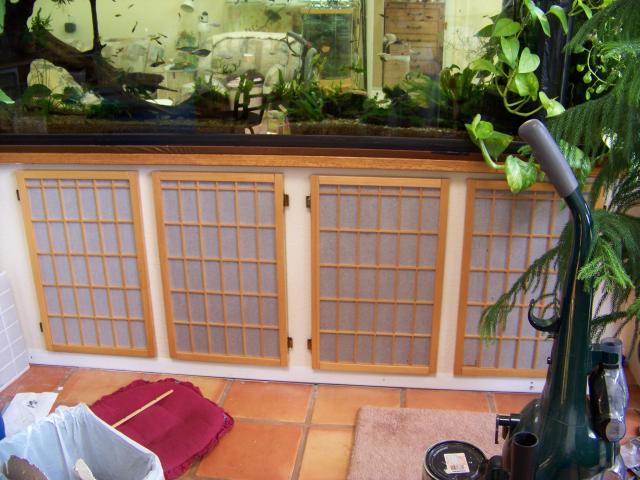
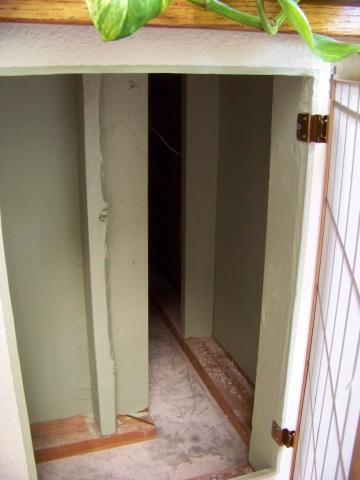
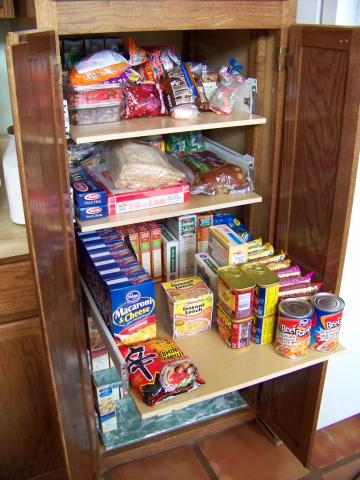
I kept the L shape open deeper than the other cupboards since I often have a lot of a few types of cans that stack well and can fill back into the space a ways.
|
I added a back to the L where you can see the deepest support in this picture. It is nice and deep, but is a little less than one arms length, so I can still reach everything.
|
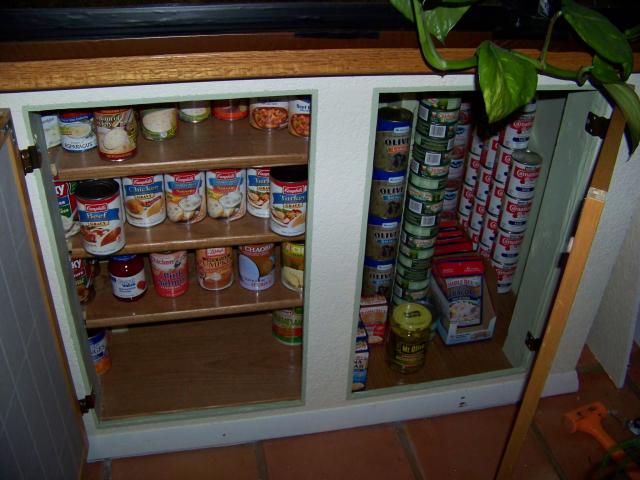
Like the other materials, the shelves were all ones that I had waiting in the shed. The cuts around the many supports made it quite a challenge to get them fully fitting and put in.
|
When I first started planning things, I wasn't sure if it would fit all my cans, but it ended up being a lot more room than I thought it would be. I stock up when there is an exceptional sale, so having extra room is a must.
|
|
|
|
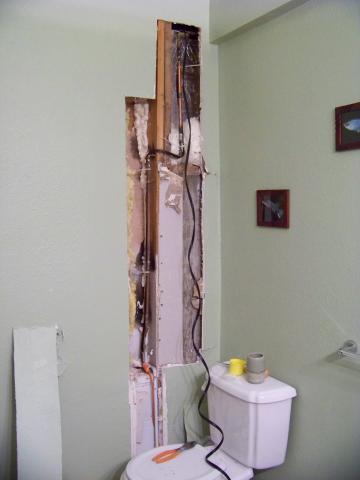
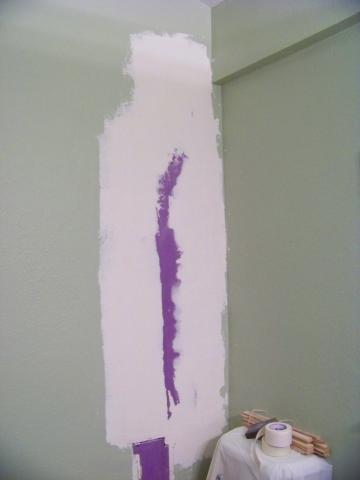
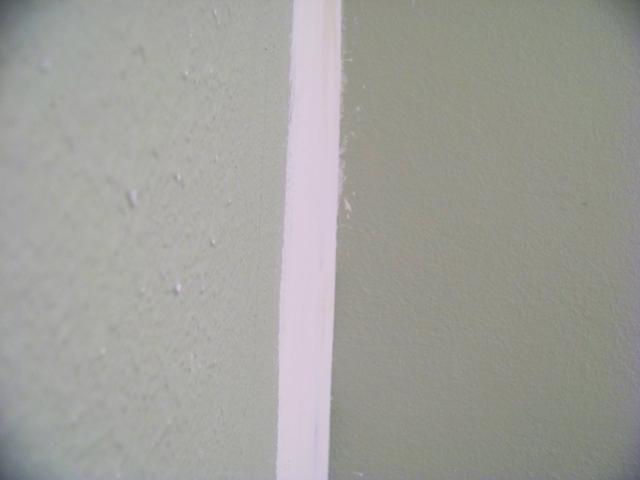
After my bathroom pipe froze and literally exploded water through the wall, my sister’s boyfriend, Ernie, was nice enough to help me fix the pipe and later to repair the wall. (Shown with the heat cable on it, but we decided to just fill it with insulation since insurance would not have liked the heat cables, so I took the heat cable back to the store.)
|
|
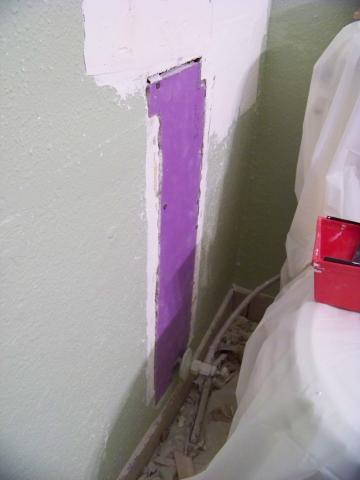
Fixing the wall requires putting boards screwed into the good drywall to give you something to attach the new patch to. Then cut the new patch to fit the hole.
|
Then you have to fill the cracks and seams with drywall topping mud. Then stick drywall tape over the seams.
|
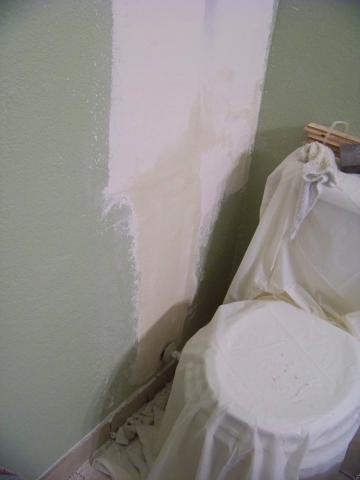
Then you coat the whole thing with mud, dry, then carefully sand it. Then repeat twice more.
|
Hopefully you end up with a very flat surface with no scrapes or bumps.
|
|
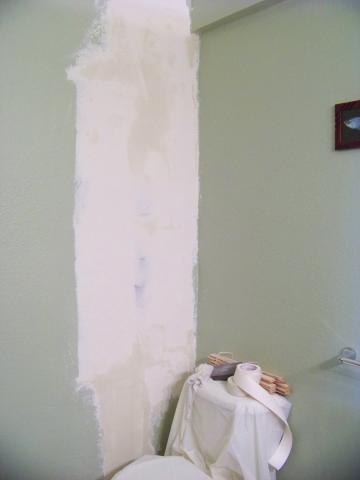
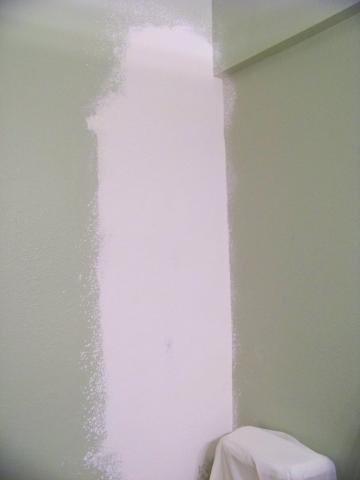
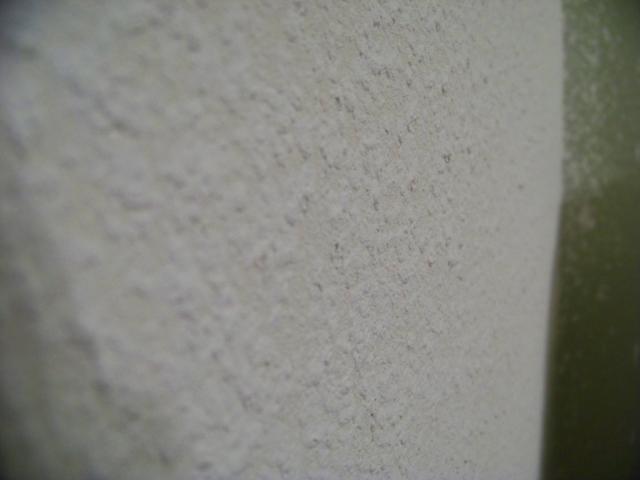
Finally a spray texure is added and then knocked-down. I am not great at the knock-down part, but this wall has been repaired several times, so it has many textures and mine acctually looks better than half of the previous repairs.
|
|
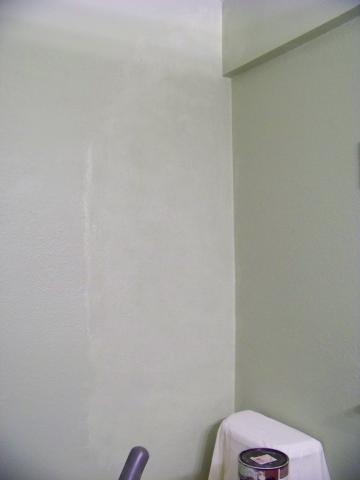
It definitly needed two full coats of paint to cover over the texture fully.
|
Ernie did the top patch and the first coat of mud/tape, but I did the bottom patch and the other two coats of mud and sanding and did the texture & paint myself. It may not look quite as good as a professional dry-waller, but it looks better than the patches that were done by previous plumbers when we moved in.
|
|
My patch looks much better than the stuck out plexi that the last plumber used to cover this lower section of pipe.
|
|
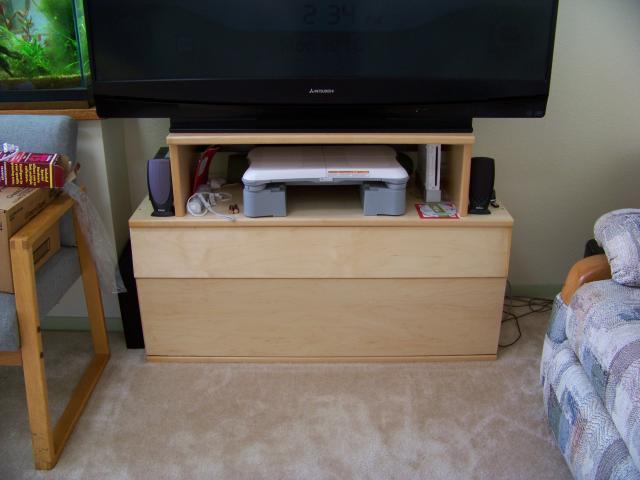
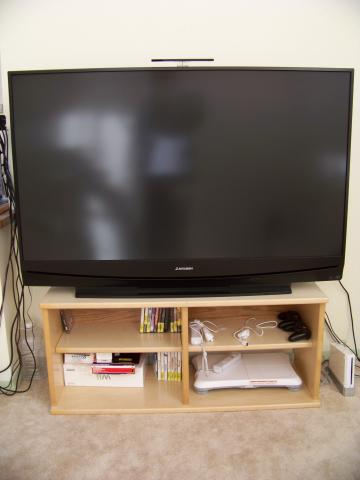
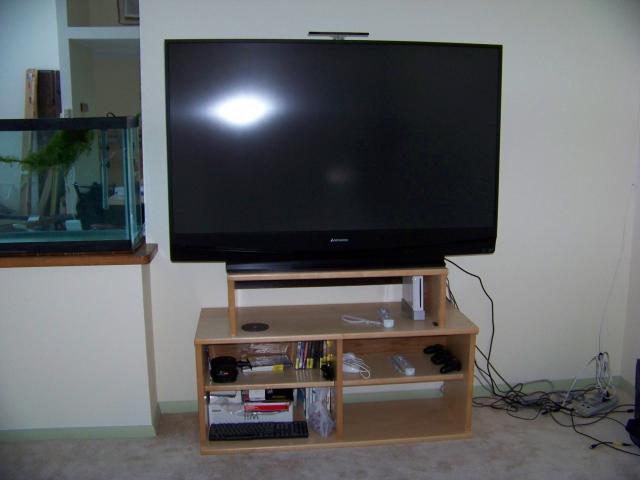
I added hinged doors to the TV stand that I made to hide the dvds and batteries and cords and such. It looks nicer, though the Wii stuff is still always out since I use it so much.
|
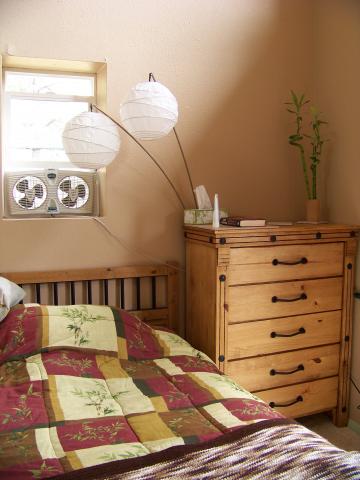
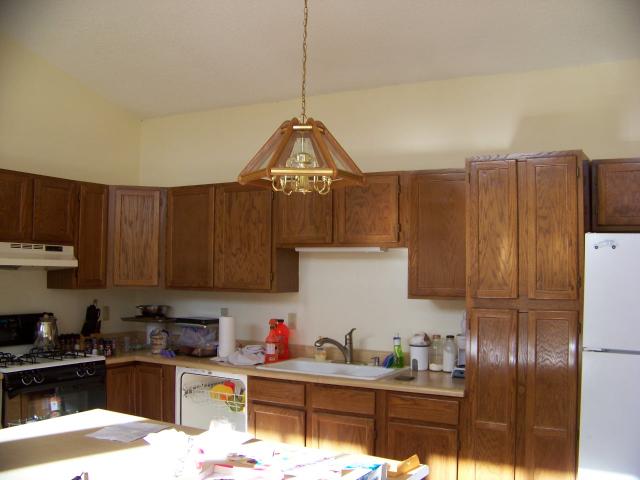
These lights were on a one piece livingroom light that we got from craigslist for $20. I seperated off the curved pieces and attached two on each side of the bed and ran the electrical through a remote switch so that we can turn them on and off from the door or each side of the bed. They go so well with our decor.
|
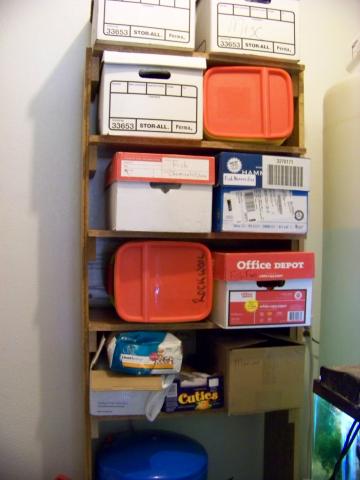
I built a stand in the utility room to hold boxes of fish stuff.
|
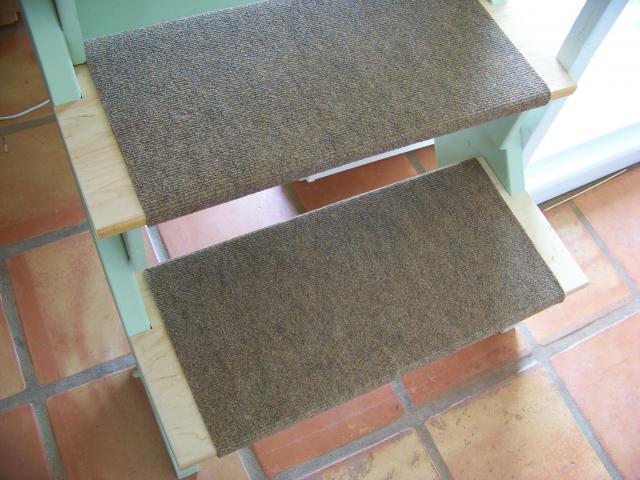
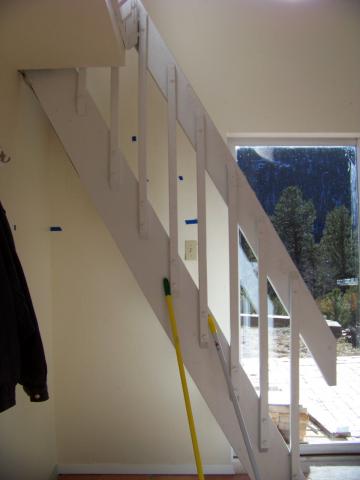
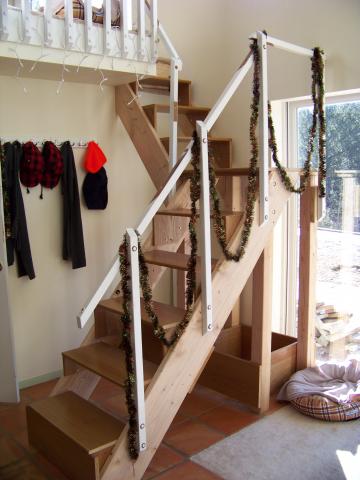
I got the carpet wrapped pretty treads on a couple months ago, but desided to wait to take pictures until I got the side edge painted. I think they look nice, and the carpet turned out very nice. The treads were not easy to cut since each one had to have a special angled cut perfectly measured on each side... but worth it.
|
|
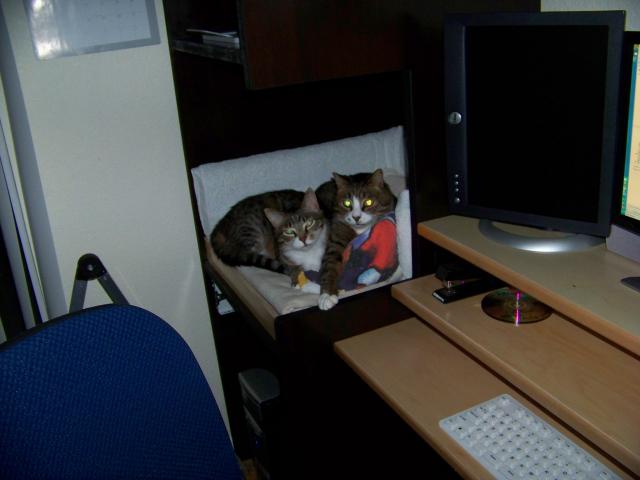
I sat down Sunday night to check the email one last time, and to my surprise... when I turned to see if Hamper was comfortable....... Ten was there too!
Hamper and his bright orange blanket were not giving her much room, but I think she looked happy... until I took the picture, of course.
|
|
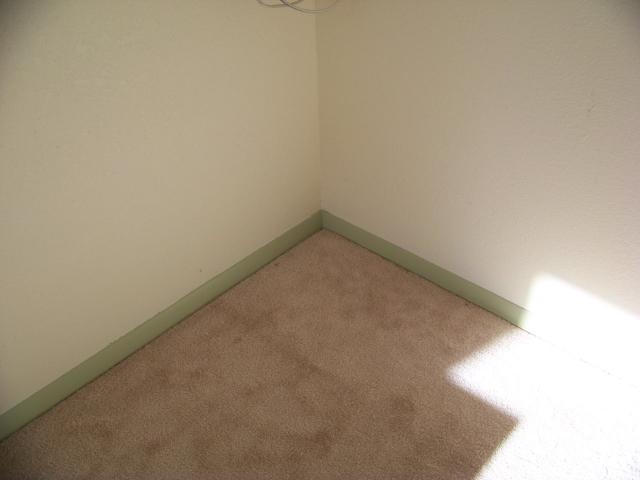
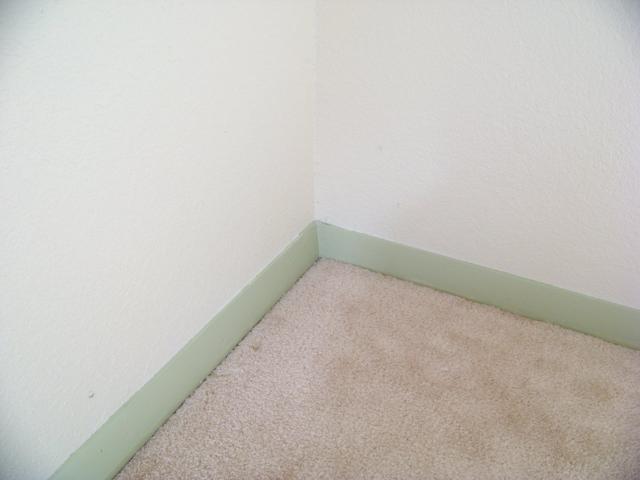
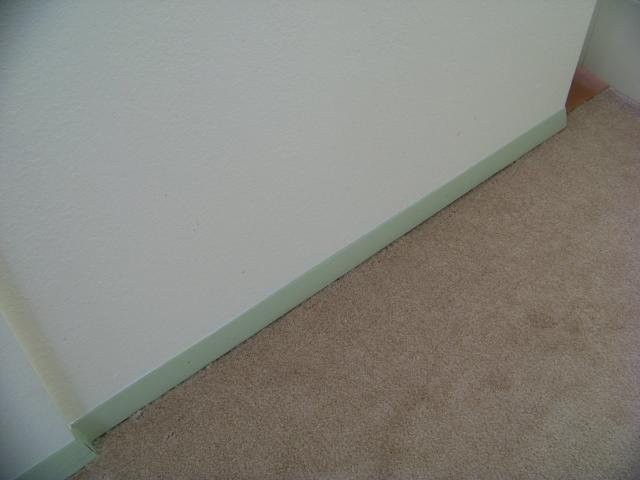
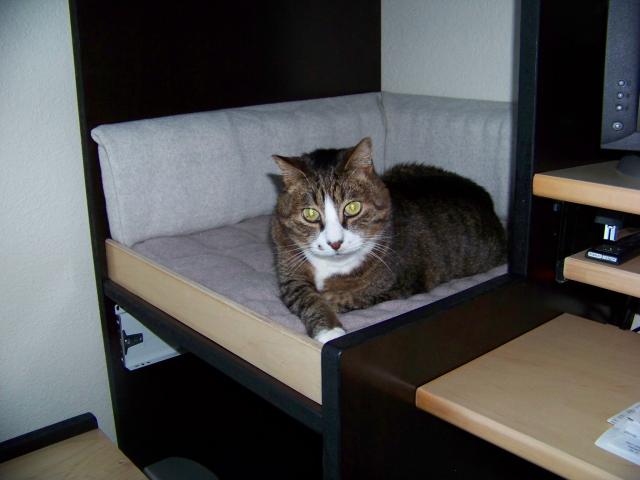
What a difference a little paint makes.
|
I will still need to get some nice material for the cat bed, but it now has 2 inch memory foam for a base and sides. I have a hard time getting Hamper out of bed to work on it!
|
I also still need to make a little step stool that will double as a cat stair to get into bed and a stool for me when I need to get things on the top shelves.
|
|
|
|
|
|
|
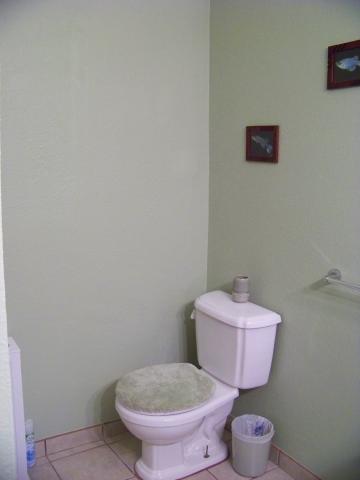
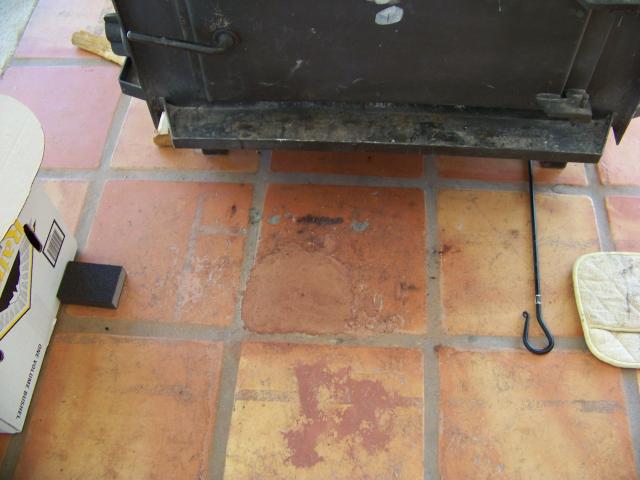
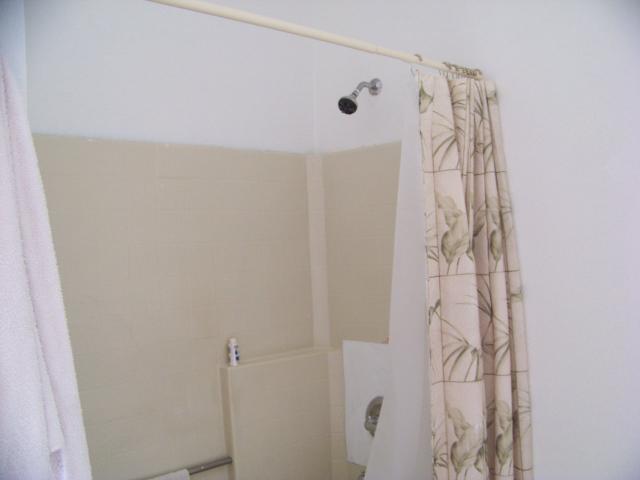
The tile in the center of this picture was almost 1/3 broken out. I repaired it by filling the area with grout and then staining it with acrylic paint to match the surrounding tile. It matches well, but is a little rough compared to the finish of the rest of the tile.
|
I got some 'Reguvinate' stuff and wiped on several coats. They look ten times better and have a nice sheen again.
|
|
|
|
|
|
|
|
|
|
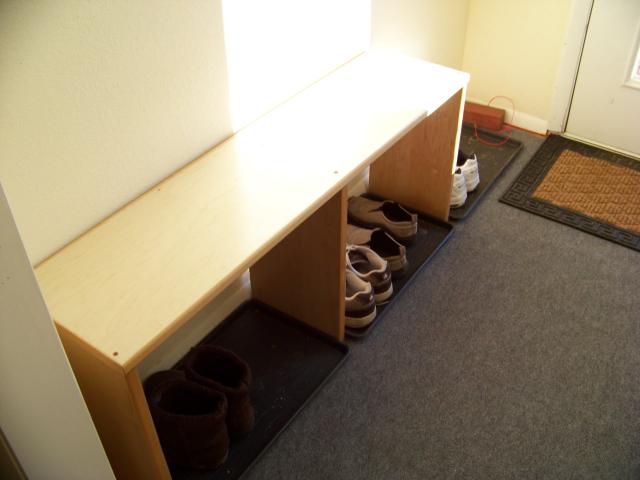
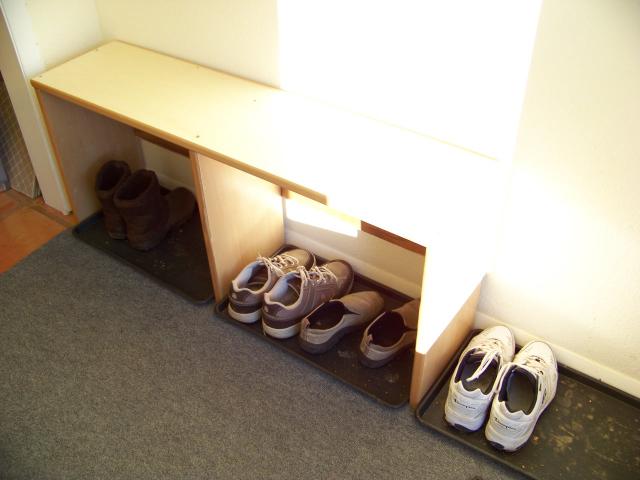
Just the right size for sitting and getting your boots off, it sure was amazing that three supports and EXACTLY two boot trays from the dollar store fit without having to cut the top board.
|
|
Enlarge Video Screen
|
|
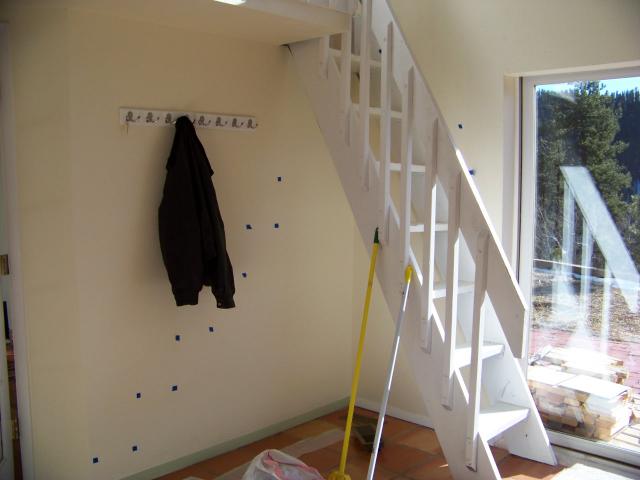
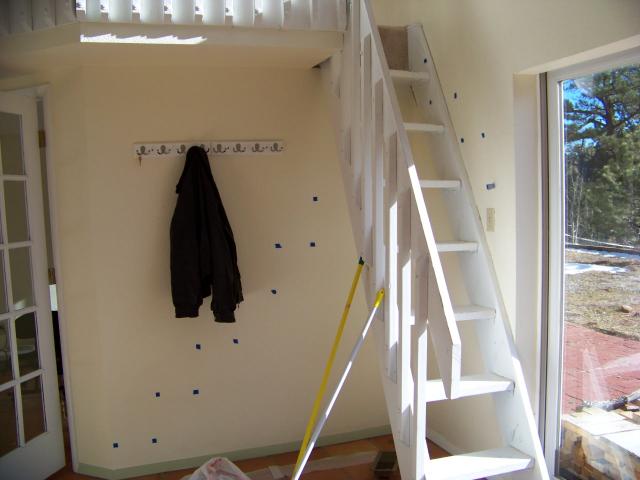
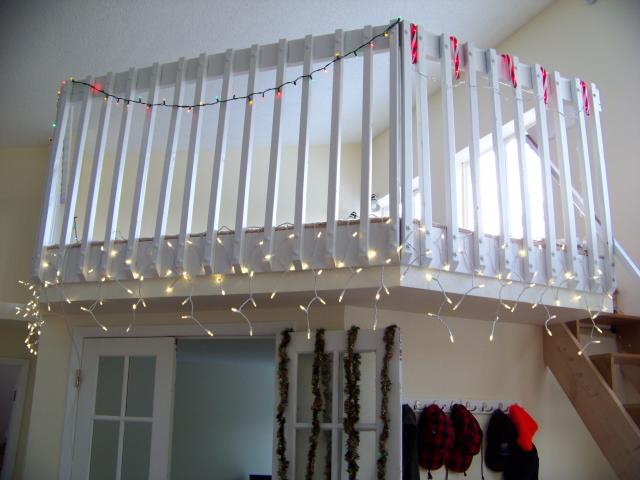
The stairs will be painted and then an additional tread will be fitted on top of each step to improve strength and will be very pretty and have a carpet roll-over to make it prettier and more durrable.
|
|
The carpet is a gray industrial cut-on-request piece from a roll at Lowes. It has a rubber base to keep water from soaking through. Also, there will eventually be a coat rack over the tray on the right side so that coats can drip dry before going in the closet.
|
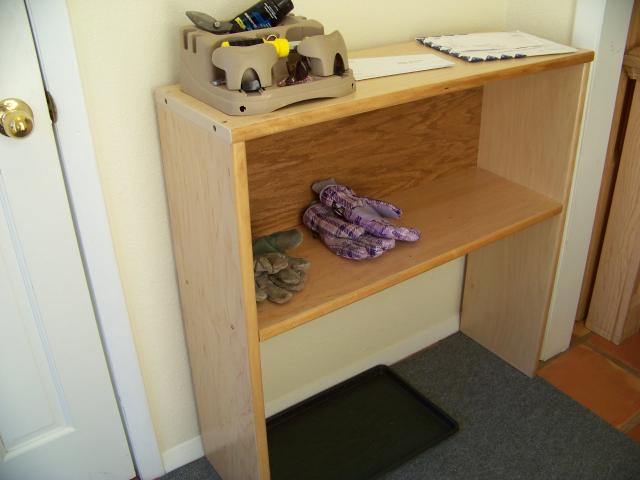
This stand is great for putting stuff on that needs to go out when Chris goes to work and to set groceries and things on when he gets home (instead of tracking snow and mud to the kitchen).
|
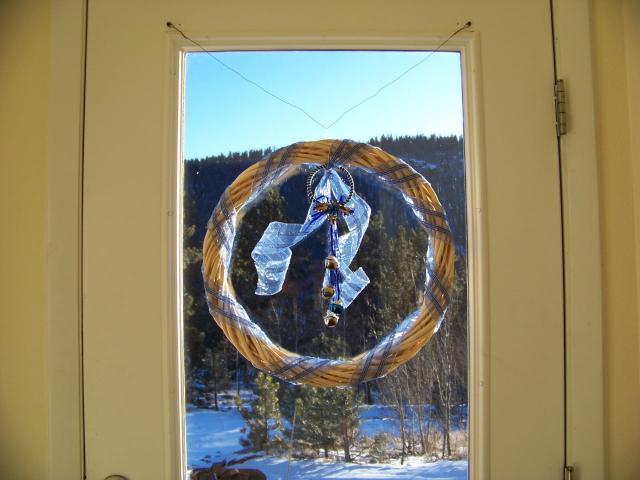
I chose blue and white for our wreath so that we can keep it up year round if we want to.
|
Yet another project from the pretty shelf-boards. I think I will put doors on it later to keep the dust of the games and DVD's.
|
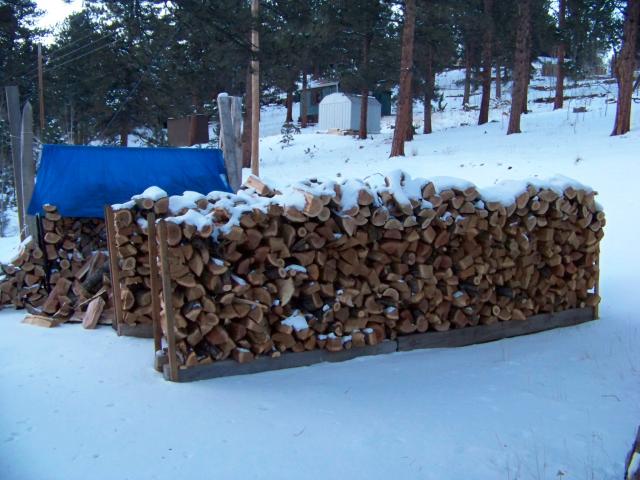
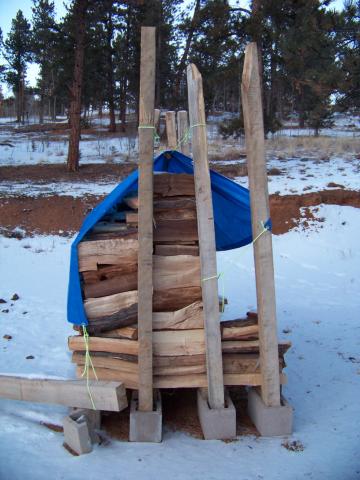
Since we were not able to gather free wood this late in the season, we purchased a cord of wood from a guy in town. Chris and I later stacked it here.
|
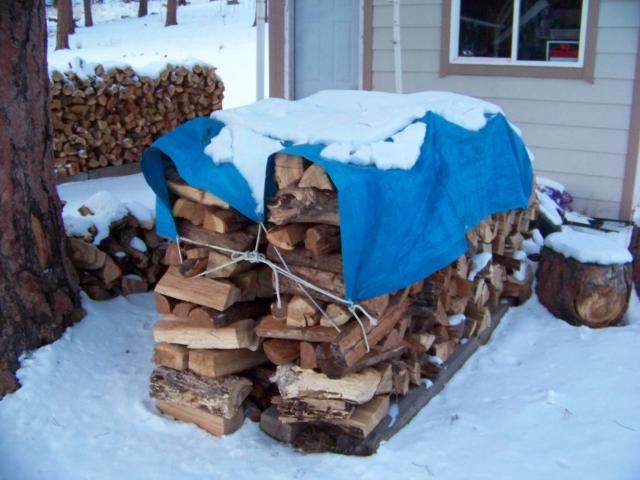
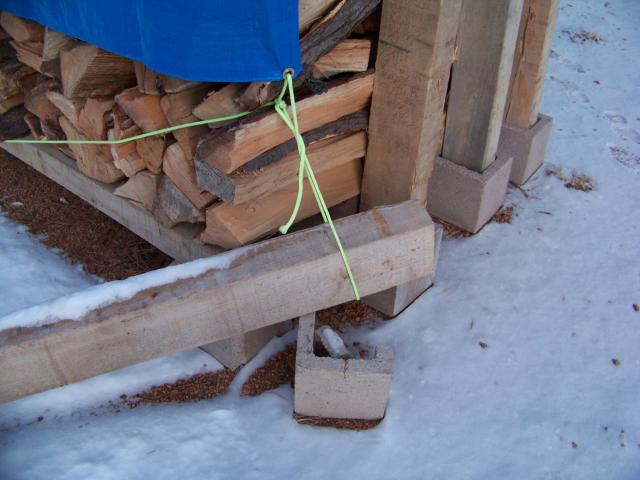
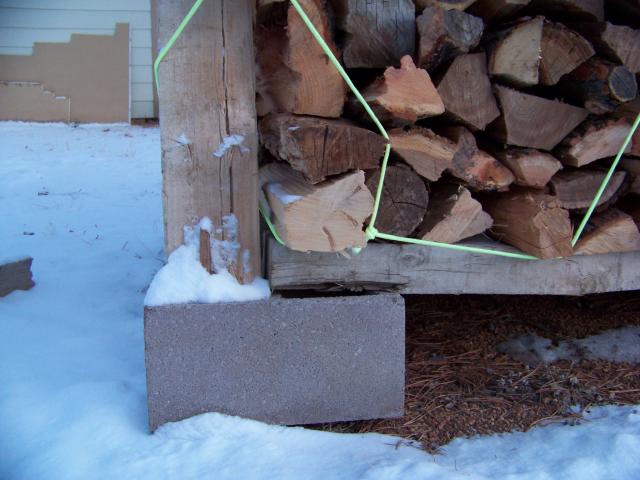
I guess the weather had gotten to this brick too much sitting outside, and once there was a little weight pushing on it, it broke right apart. Hopefully the other support will be enough to hold the wood in place.
|
The side supports seem to be holding well exept one brick broke and lost it's support.
|
The bottom support rests on the end of the brick that the side support is stuck into making a L-shape that is stronger with more weight on the bottom support.
|
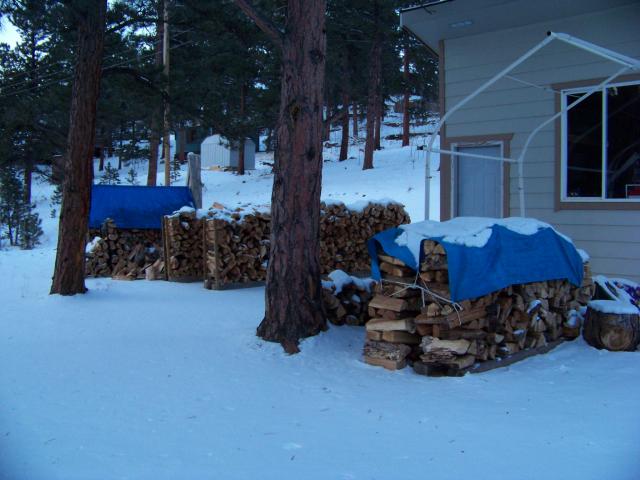
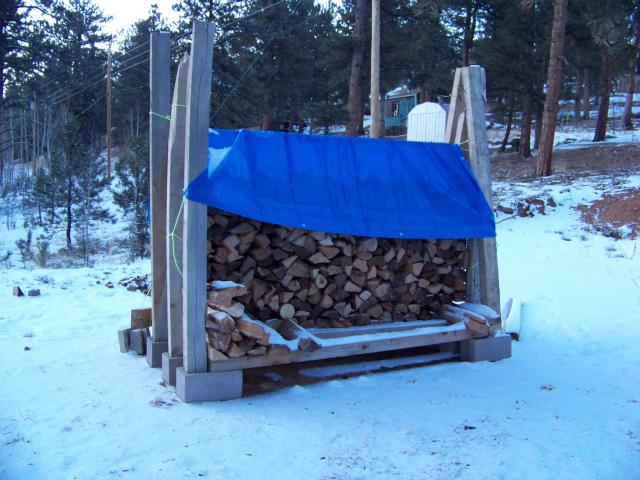
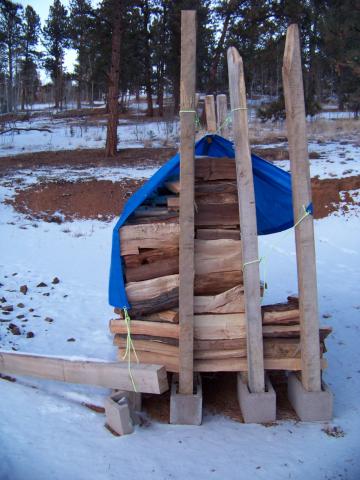
I would have prefered to use 8ft metal fence posts driven into the ground and attached at a foot high for bottom supports, but I put this together for free from some old beams and brick that were stacked next to the house. We used a long board tied over the top to give the tarp a peak to let the snow go down the sides instead of laying on the top of the stack. It also gives some air flow on the top to keep the stack extra dry.
|
I may just go to this style of stacking until I get metal posts to stack between. The local guy who brought it stacked it onto some beams to keep it off the ground and layered the ends this way then that way to get a solid stack. Easier than setting up wood supports for the ends, but it requires some pretty flat split wood to layer the ends like that.
|
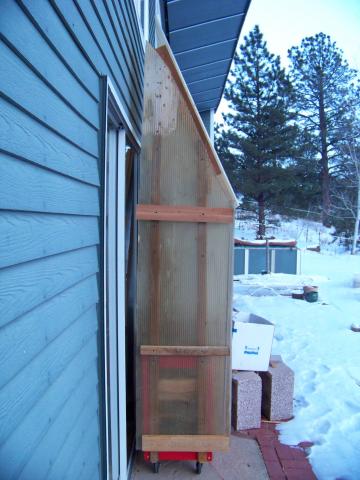
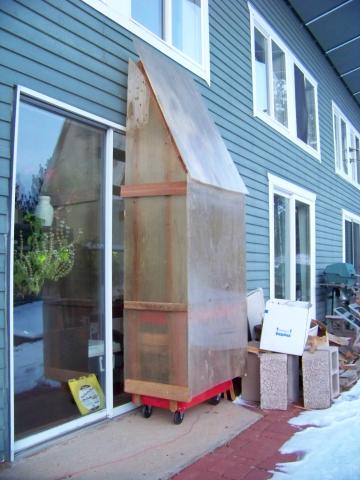
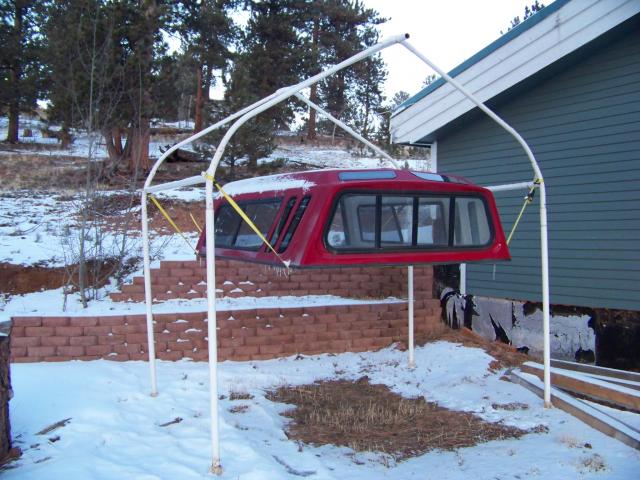
You rig this up and use rachetting cargo straps to lift the camper off the truck. We will be putting the camper back on as soon as we are done moving some greenhouse pannels from storage.
|
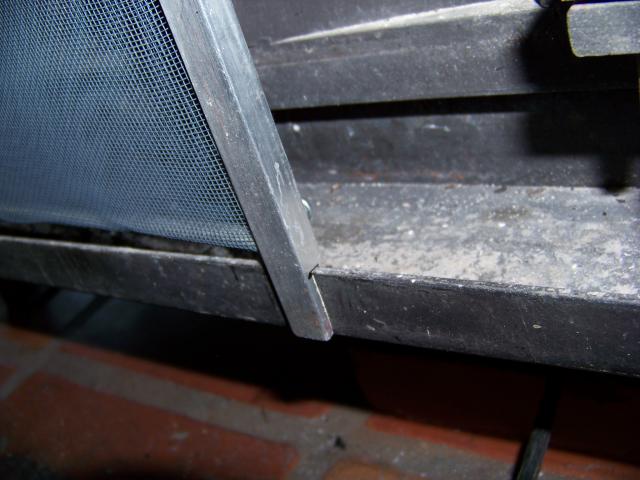
The slot slips on securly to the edge of the tray under the door so that even a small log rolling into it would be held in by the screen. However, we still remove the screen and close up the stove tight if we are not in attendance. Always better safe than sorry, right?
|
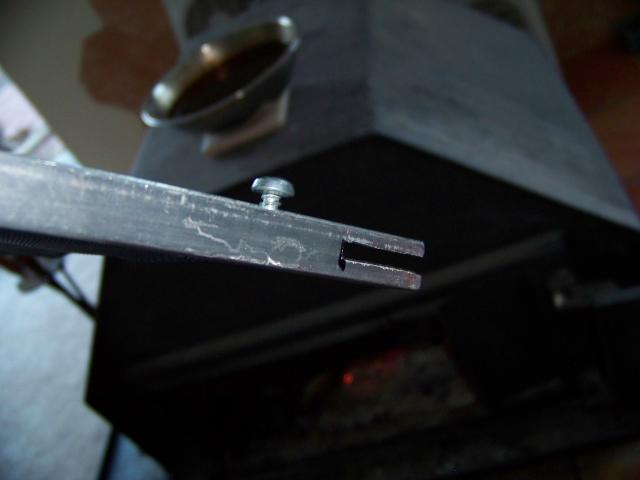
The lower bar is held in place with a screw on each side, and the lower edge of the frame has a slot cut in the metal.
|
The screen sits out from the stove about 2 inches, so it is good that it overlaps on the sides several inches. The aluminum frame and screen combined with the fact that it does not directly contact the stove on the upper edge means that it stays barely warm despite the hottest fire and can be removed by hand.
|
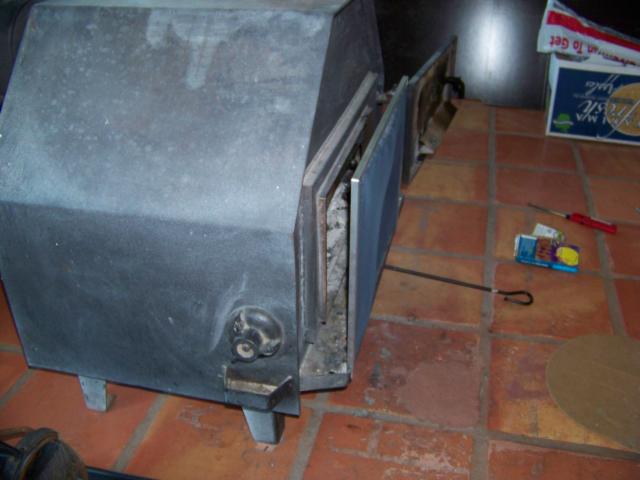
Since our stove has no catalytic converter, we can use a screen in front with the door open to enjoy the visual and get about 50% more heat. However, the screens we could find were all too expensive and very large for full size fireplaces.
|
A couple pieces of aluminum track and rod and some black aluminum screen..... total cost about $10.
|
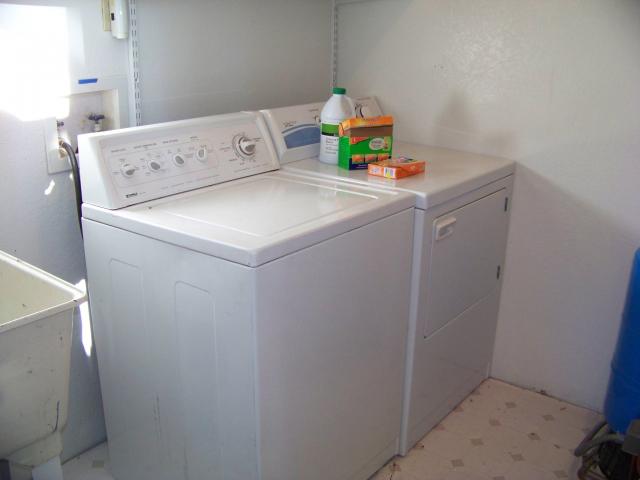
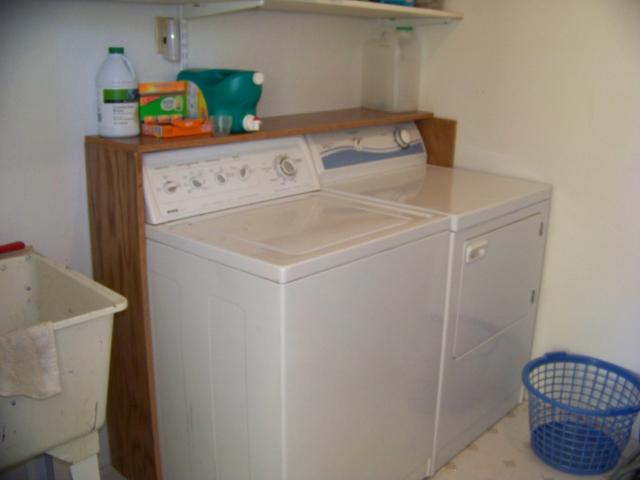
Yea!!! No more hauling our laundry down to Aurora. We had to get a conversion kit to get the dryer changed over from Natural Gas to Liquid Propane. Finally found the kit for a good price online and it came on Friday. Chris installed it Sunday and we got the dryer and washer all hooked up. No leaks and they run wonderfully.
|
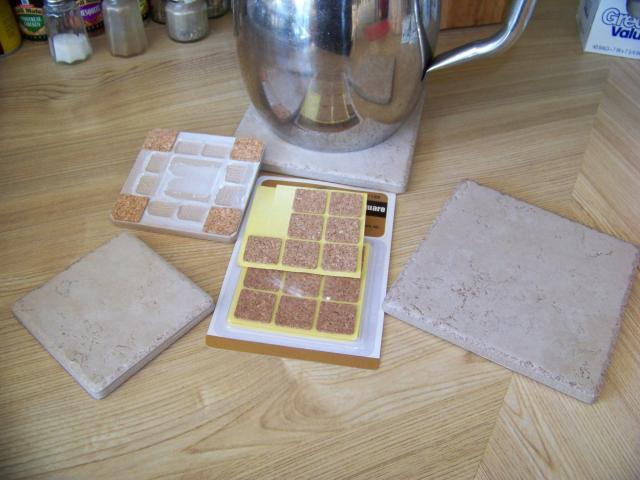
Ever thought "Wouldn't it be nice to have a full set of really nice matching trivets and coasters."?
Of course, as soon as you see the patern that might be nice in your house, you find out that the store wants $5 to $15 for each piece!!!
Check out the home improvement or tile store near you. I found these tiles in several sizes and they ran about 30 cents for the small ones, 65 cents for the larger ones, and $1.50 for really large ones that I will be making end table-tops with later. A 67 cent package of self-sticking cork pads.... and ta-da!
|
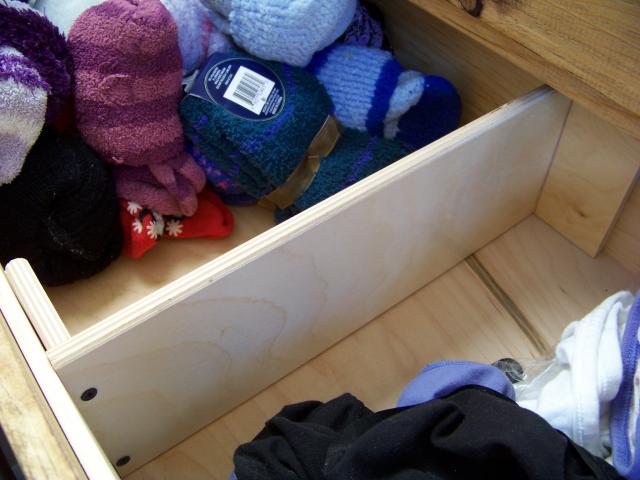
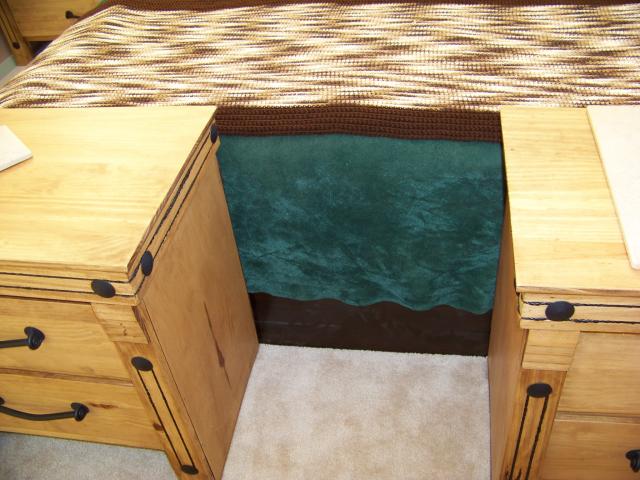
No wayward socks will be getting back there, and the side support will keep wayward kitties out from behind there, too.
|
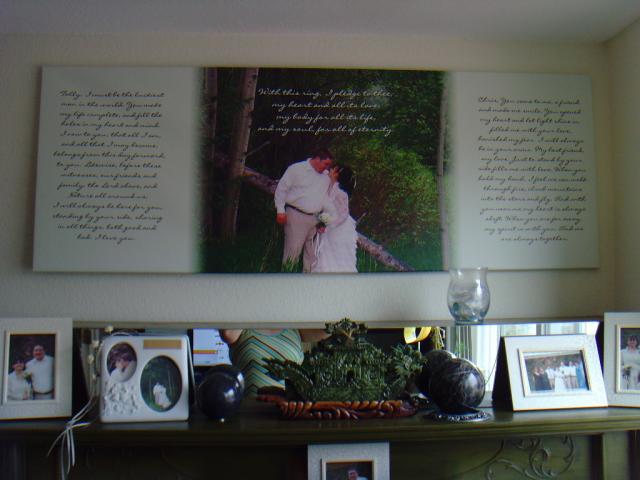
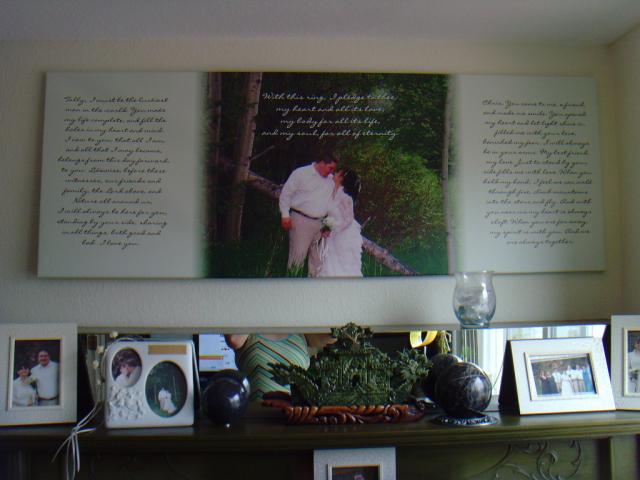
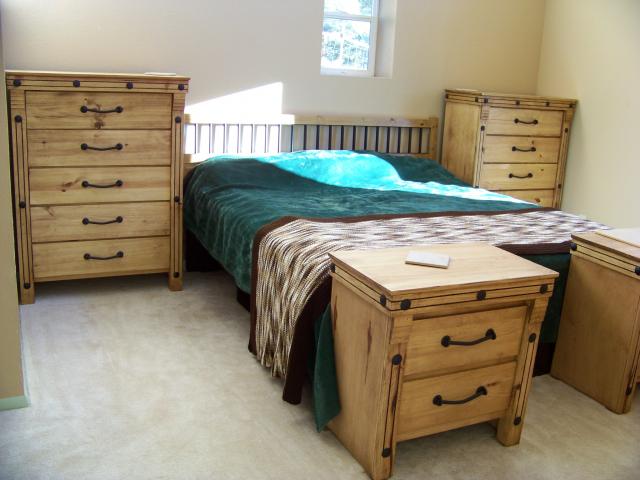
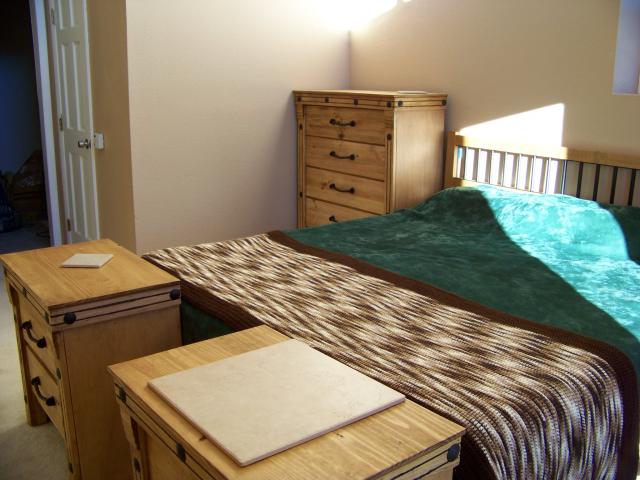
While we still need a few accent peices to give the room our "feel", it is really begining to be home.
|
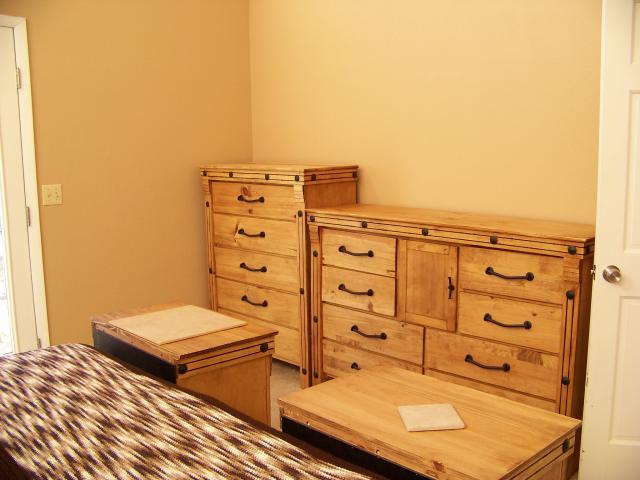
We made the bed frame out of these super dark cocoa extra heavy shelf boards. It is uber sturdy with a X center support. However, we need to get some sideways plug power strips before we mount the headboard to the frame. It will stick up about another 6 inches from where it is now.
|
Though the picture looks like a small path, the most narrow point is between the footboard drawers and the large dresser.... 3 feet! We are absolutly thrilled to have so many drawers and still have plenty of space to move around and open them!
|
I want to keep our furniture in as good of shape as possible, so I put cork pads on the bottom of tiles to make trivets and coasters that won't scratch the wood.
|
We will be installing a double kitty bed here attached to the bed frame (not the dressers). Maybe then we can have some of our foot room back from the cats.
|
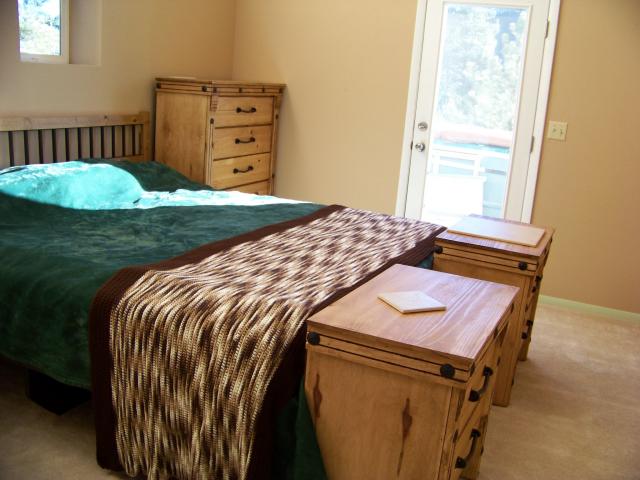
There isn't much space here, but I will be custom building 6 inch stands to go between the tall dresser and the bed on each side. Just enough room to hold the alarm-clock-phone and a bottle of water. Under the top shelf (made of matching tile) I will have a second shelf that can hold chapstick, cell phones, and night-time medicines and eye-drops.
|
Enlarge Video Screen
|
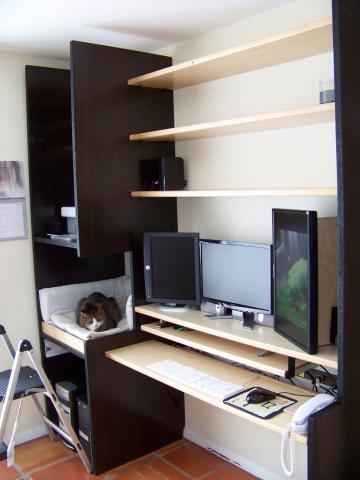
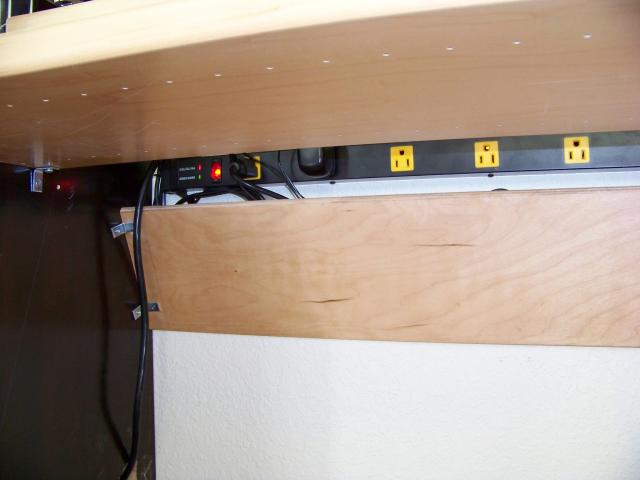
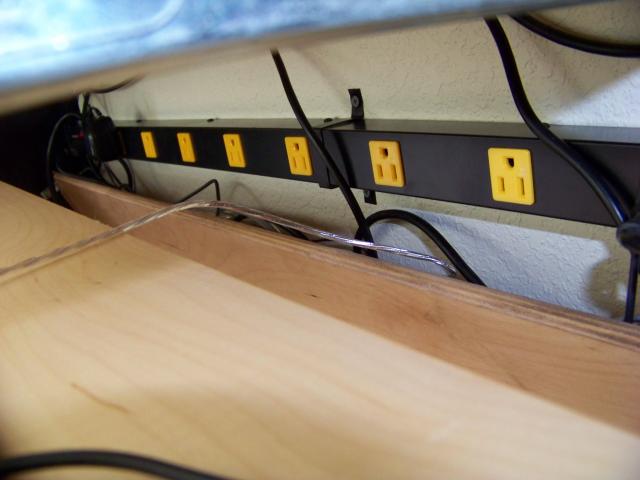
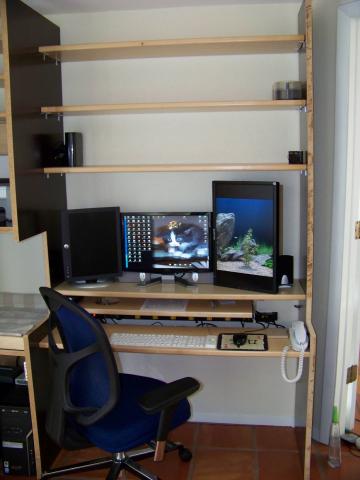
I have a long power strip for my monitors, speakers, and easy access for anything else I may need to plug in. The board underneath not only supports the 'square' for the desk, but also is set at an angle, so that cords can tuck in and not fall all around my feet.
|
|
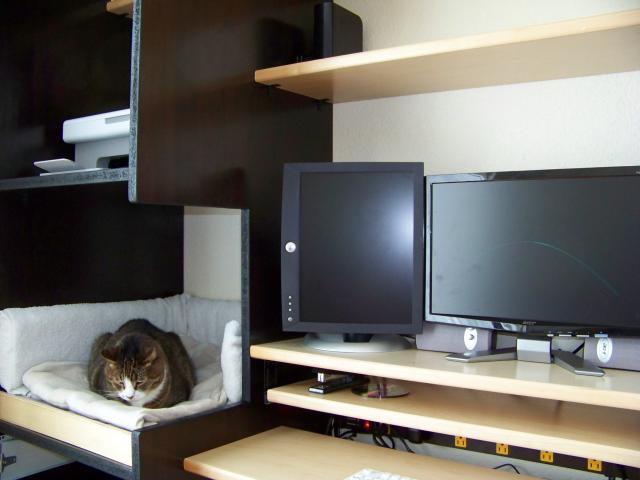
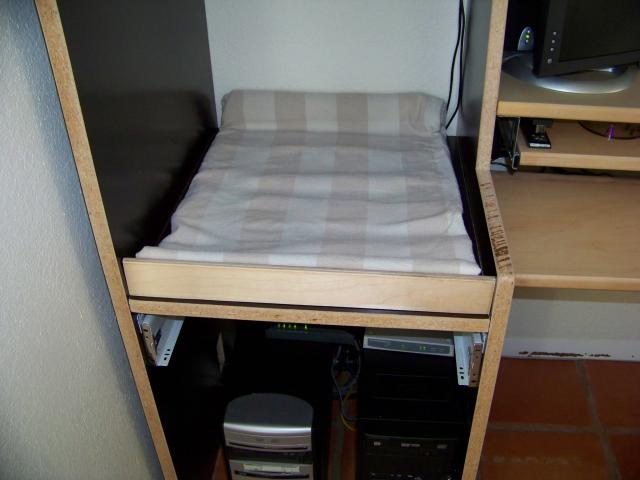
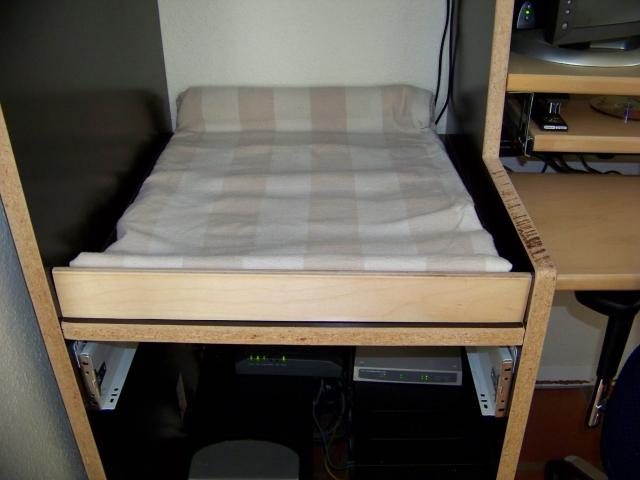
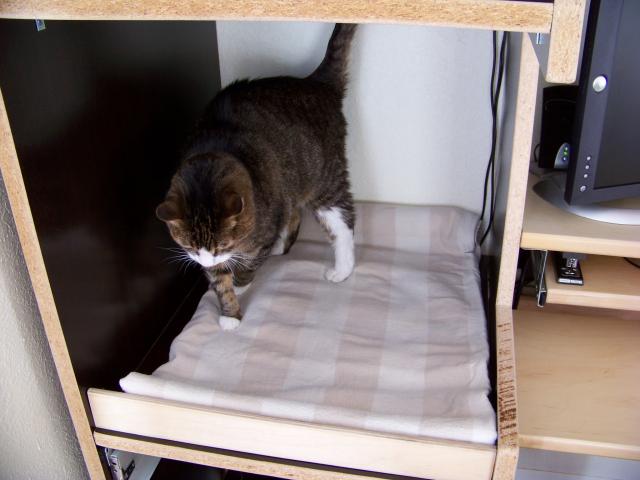
I will be making a padded cussion with sides to fit this area for a double sized cat bed. A small blanket will have to do until then.
|
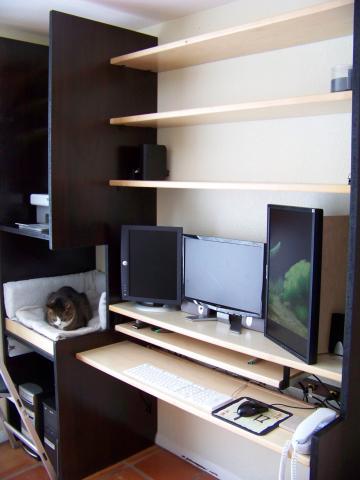
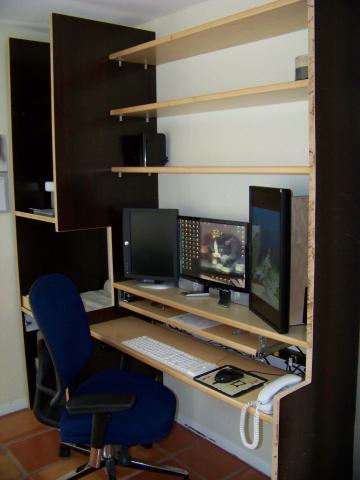
I now have my desk mostly together, though I still have a few finishing touches and to paint the edge of the dark colored boards.
|
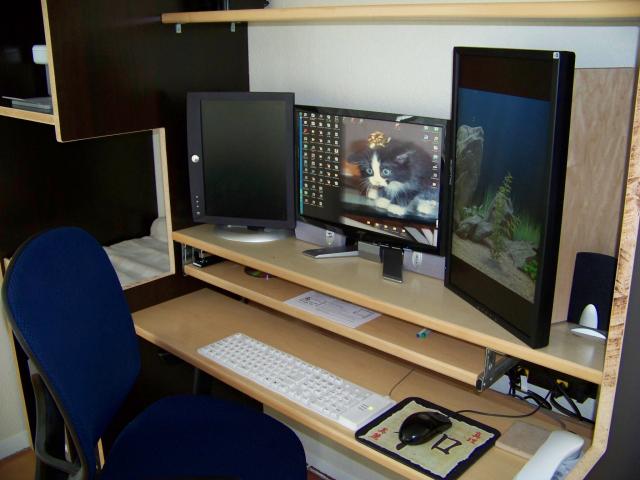
Chair space, typing space, writing space, monitor space, and shelves.
|
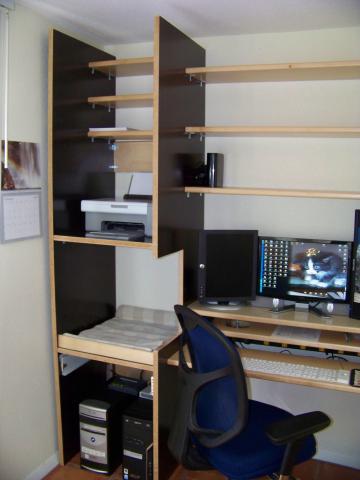
Computer space, drawer (needs finished), cat bed (needs finished), printer space, paper shelves.
|
I am typing much more than I am ever writing, so I got tired of having to pull out my keyboard tray all the time. In this desk, my keyboard area is fixed in place.
|
In an odd reversal of normal, my writing area is the one that slides out, so that it is out of the way when I am typing.
|
Over the computers and under the cat bed, there will be a 4 inch deep by 20 wide by 20 long drawer. I have the rails in place, but I have to cut boards for the front, back, and bottom. I will probably put some dividers in to hold pens and other office supplies in place.
|
|
At 25 inches, it is definitly taller than my lap... which is where he normally tries to lay when I am working.
|
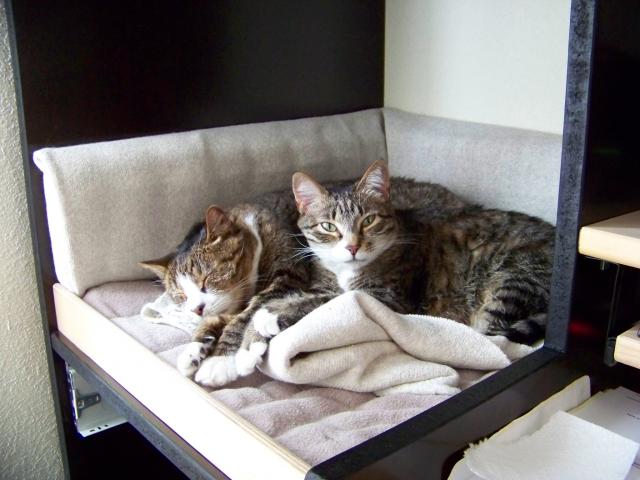
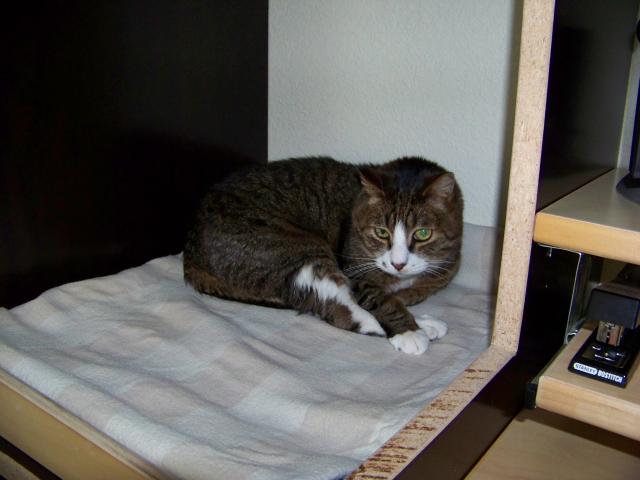
Already getting comfortable, Hamper seems to approve, and the bed will have plenty of room if Ten ever desides to join him.
|
I finnished off the cat bed with two inches of memory foam for the base and sides covered in sweat-shirt matterial. Now all I need to do is make a down filled comforter. LOL
|
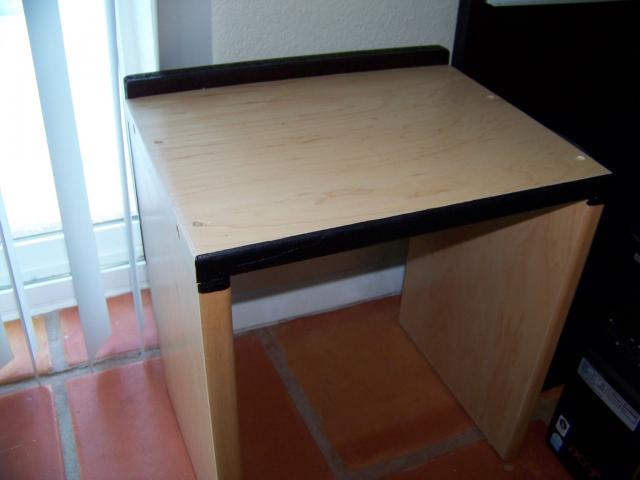
This nice stool makes a perfect step-up for Hamper to easily get into his bed. It matches the desk and doubles as a stool for me to reach the top shelves and is also the perfect height for an additional chair for company. How very multi-purpose!
|
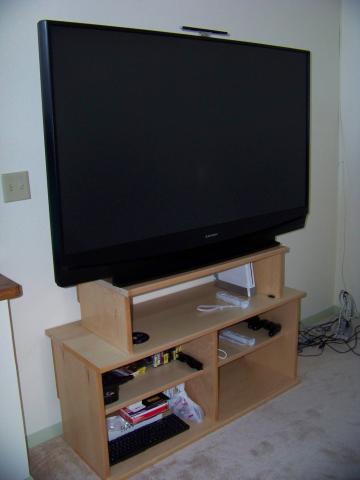
I decided if we used the TV mostly for doing Wii Fit Excercising, that we might as well raise the TV up more to be more at eye level, so I made an addition to the stand.
|
The additional section is not attached, so that if we decide we want to remove it, it will come right off.
|
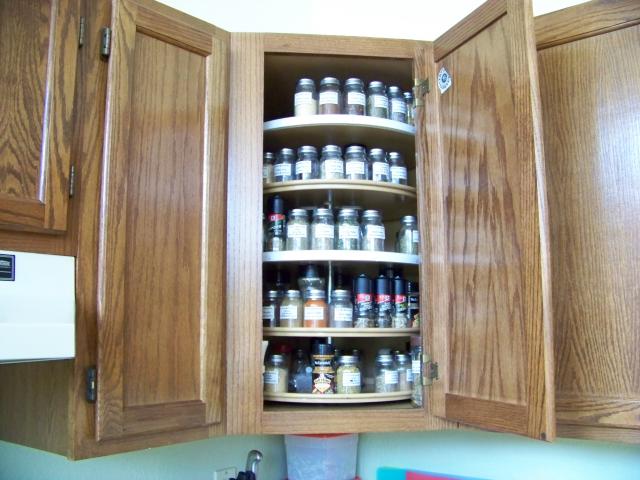
I had to build two of the shelves for this since it only came with three, but it spins so smoothly that it is a joy and will hold a ton of spices... of course, we only have room for about 20 more. Each shelf holds about 25 spices.
|
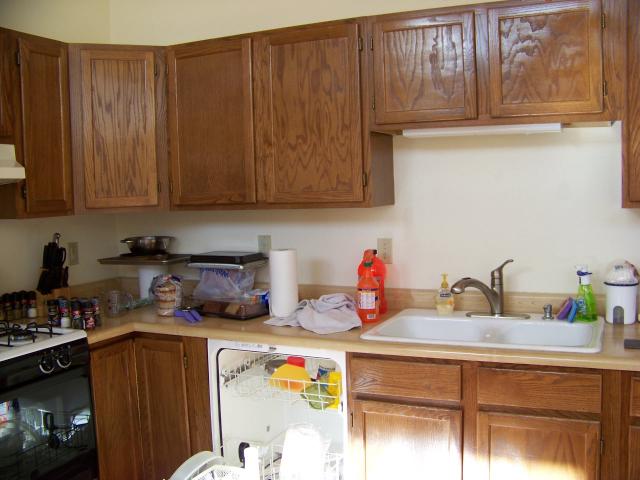
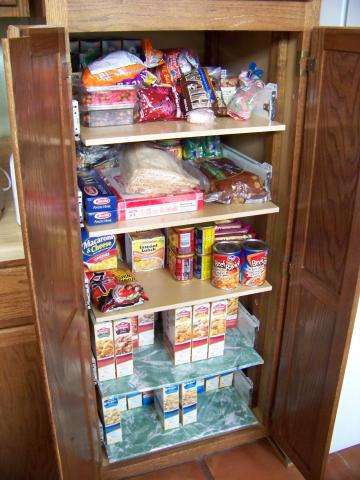
This deep cupboard had a lot of room, but you could not see anything but what was right in the front. I cut the three shelves and added two more and put them on drawer slide kits that we got on clearance at Home Depot.
|
I added side supports that are very strong to hold a lot of weight. They don't slide out 100%, but it is enough to see to the back and know what is there and also allows more shelves so that the room is fully used.
|
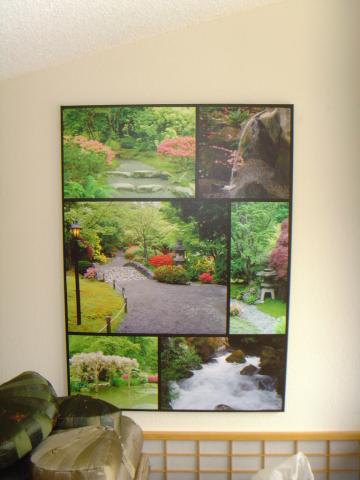
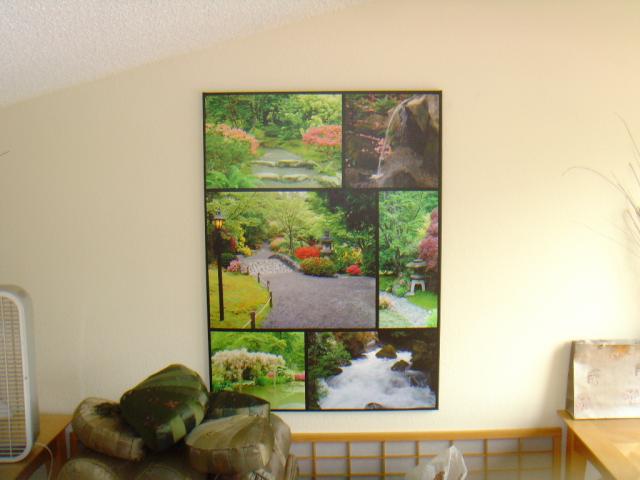
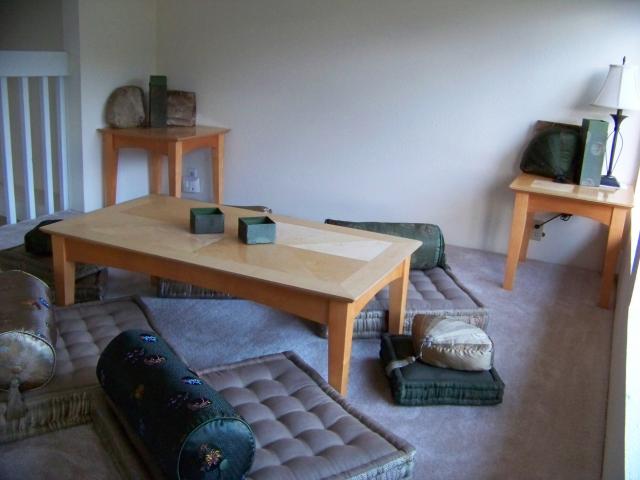
The "Tea Garden" in the loft still needs the "Garden", but here is a look at the tables and cushions.
Plants (probably tomatoes and spinach) will be built into racks along the banister and possibly along the back wall too.
|
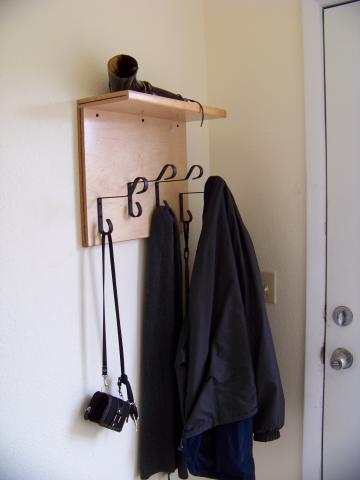
This is the coat rack I made for the entry-way. Most of the coats go in the closet, but this allows a place for them to dry if they are damp. Holds scarves and my purse, too.
|
I raised up the lower shelf of my baker's rack, so that the cat food/water area could be placed under it. The dish on the right is a starter of cat grass… maybe if Ten has some grasses that are good for her to chew on, she will stop eating all my plants and puking them everywhere. At least I can hope. However, the seeds don't seem to be growing… it may be too old as the package I used was from about 10 years ago and nothing has started to sprout yet.
|
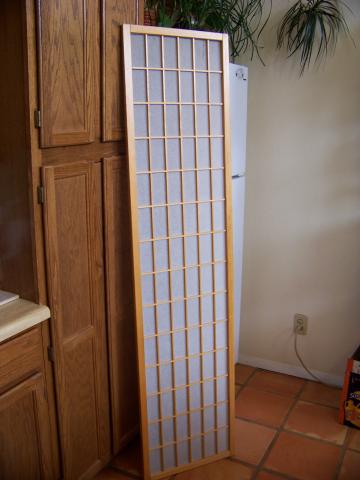
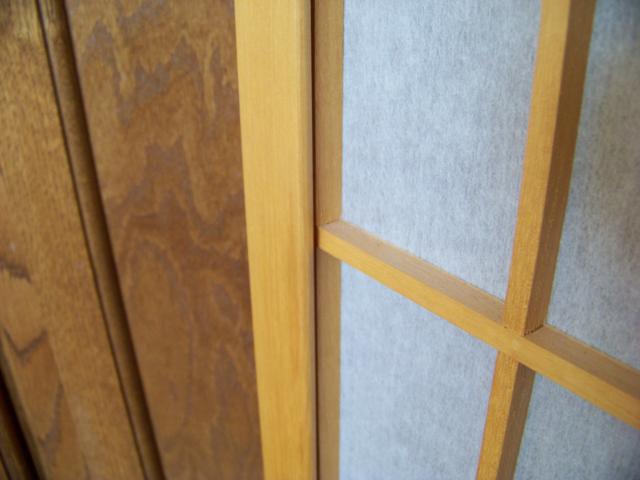
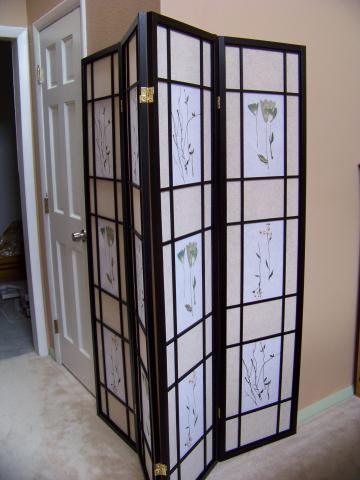
This is my new 4 panel screen. We will be using it in the bathroom once the bath is finnished.
|
This is Chris' desk in progress. I can't finish it until we get the file cabinet up here and placed to the right… then I will know how much room on the left is available for the last support and shelves.
|
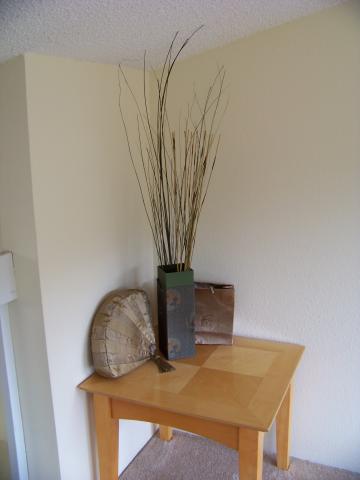
I found some nice reeds at the dollar store to help decorate the tea garden with.
|
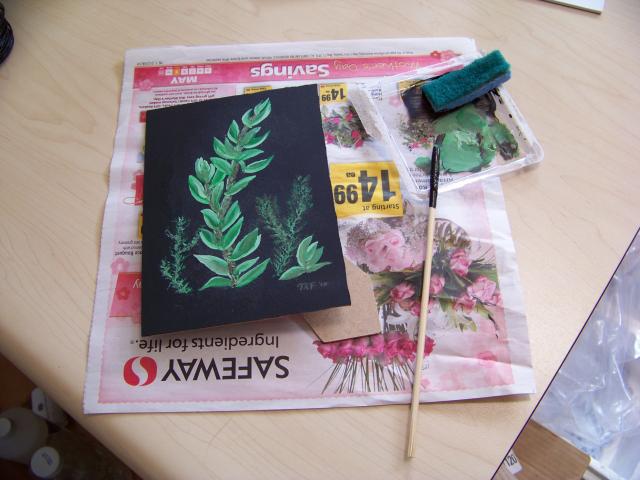
Well, I finally found frames that I like for the small killifish paintings that I purchased from the Colorado Killi Club. They look great, but I couldn't remember how many I had, so I ended up with an extra frame.
Not able to let it go to waste, I tried my hand at "one stroke" painting to paint some aquatic plants to go with the fish paintings. So I painted the backer-board that came in the frame black with a sponge and let it dry over night.
|
Of course, I have all my paints up here, but for some reason none of my paintbrushes, so when I have needed a small brush, I have been cutting sections off a house-painting brush and taping it onto a bamboo skewer. Works good for touch-ups around the house, but my attempt at a painting a real painting ended up more "major live threatening stroke" than "one stroke".
|
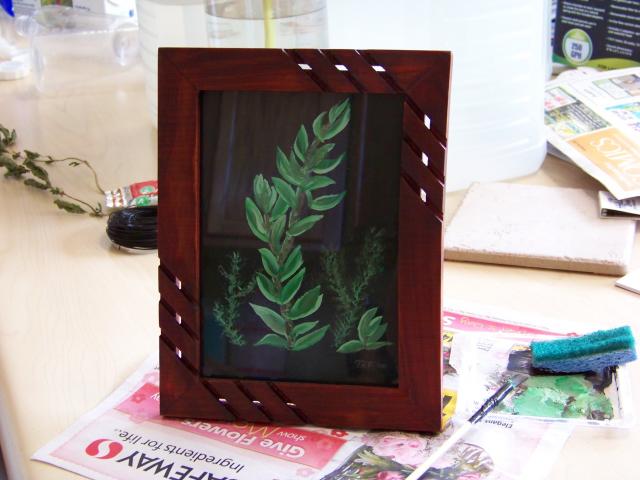
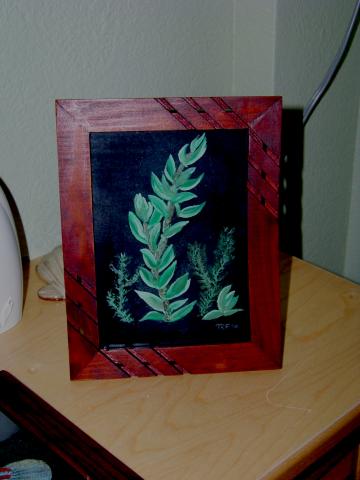
I re-painted the backer black and tried again with a brush made from cutting a section of my hair (it needs a full haircut anyway) and taping it to the skewer. It worked out a lot better, but the leaves of the larger plant should be much smaller, so I may try again when I get my brushes up here.
|
|
|