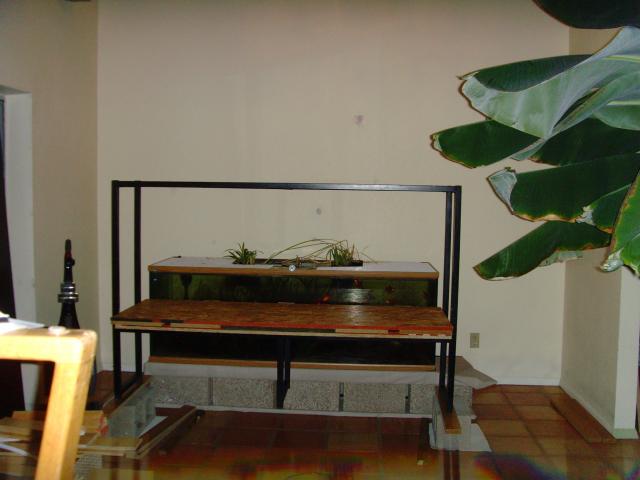
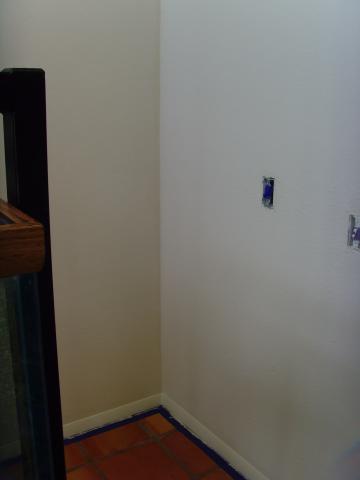
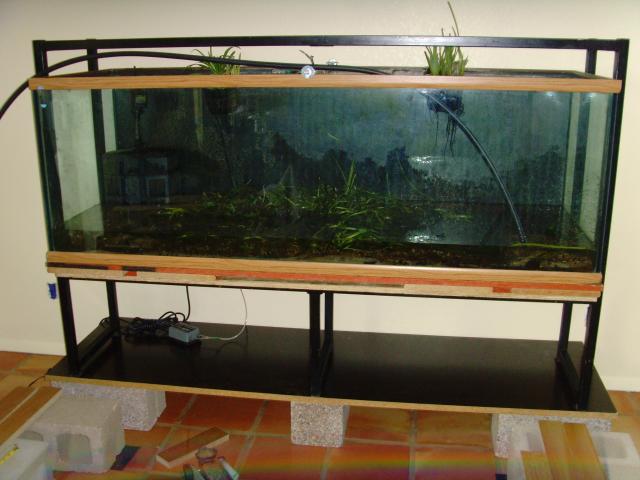
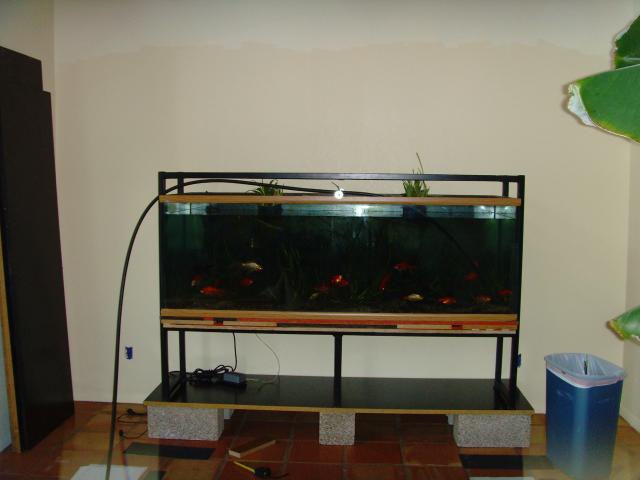
Our Goldfish "Pond" was only about 10 inches from the floor, and could not be seen very well from the dinner table that was in front of it, so we decided to move it to a taller stand.
|
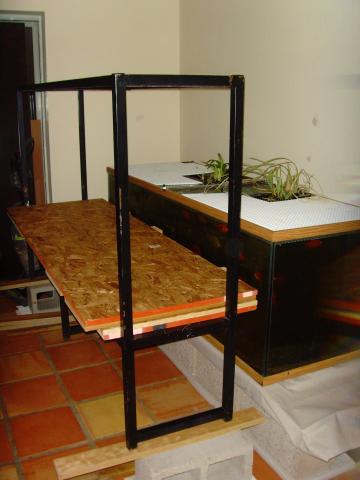
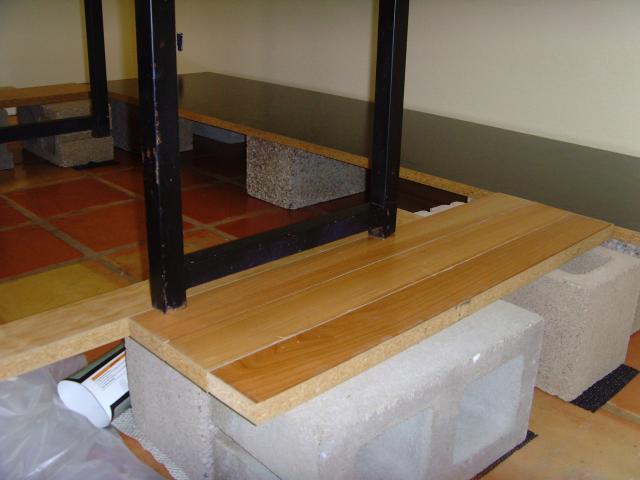
We prepared the stand in front of the tank.
|
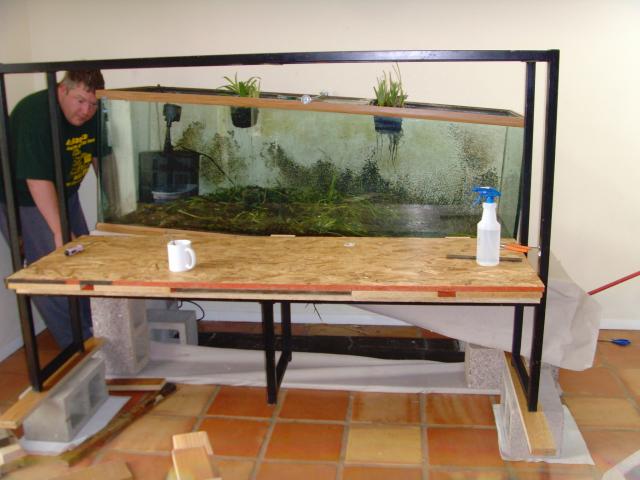
Then it was time to catch the fish and drain the tank as much as possible.
|
|
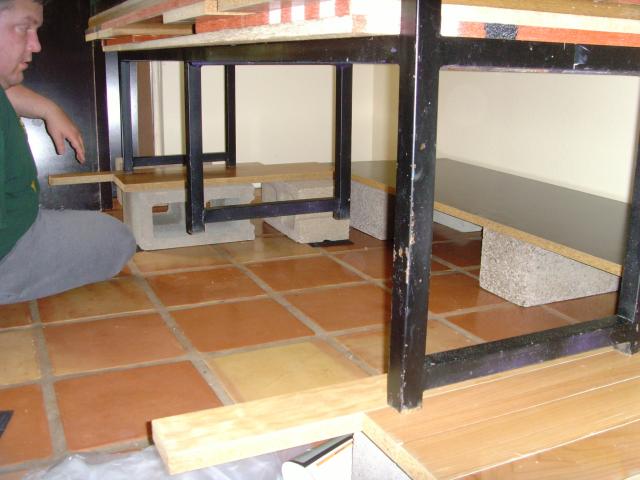
Chris steadied the tank as I jacked-up one end and then the other and placed bricks underneath.
|
Our new (used) floor-jack really came in handy.
|
Only one brick height was added to each side at a time, so it took several turns to get the whole tank to the right level.
|
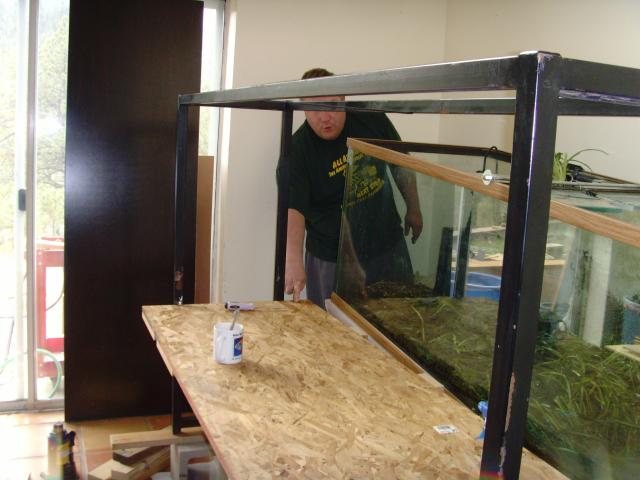
Then we slid it onto the stand.
|
We planned ahead for painting the wall behind the tank before moving it into place.
|
We painted high enough so that we could paint the rest of the wall after the tank was in place.
|
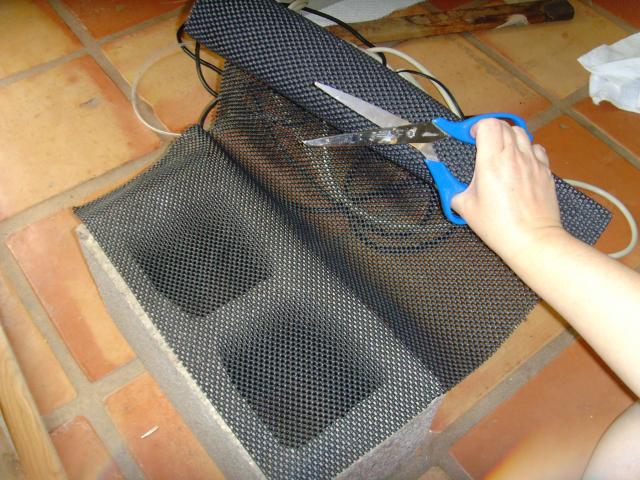
I cut carpet/shelf mat to the size of the bricks so that we could protect the floor where bricks would sit.
|
|
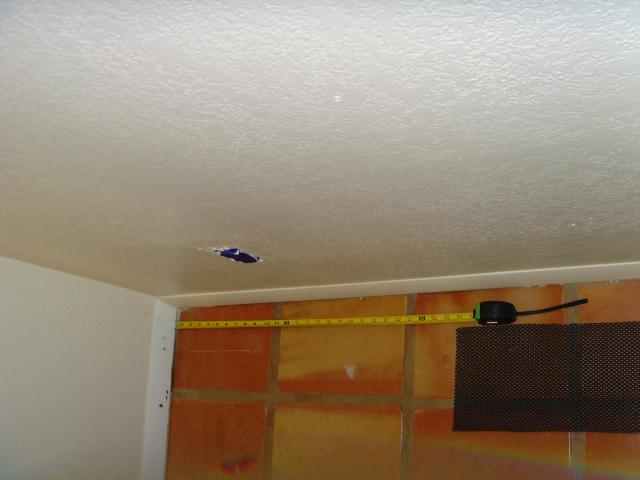
Then measured from each wall to get the bricks centered.
|
Then we placed boards from the bricks to the stand board to slide the tank.
|
A few moves at a time on each side with the jack's pipe, and the tank was in place.
|
Time to fill up!
|
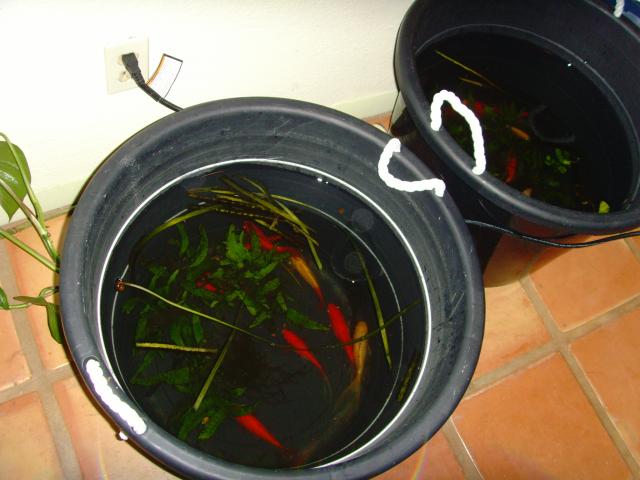
Fishies are doing well since we added some of their new water frequently to their buckets while we were working on the tank stand.
|
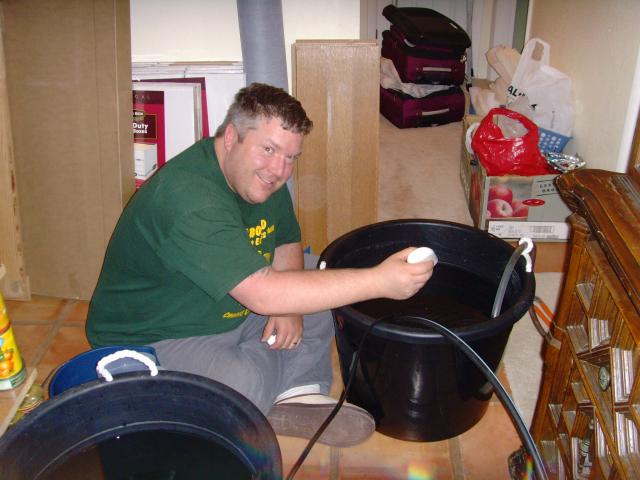
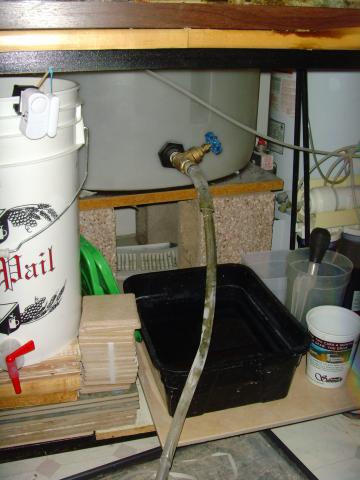
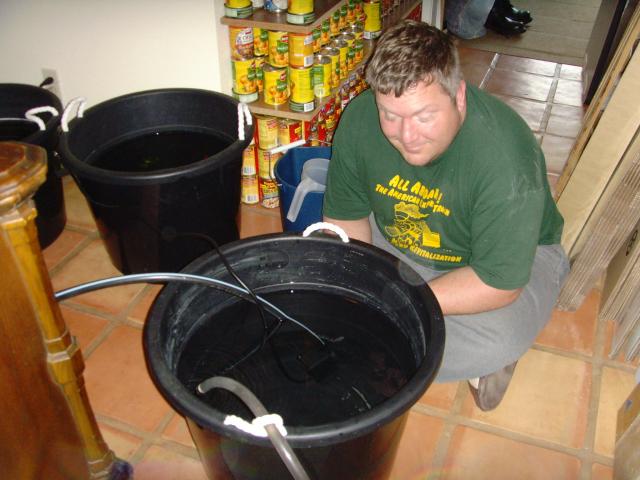
Chris is watching water levels since we had to drain water from a holding tank into a big bucket, then pump from there to the tank.
|
We added baking soda and water hardeners over several days to our stored water until it matched very closely the Goldie's tank water.
|
Drained from storage to the bucket.
|
Then pumped from the bucket to the tank.
|
Ready and time for the fishies to go back in.
|
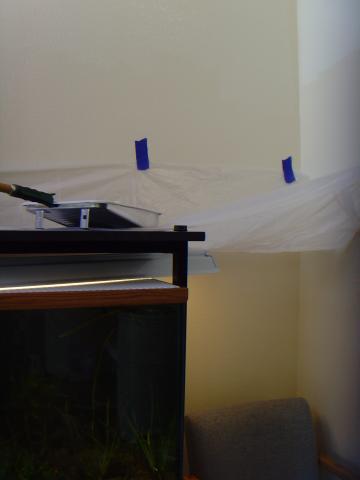
Top trim was painted with a nice quality angle brush before rolling the rest of the wall.
|
We taped drop cloth to the wall to prevent drips.
|
|
I had a nice office desktop with a rounded edge, and we decided to make it our table.
|
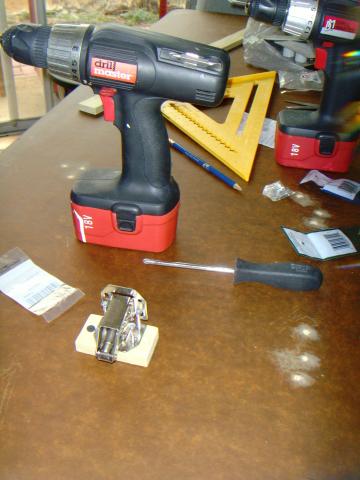
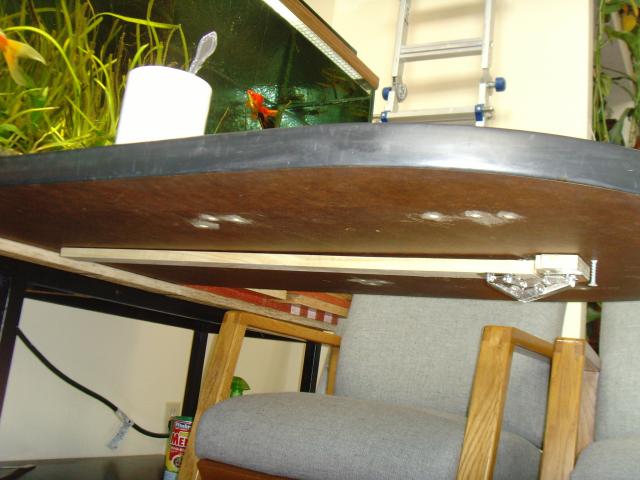
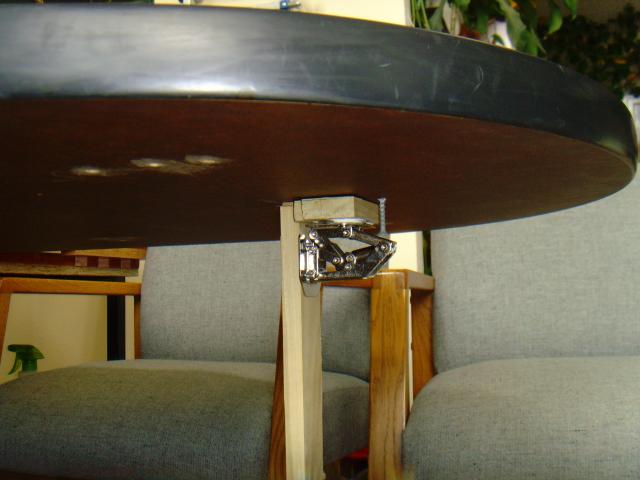
I found a special hinge to attach a foldable leg to the table end.
|
|
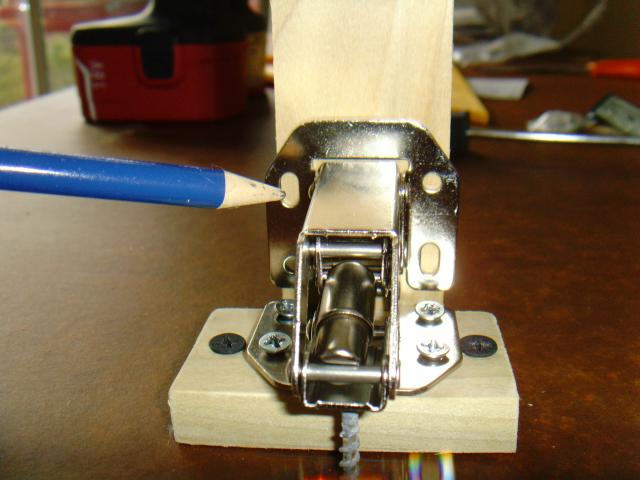
The hinge folds flat to the table when one way.
|
But sits the wood leg firmly to the table when folded the other way, so no weight is pressing on the hinge when the leg is open.
|
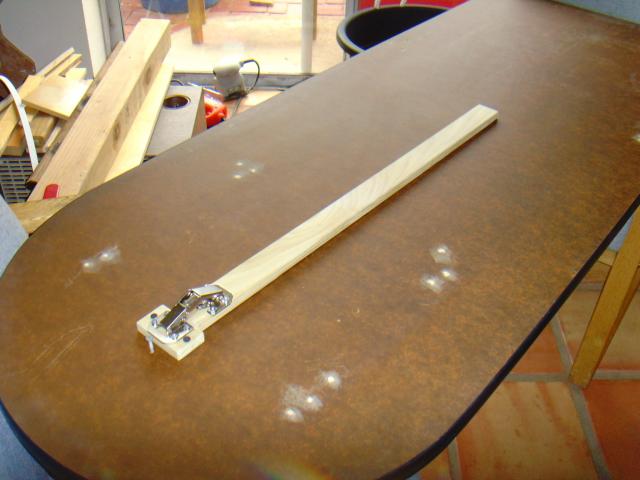
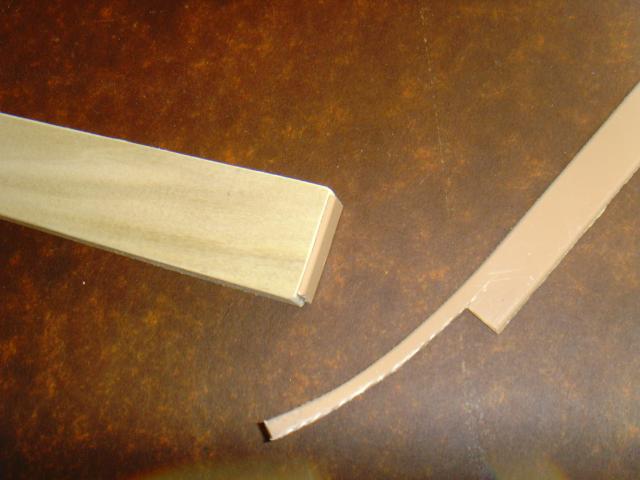
I glued some plastic board trim to both ends to provide a smooth contact to the floor and tabletop.
|
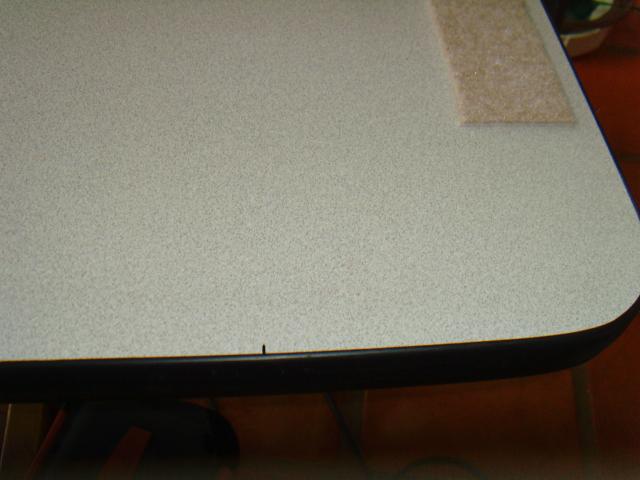
Back end is marked to show the maximum extension for the tabletop.
|
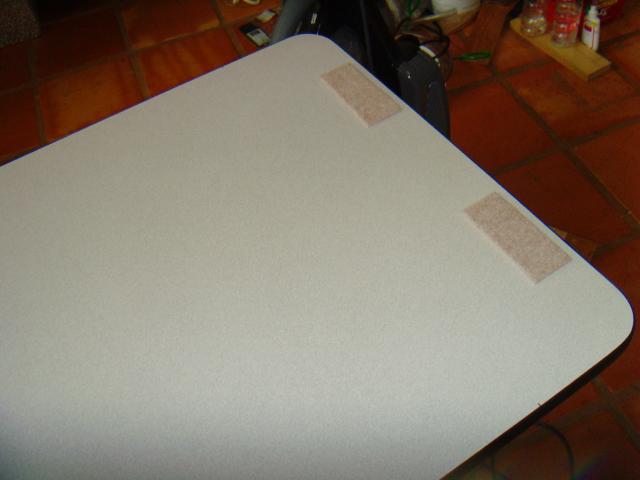
And two big felt pads are added to the back to provide for smooth sliding against a smooth surfaced board in the table 'slot'.
|
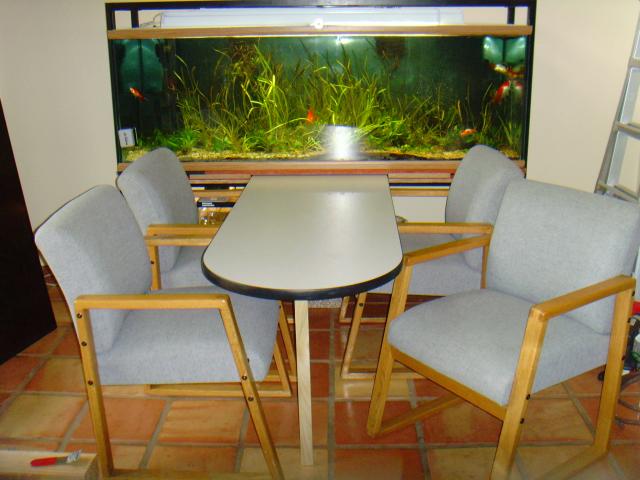
A perfect (if a little narrow) two person table...
BUT WAIT!!!
|
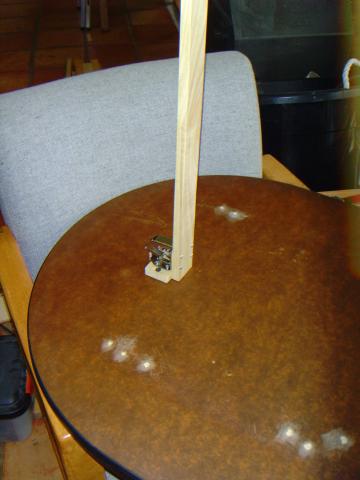
A little tug and flip down the leg and it slides out to be a perfect FOUR person table!!!
|
A view of the leg folded up.
|
And the leg down.
|
A little (or a lot) of trim work, and we are done!
|
|
|
|
|
And while we are at it, we might as well trim out the L shaped fish 'island' that separates our dining and living rooms.
|
|
|
|
|


_L.JPG)
_L.JPG)
_L.JPG)
_L.JPG)
_L.JPG)
_L.JPG)
_L.JPG)
_L.JPG)
_L.JPG)