|
|
|
|
|
|
|
|
|
|
|
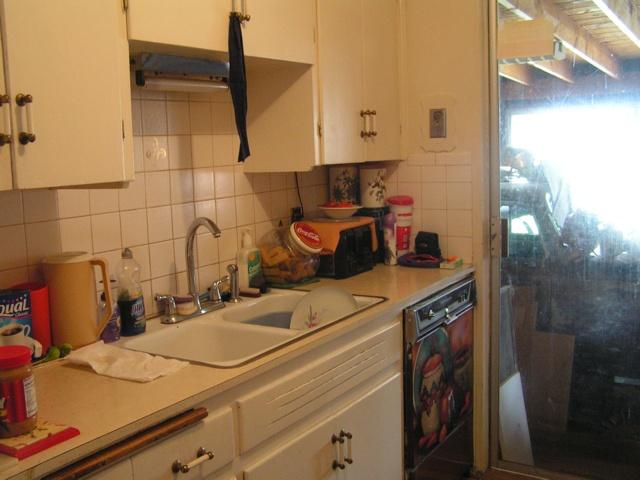
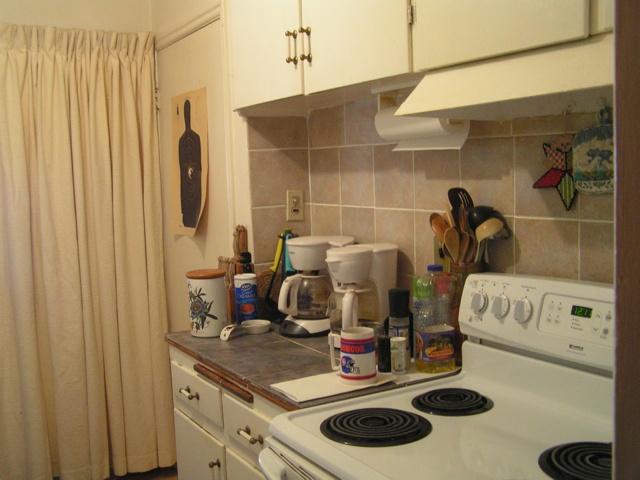
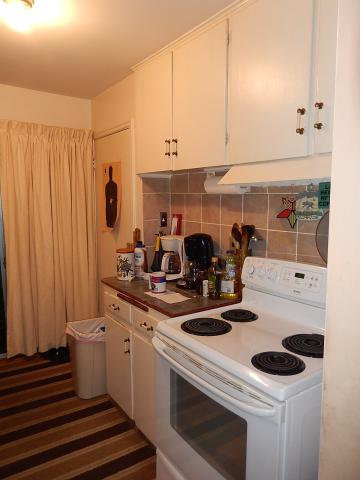
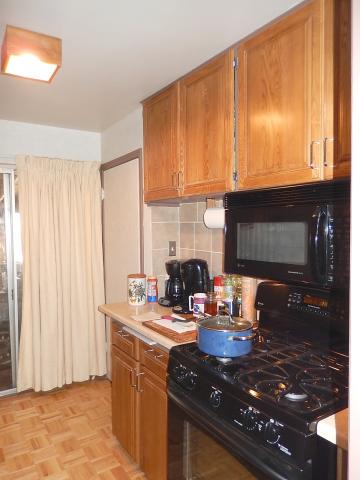
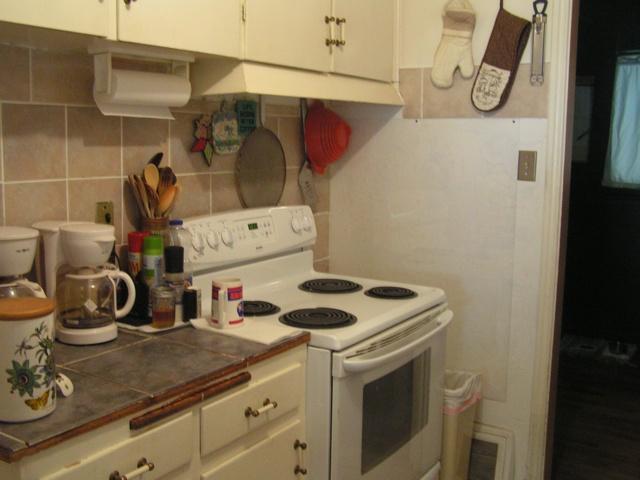
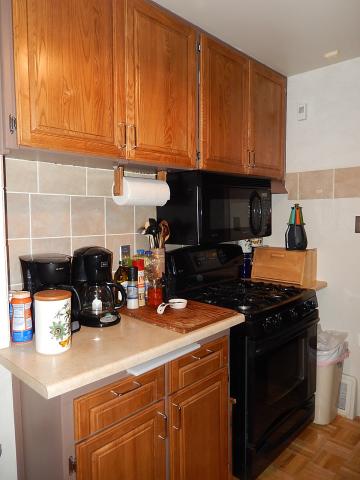
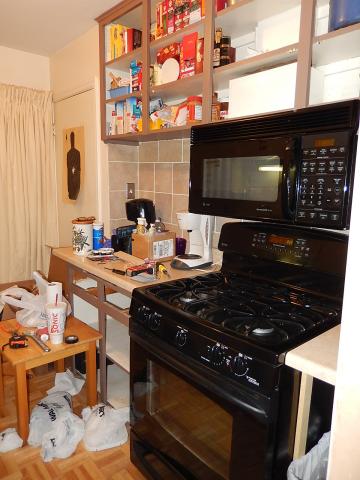
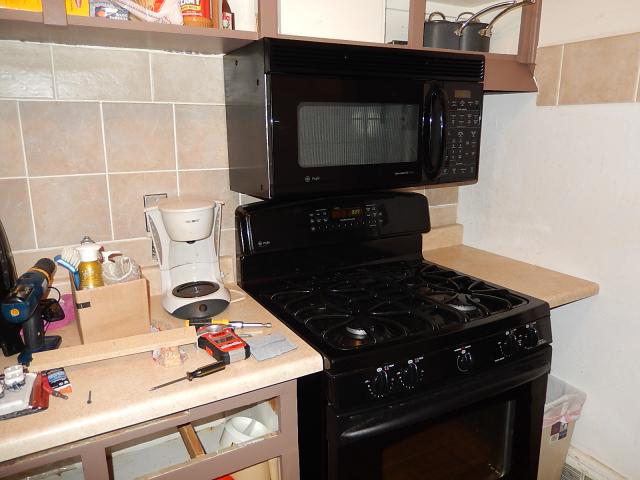
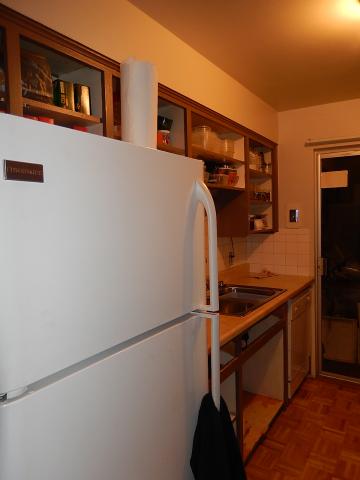
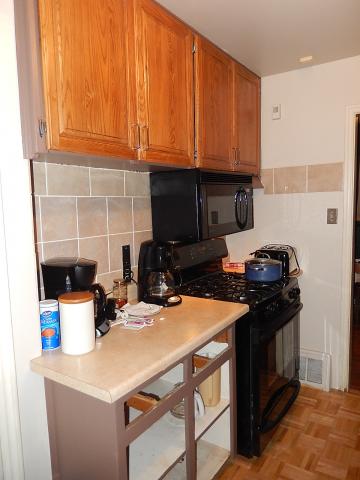
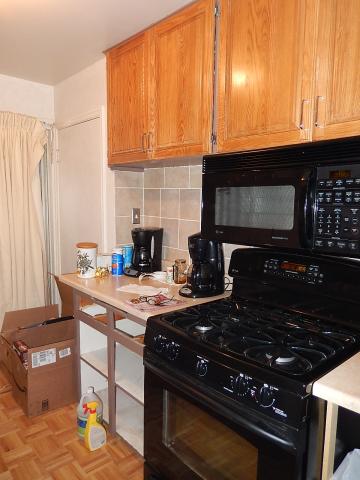
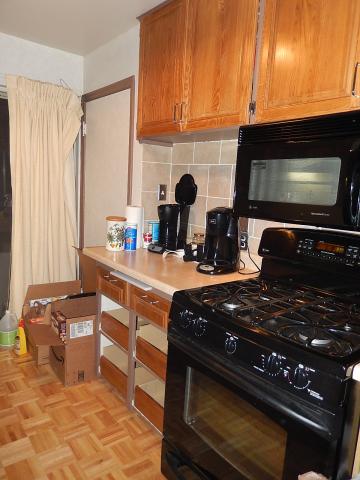
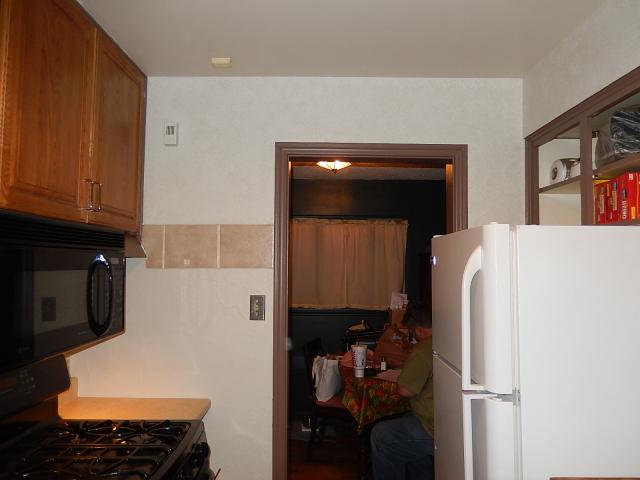
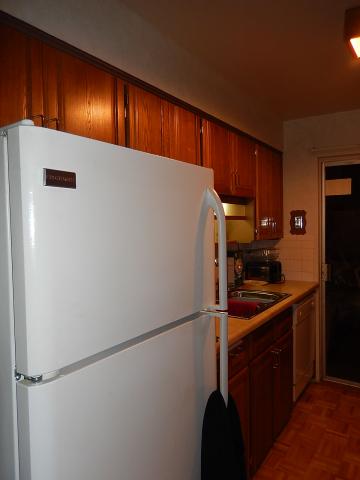
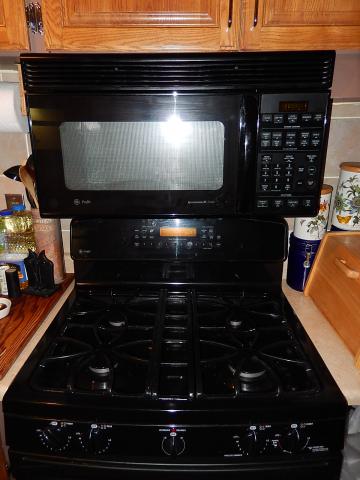
First step... replacing stove and installing over-the-stove microwave.
|
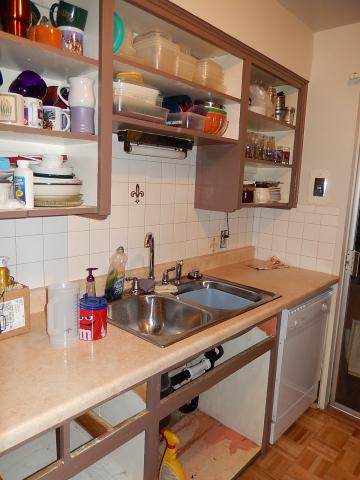
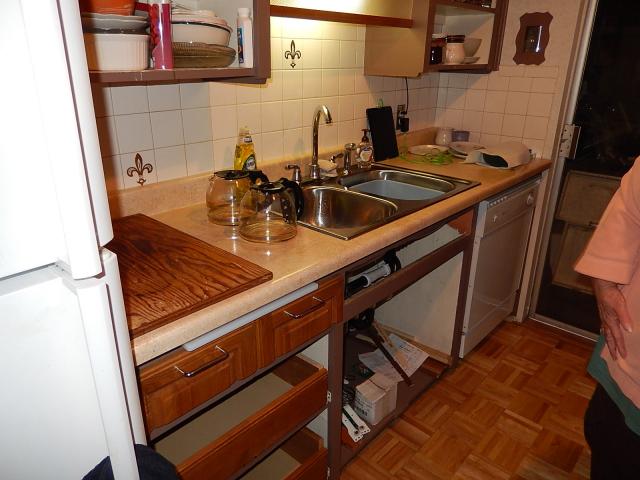
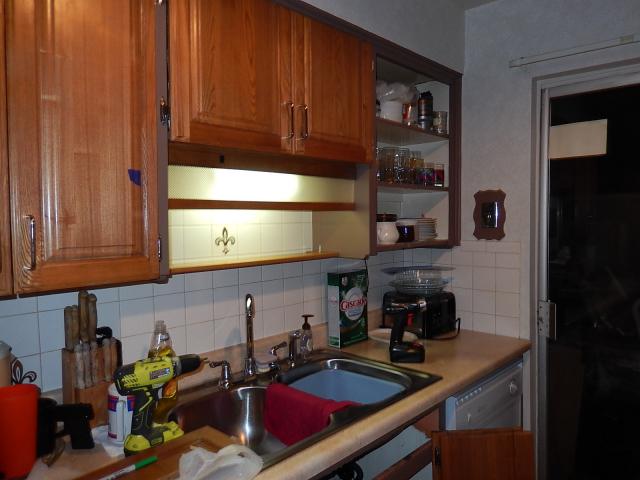
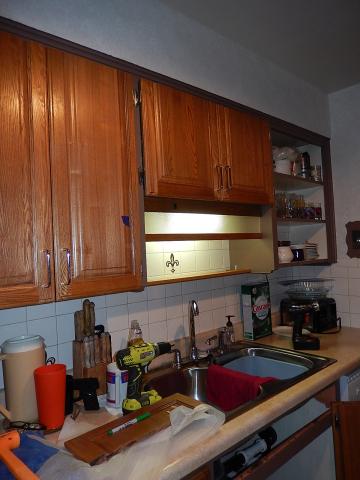
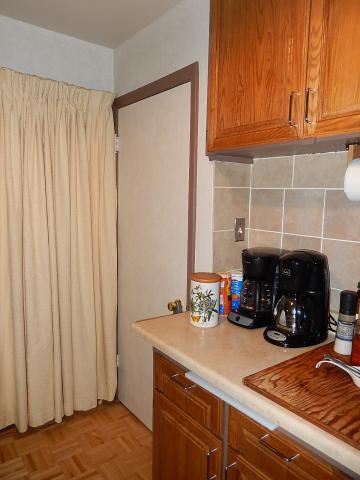
Counter tops installed over the existing old counters and an additional piece installed to the right of the stove.
|
|
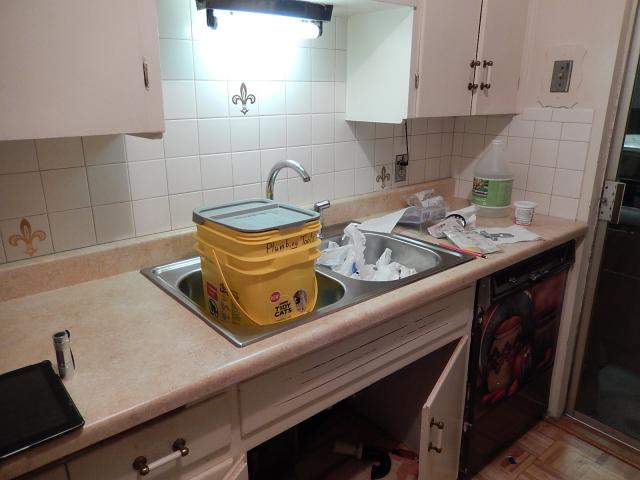
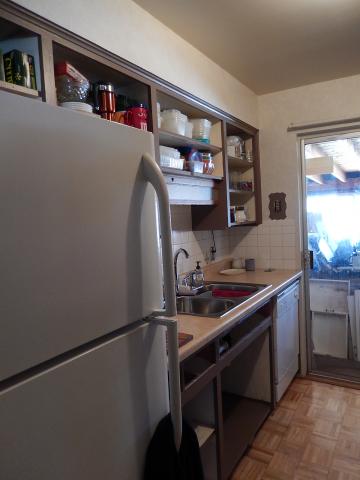
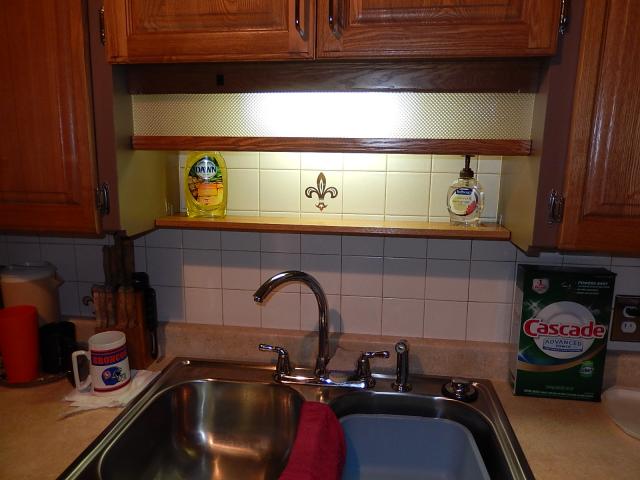
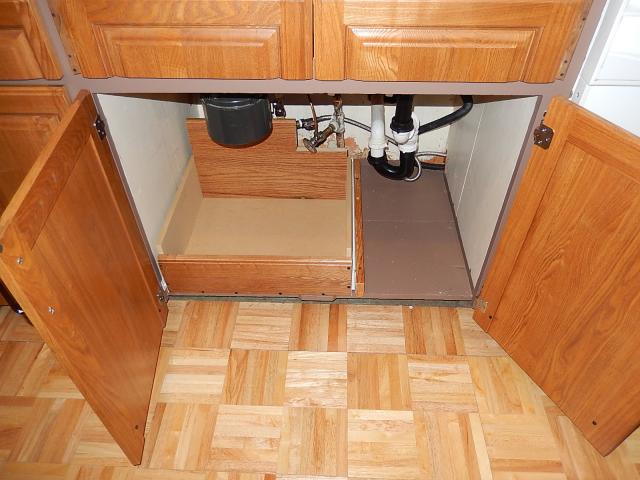
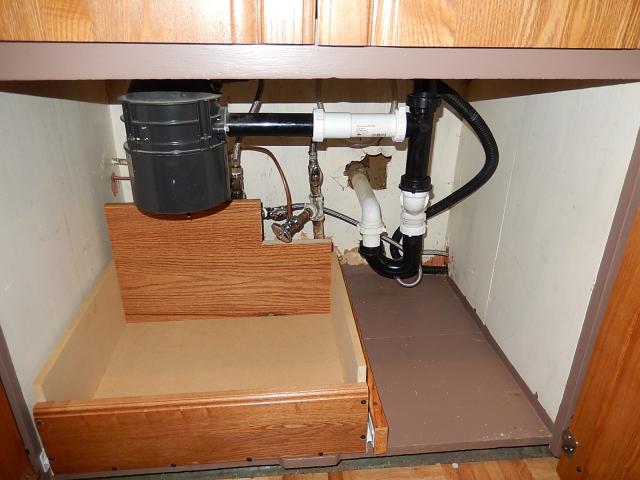
Chris installed the new sink and re-did some of the plumbing.
|
|
|
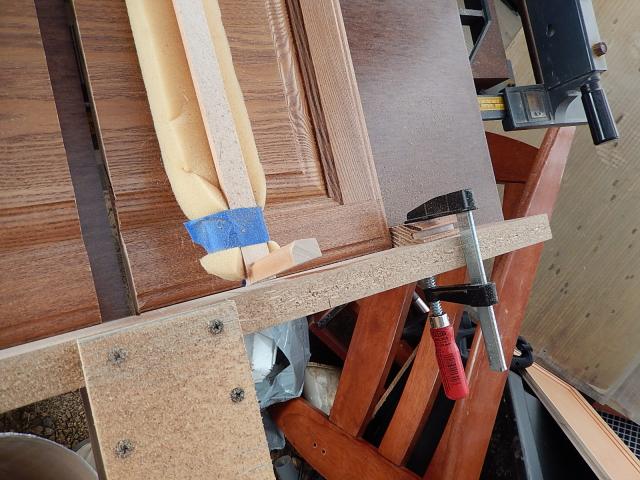
Tape labels made sure cuts were done right for each needed door.
|
Chris had measured all the doors and drawer faces as well as the openings so that we could find doors that would be able to be cut to fit right.
|
Drawer faces would be cut from the top of doors.
|
|
Eye protection and dust mask made cuts safer and easier... and a smock helped keep the sawdust off my cloths.
|
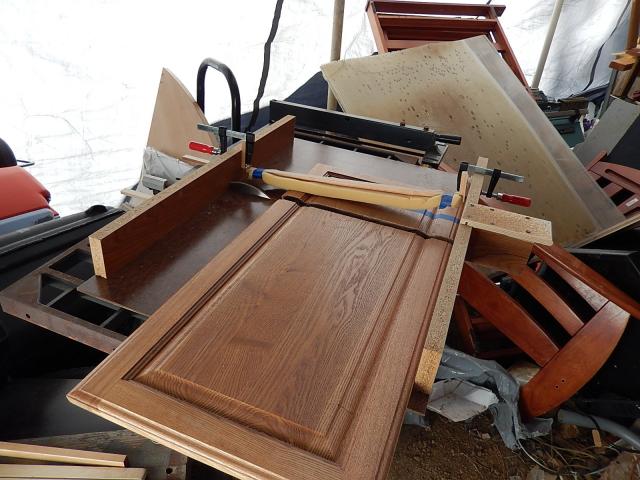
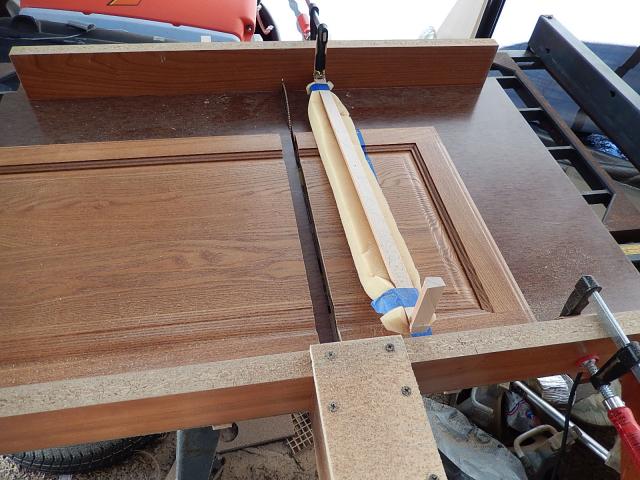
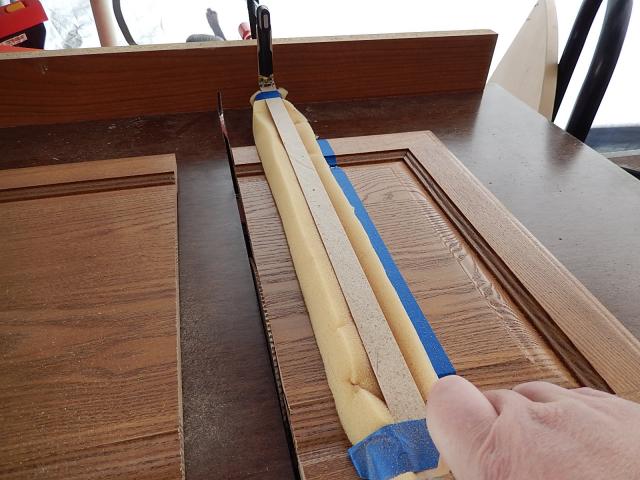
My table saw 'sled' made cuts quick and easy
|
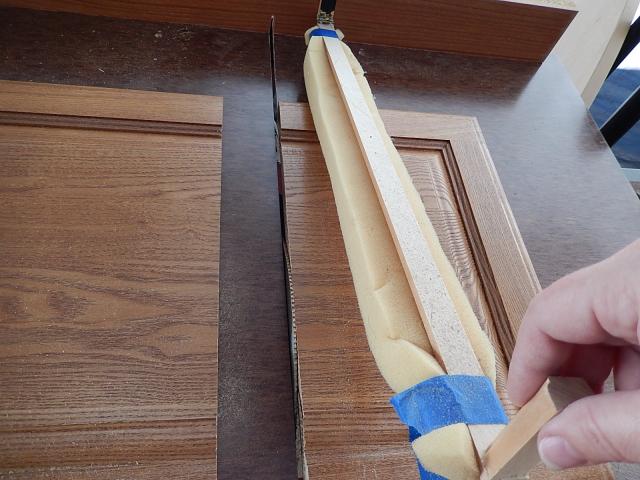
I also made a quick hold down bar with foam to keep the door pressed firmly to the sled without any risk to fingers.
|
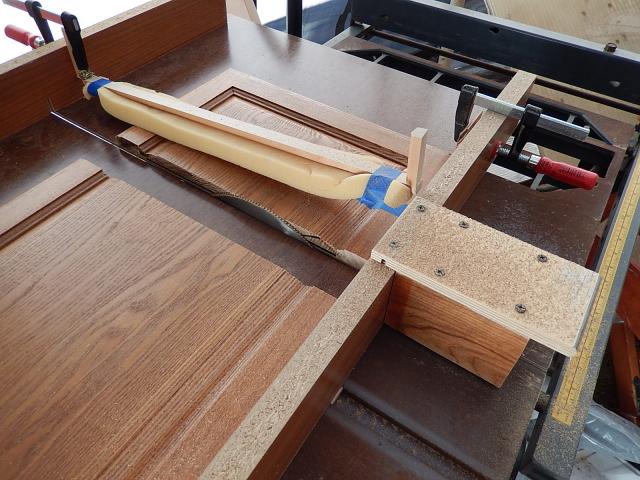
A stop-block made multiple cuts all exactly the same.
|
A guard on the back of the sled protects fingers from getting anywhere near the saw blade as the sled passes over it.
|
My press down is hinged on one side so that it lifts quickly to put in a new board.
|
A little pressure to hold it down and hold the fence at the same time keeps the board from lifting as the saw blade cuts.
|
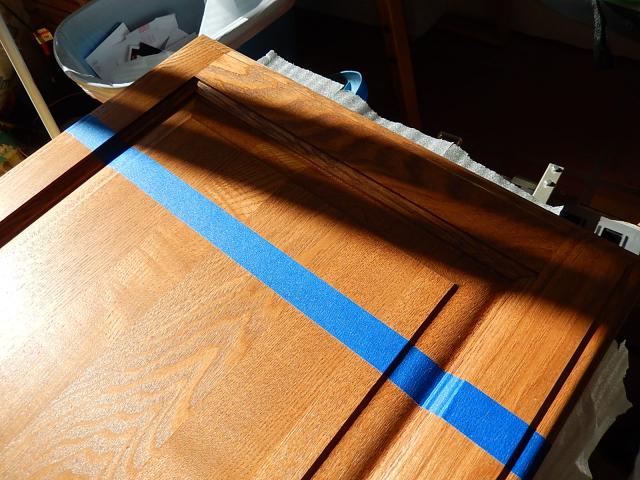
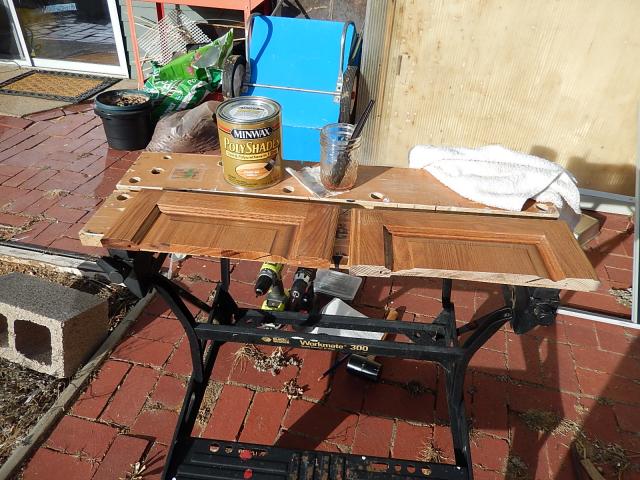
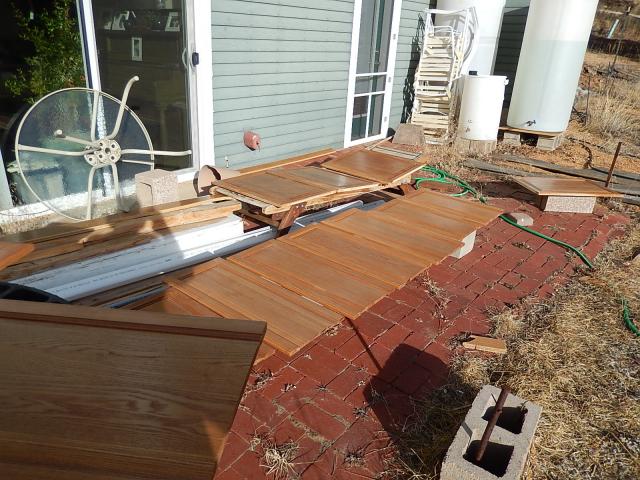
Colored polyurethane made quick work of matching the fresh cut edge to the rest of the wood.
|
|
|
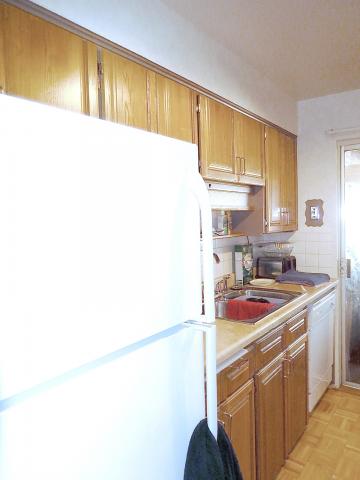
Doors are looking good, though spring hinges made hanging them a challenge.
|
Doors for the other side will need trimmed along the edges to have a better fit.
|
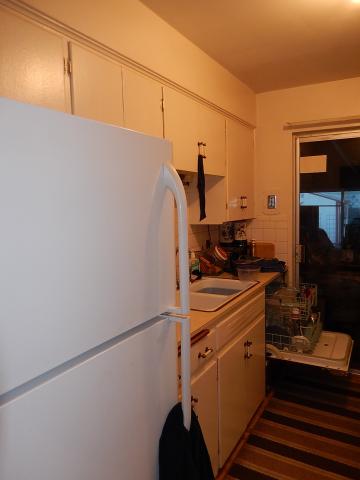
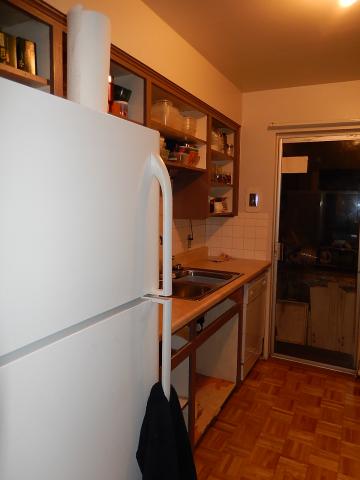
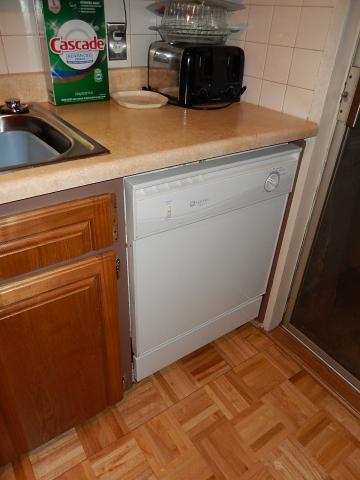
Newer dishwasher is installed... and more plumbing work done by Chris.
|
|
|
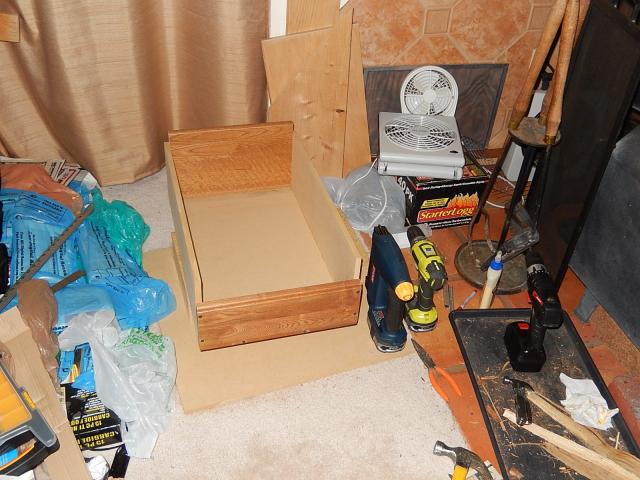
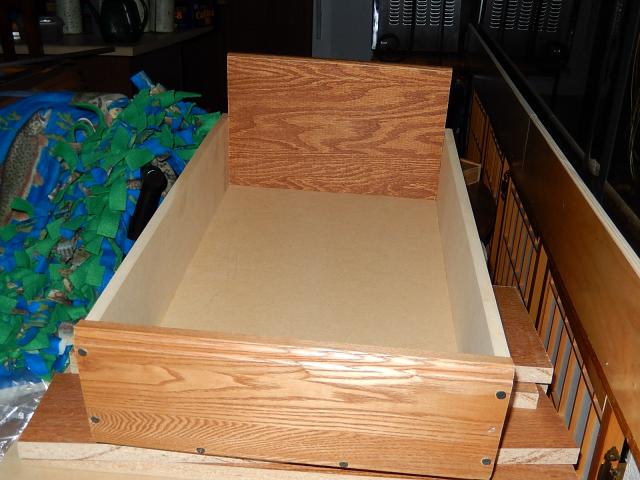
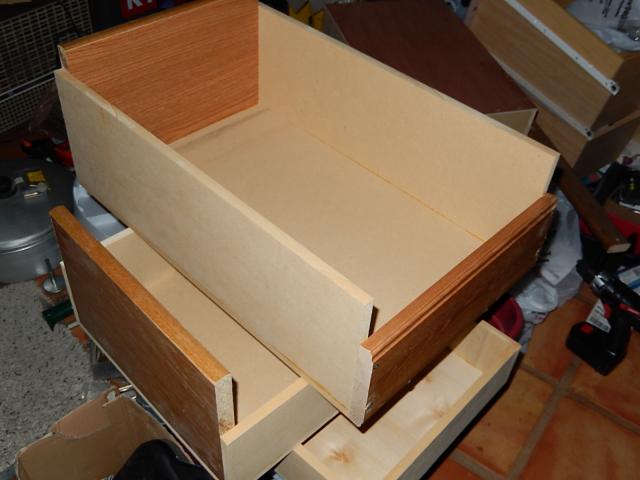
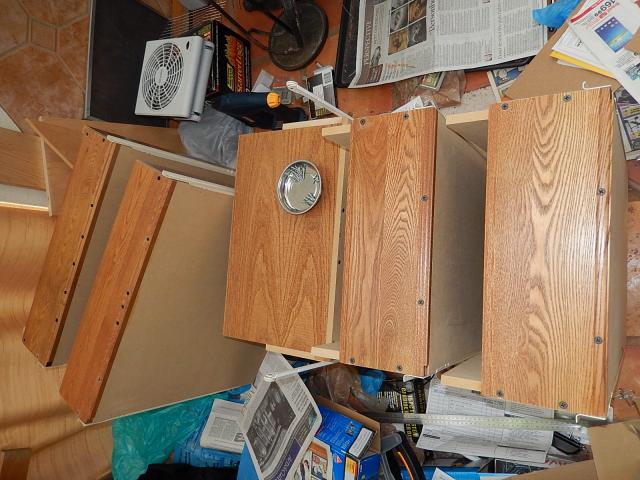
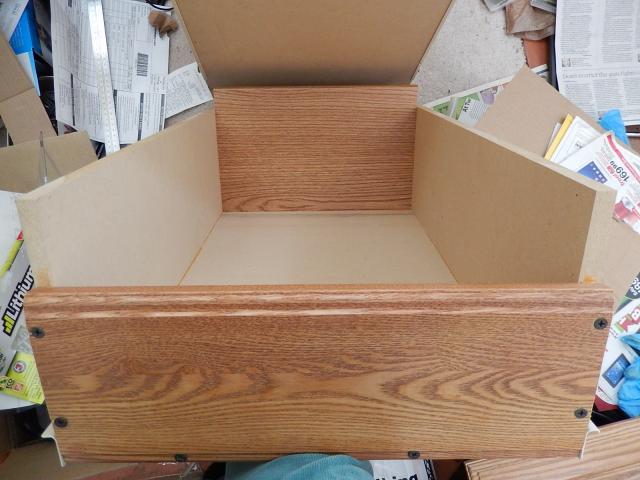
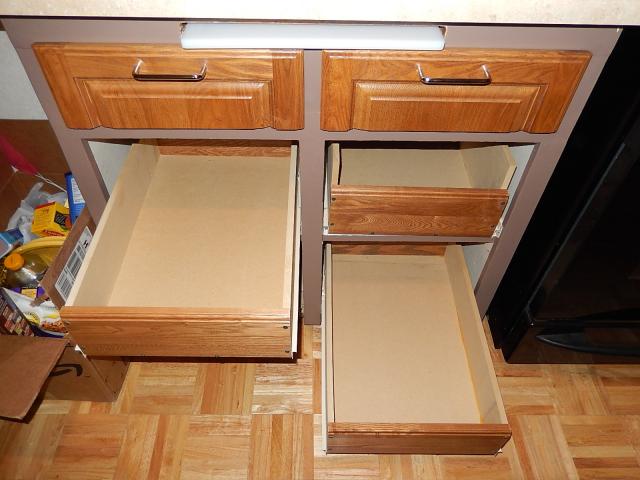
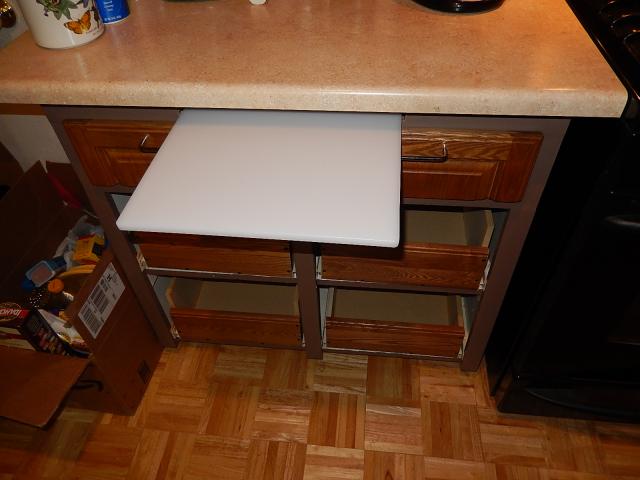
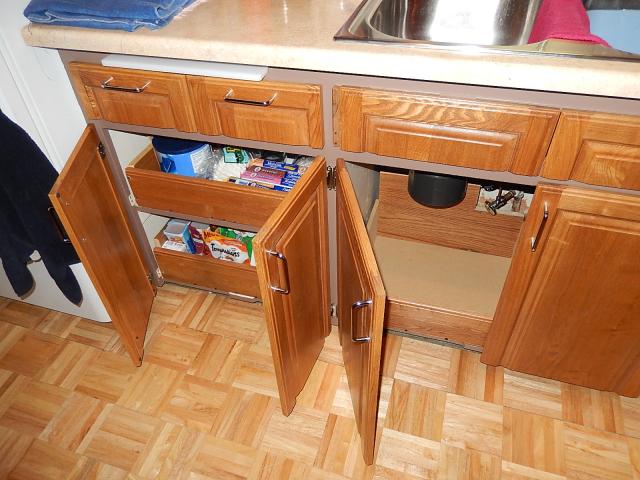
Drawers built to fit the lower cabinets will provide easier access to cabinet contents.
|
|
Each drawer needed sized specifically for the opening it would fit.
|
|
|
|
|
|
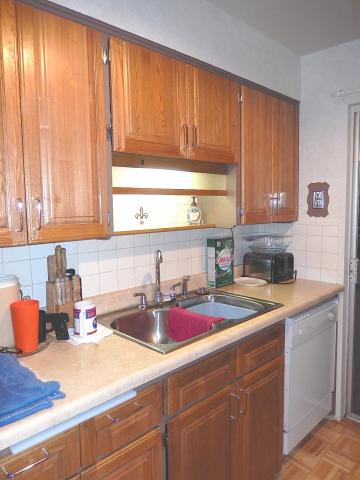
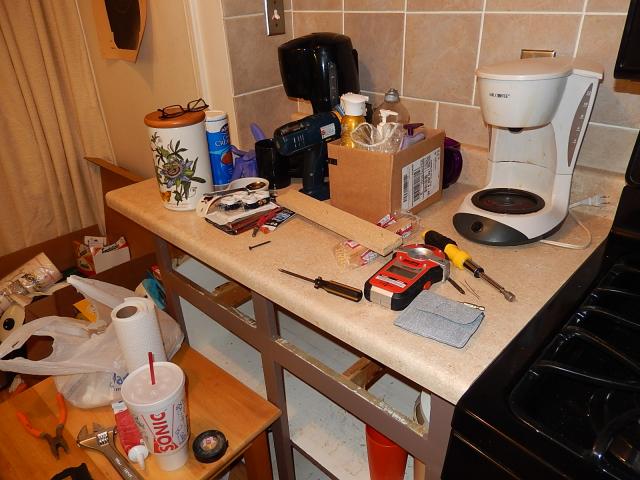
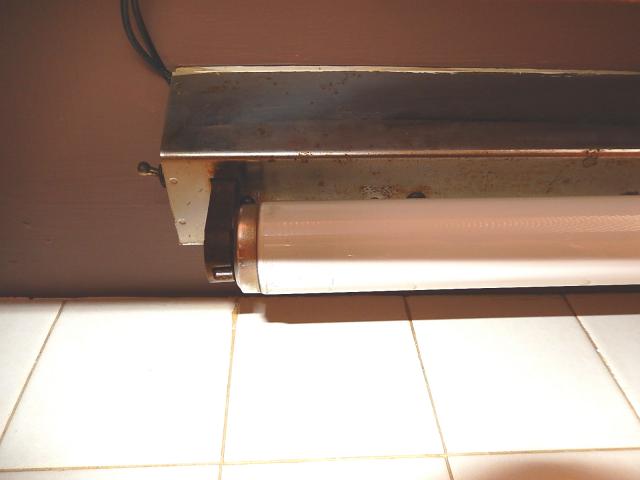
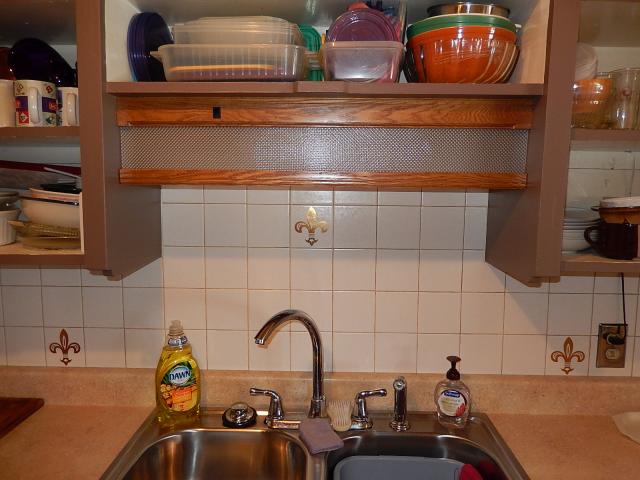
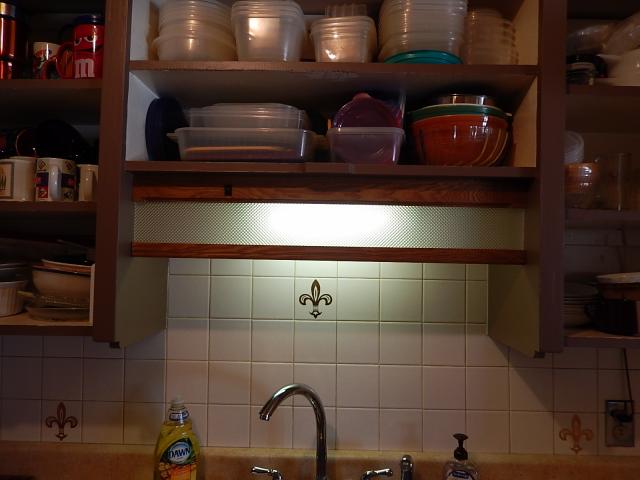
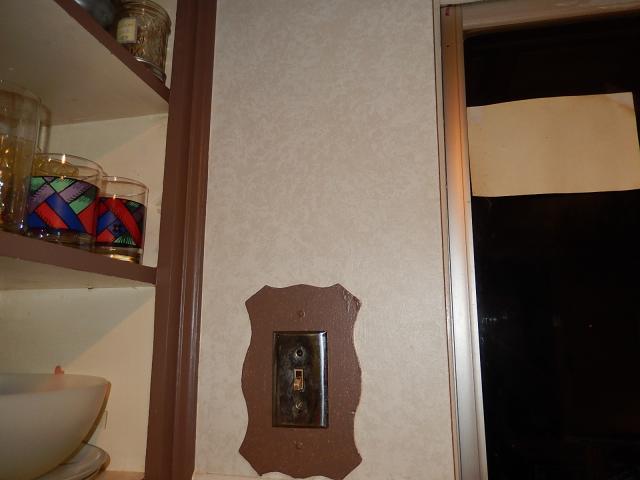
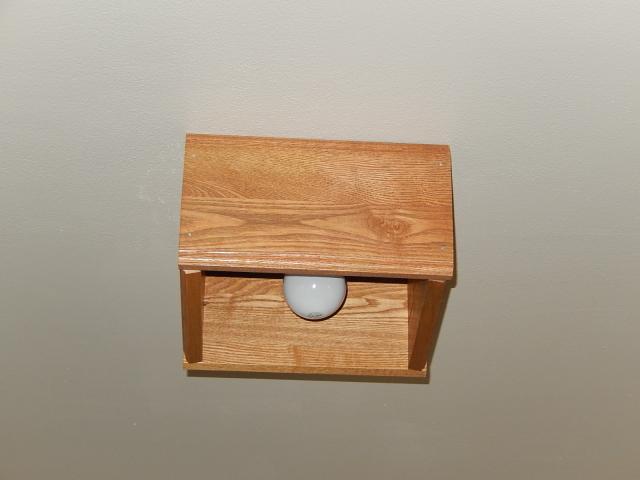
Old light could use a little decorative touch.
|
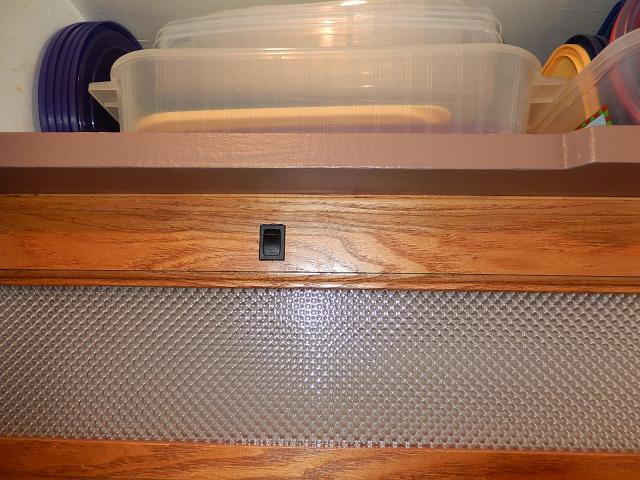
New switch was wired to the old over-the-sink-light.
|
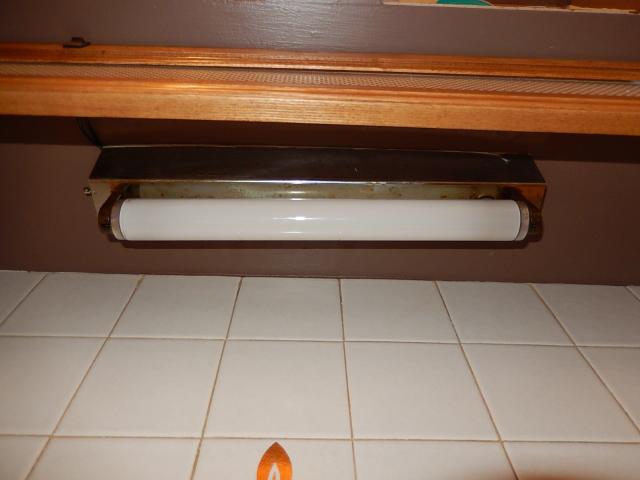
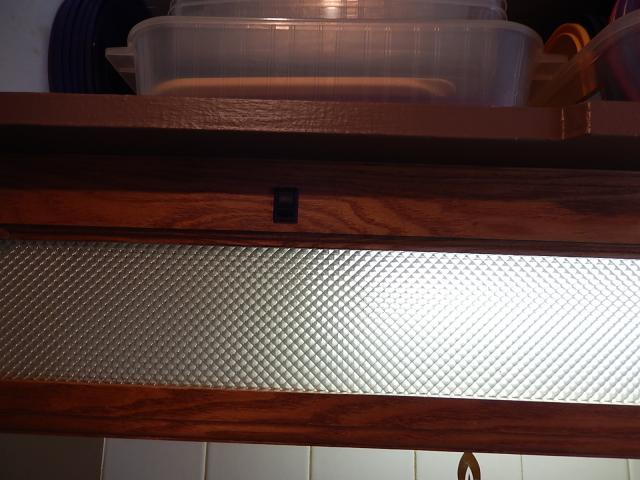
Parts from a spare door were cut to fit with a light diffuser to add a decorative touch and move the light switch forward for easier access.
|
|
|
|
|
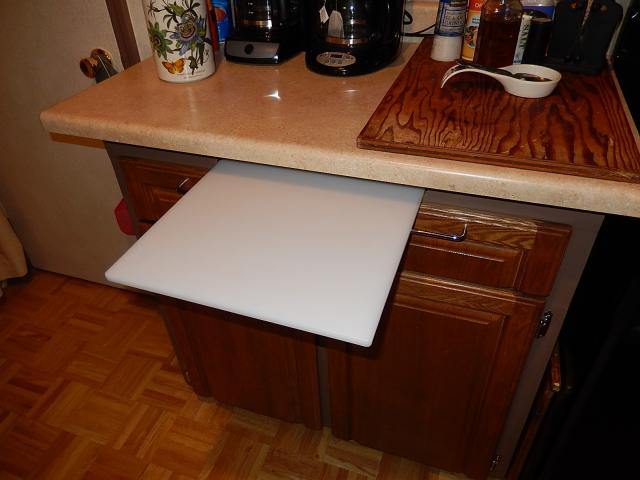
We found new cutting boards and fit new slide rails for the built-in cutting boards. They are dishwasher safe, so will be easier to use and clean than the old wood ones.
|
|
Drawers installed, but still needs the rest of the doors hung.
|
|
|
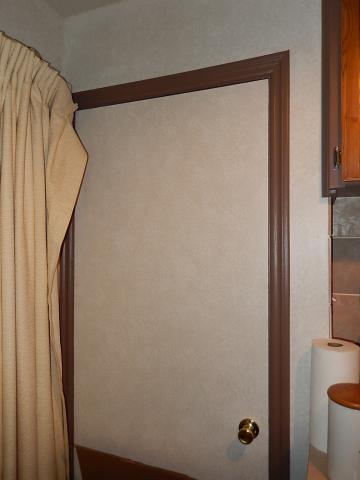
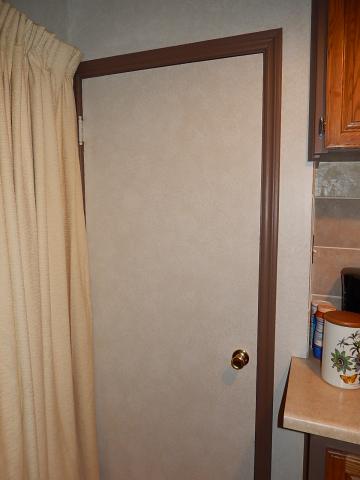
The paint job we did with a sponge-over. The textured effect helps hide any bumps and warbles common to older walls. We decided to do the door this way as well and it makes it blend and match to the rest of the kitchen well.
|
|
|
I had the idea to use a couple of shims to hold the spring hinges flat while installing. It really made hanging the doors on this side much easier than the other side had been.
|
|
We left the labels on until after they were hung so that it was very easy to see where they all went.
|
Under the sink drawer.
|
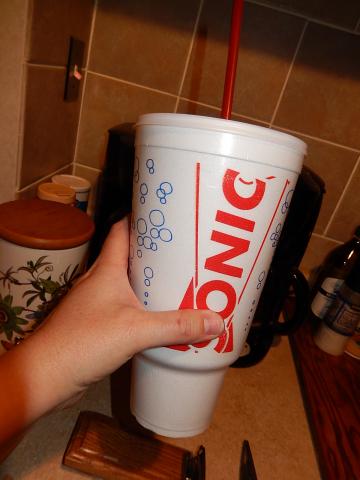
I became addicted to Sonic's Mango-Peach-Lime slushies. Sooooo yummy!
|
The wiring was not modern enough to install a new light fixture, so I made a little box-shade for the light that was there. Not the most ingenious thing ever, but it looks okay and makes the light match the rest of the kitchen.
|
|
|
|
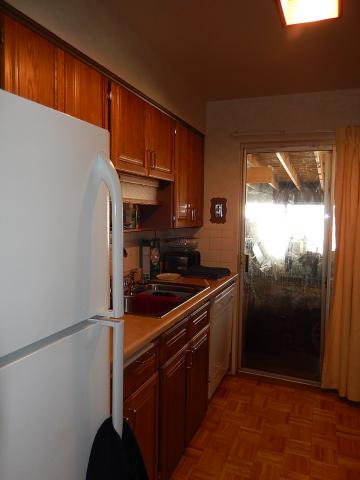
An added shelf above the sink gives a little more storage space.
|
|
|
Paper towel holders were oddly expensive for anything but the cheapest plastic ones, so I cut some spare cabinet door corners and added a small block for the roll to be held on and a set of the spring hinges to provide just enough tension to make sheet tear-off easy. It was a strange idea, but it turned out really nice and matching... and for about $3 instead of $25 to $35.
|
|
|
|
Roll-outs make for much easier access to the back of lower cabinets.
|
|
|
|
|
|
|
|