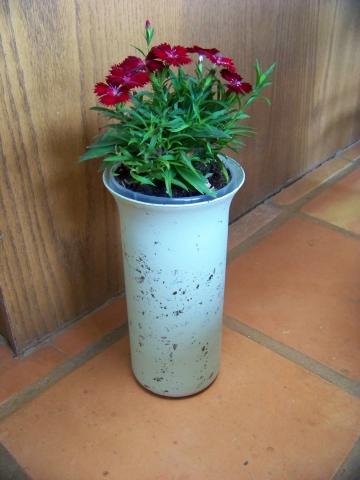
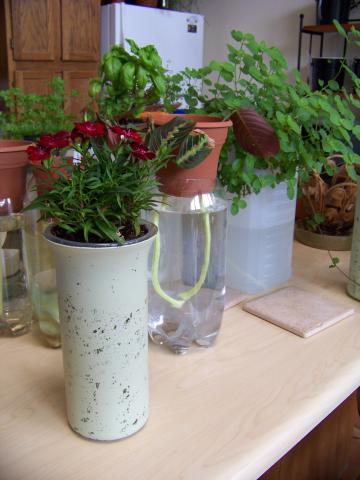
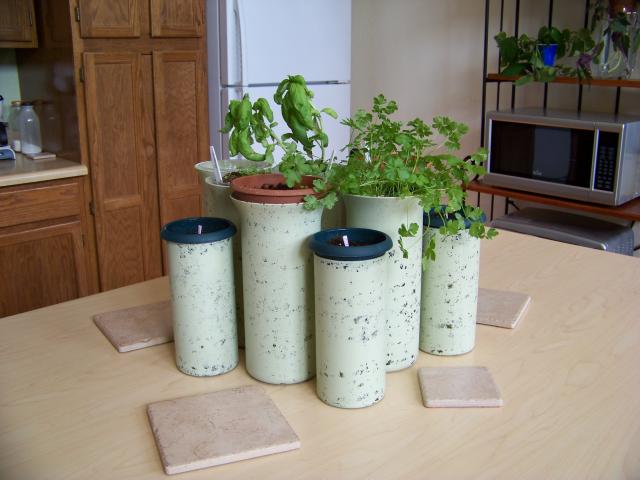
I had been looking for some nicer way to wick my herbs and small plants on the island counter. Finally I found some pretty shaped glass vases at the dollar store and used sage colored paint and sponged it onto the vase. The house paint won't stay on the glass vase if it is scrubbed or scraped, but looks like it will stick otherwise.
|
The new vases look a lot more appealing than the soda bottles or cat littler containers, and with almost a full coverage of paint sponged on, it should reduce the chances of algae in the water container. However, the water level isn't as easy to see, so I may need to scrape a line of paint off one side or just have to check the water level by removing the plant dish.
|
|
|
I just planted some, so they will need time to grow in.
|
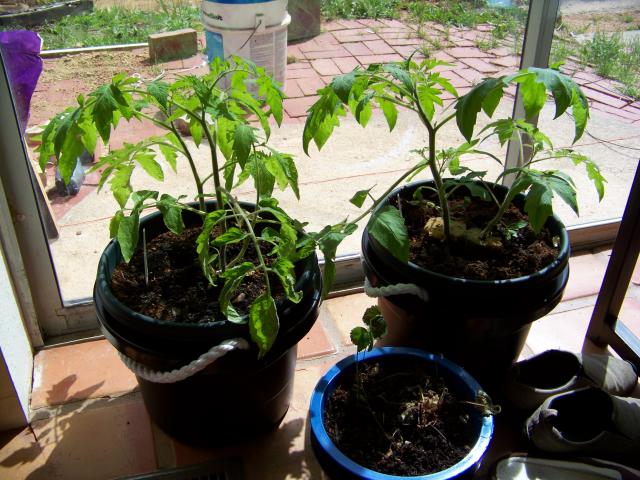
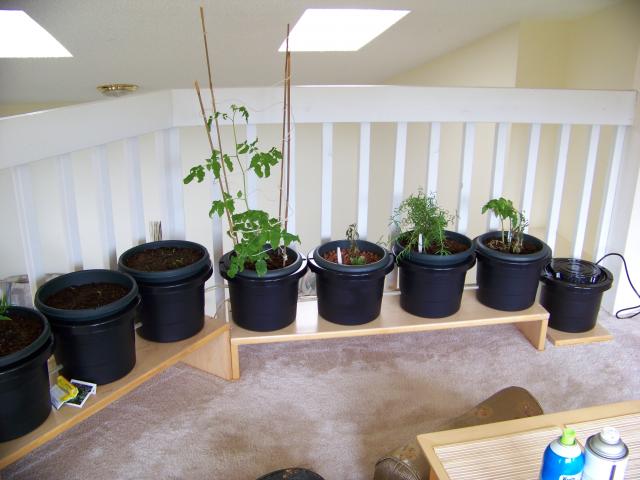
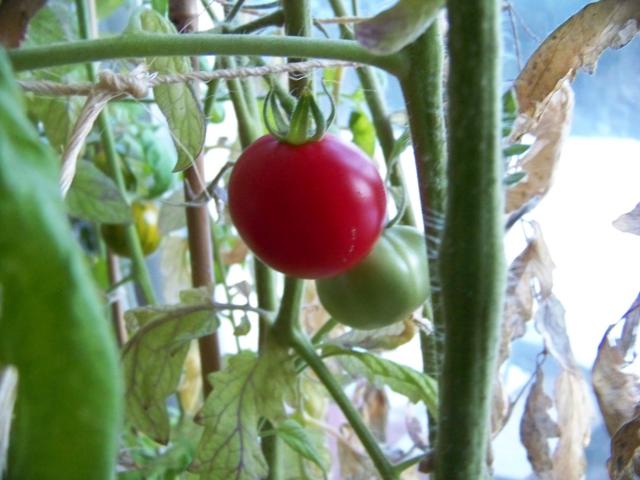
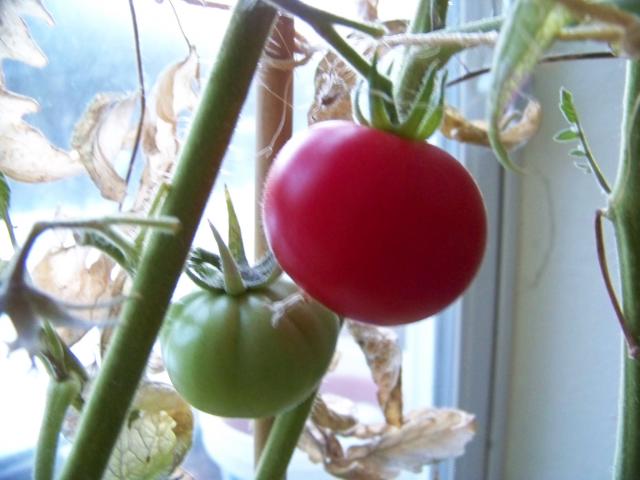
Here is proof that the thing growing best is those poisonous tomato plants.
|
I will need to plant them into a larger bucket sytem later, but they are doing well and getting new leaves in this container.
|
The lady who did my perm had several large plants she needed to get rid of, and so we took them and added to our plant collection.
|
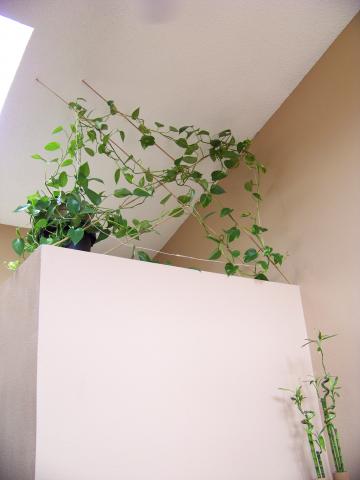
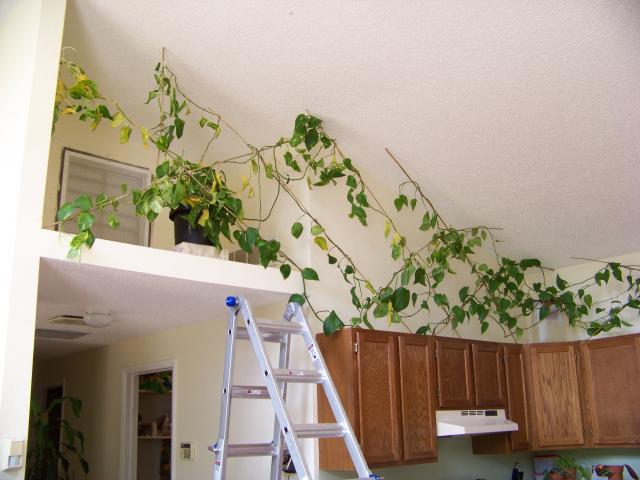
Another plant went here to extend the plant trellis from the kitchen.
|
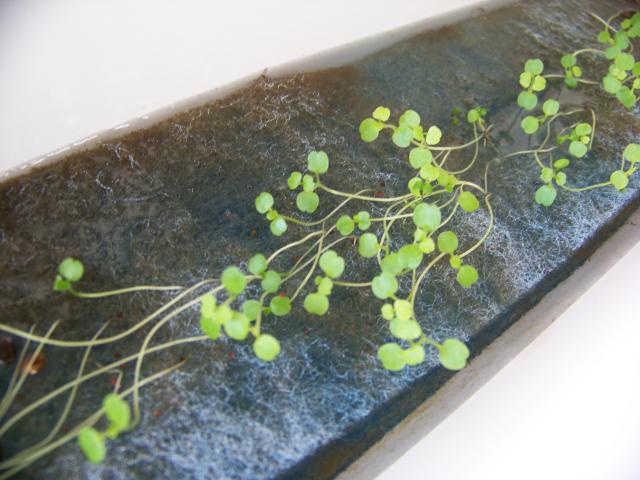
I didn't have enough filter floss to fill up the gutter enough, but though I would try out a couple sections. This is the Watercress... it seems to like the excess water.
|
The lettuce grew up too tall and fell right over. It isn't doing well. I think it needs more support or something to grow this way.
|
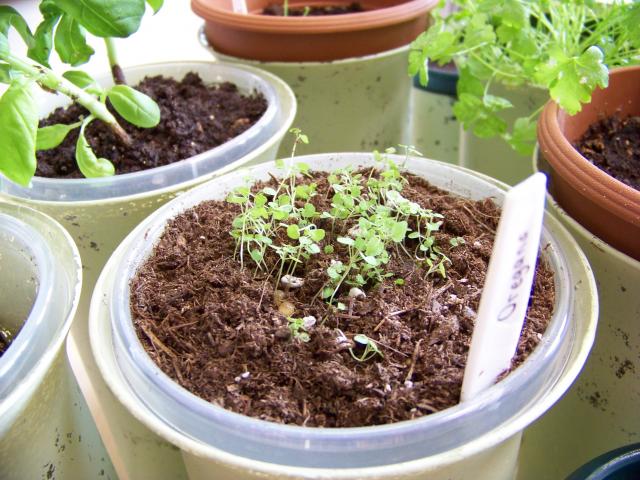
A couple of my baby oregano that I grew from seed are finally getting their second leaves... however, they look just like the baby leaves! Are they ever going to get bigger?
|
Some of the herbs I planted in here are finally getting to look like herbs. Growing things from tiny seeds sure is difficult.
|
The fig tree is doing well... if the cats don't chew up all the leaves. I don't know why, but they love it.
|
This cute little flower was at walmart on clearance for 60 cents. Poor little thing was just given up on, but is doing well and happy here now.
|
A few of the plants are doing well, and some not so well. I just started spinach in two of the planters, and they are sprouting... so that is good.
|
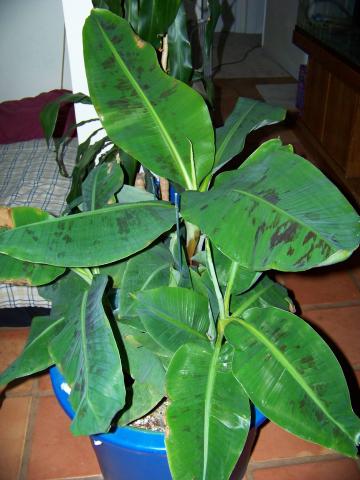
Each leaf is kind of shaped like a hand, and every other leaf is a right hand, then left hand... VERY strange, but cool.
|
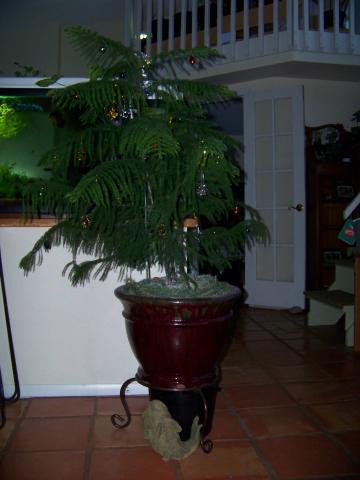
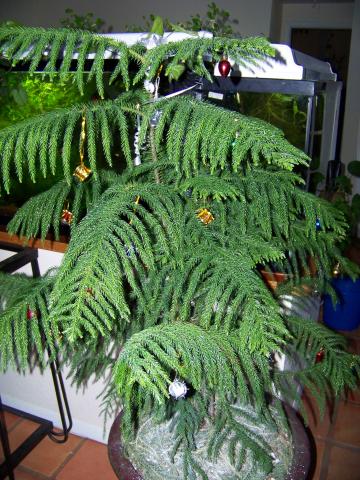
It grows on tall woody stalks, almost like a vine, but too upright to be any true vine.
|
|
|
|
|
|
|
I read on PineCam.com forums that some people use wicks to water their plants the perfect amount. I am a natorious over / under waterer, so I though I would give it a try. After looking up several (and quite expensive) methods online, I decided to try my own.
PLEASE NOTE: I am not sure how well all this will work yet. I will add comments on how things go later.
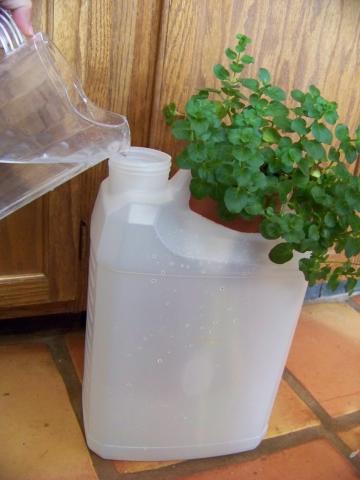
Also note: I do think that the water containers will probably need to be painted at some point or covered with foil so that light doesn't cause algae to grow in the reservoirs.
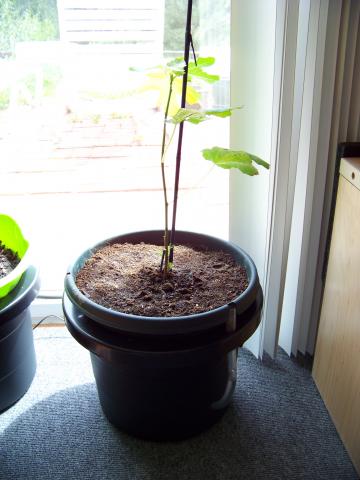
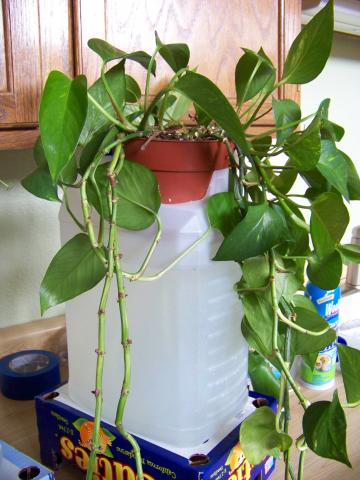
UPDATE: Well it has been two days and I have discovered that my 'wick' rope is too efficent! The plant soil is very damp all the way to the top. I removed the second wick from the larger pots and pulled the wicks down so that only an inch or two is in the pots instead of going 2/3 the way up. I belive this will help, however, I may just have to go with thinner rope to prevent too much water from going up. The rope I have acctually is woven green around two white cords... I may try out taking out the center smaller cords and try it with them. I am pretty excited however, as this test was really to see if the principal would work with large pots for indoor tomatoes. It apears that I will only need one rope wick per large pot!
|
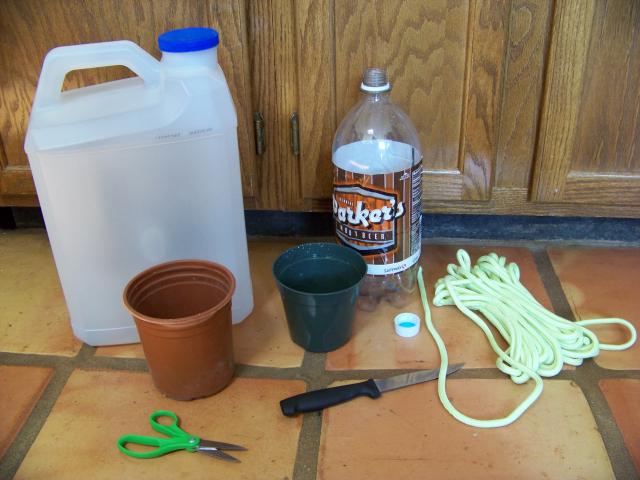
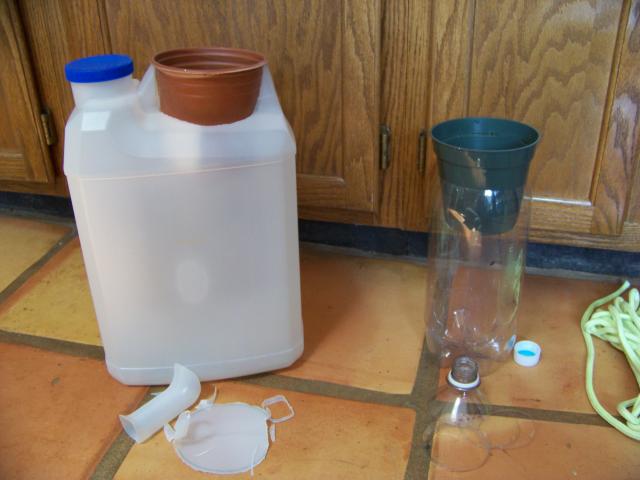
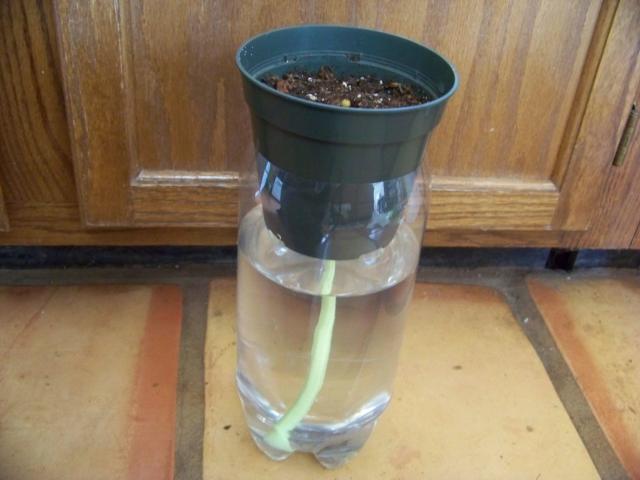
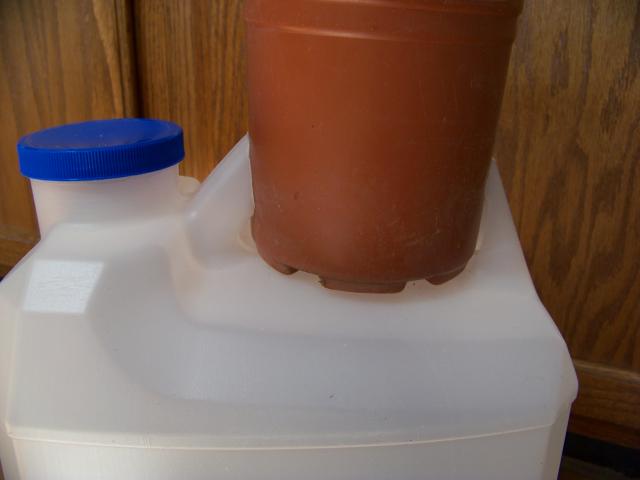
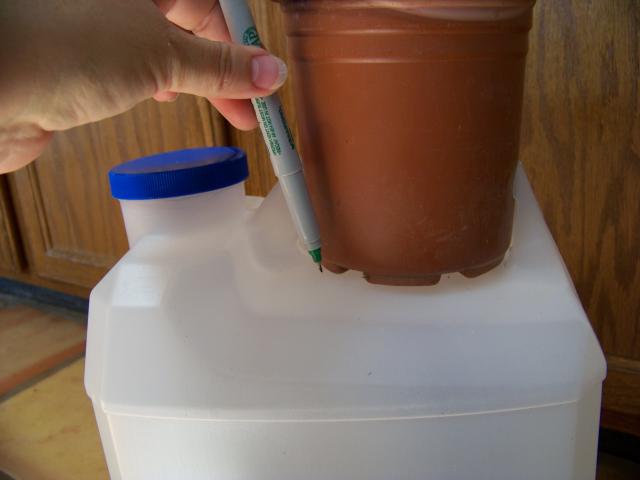
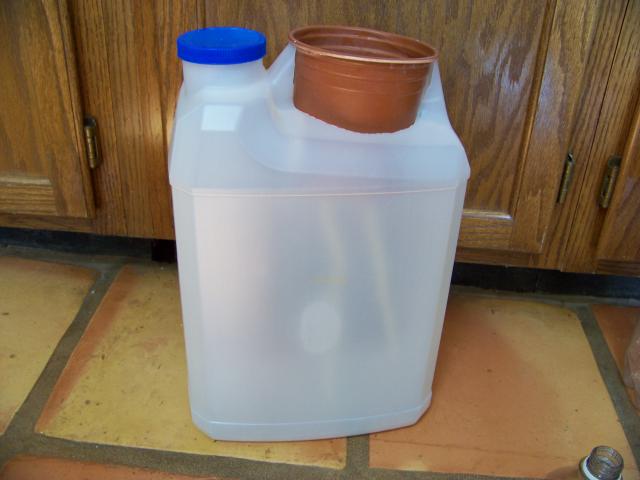
Large container... in this case I am using a cat litter for one and soda bottle for the other. Both have been rinsed carefully.
Smaller pots paired with the larger containers.
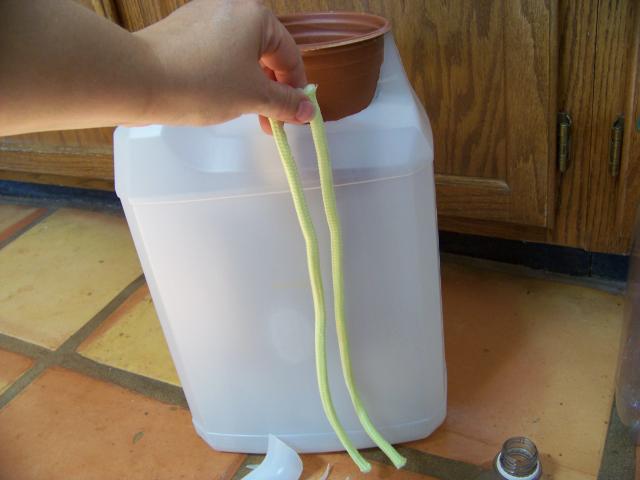
Rope for wicking water from the large container to the smaller pot. I am using bright green nylon. Test your rope in a cup of water first to be sure the water will move up the rope.
|
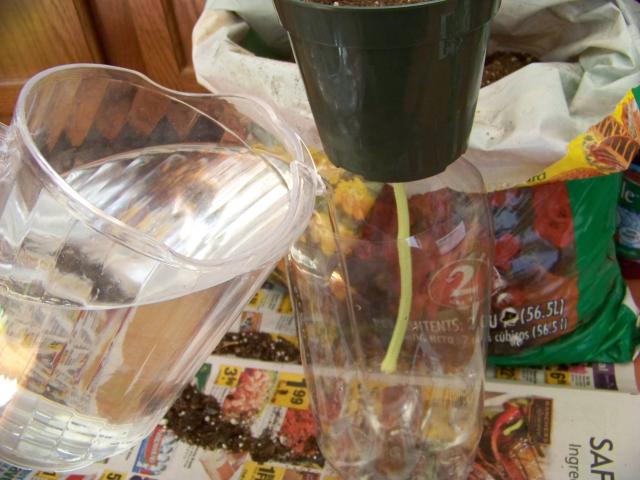
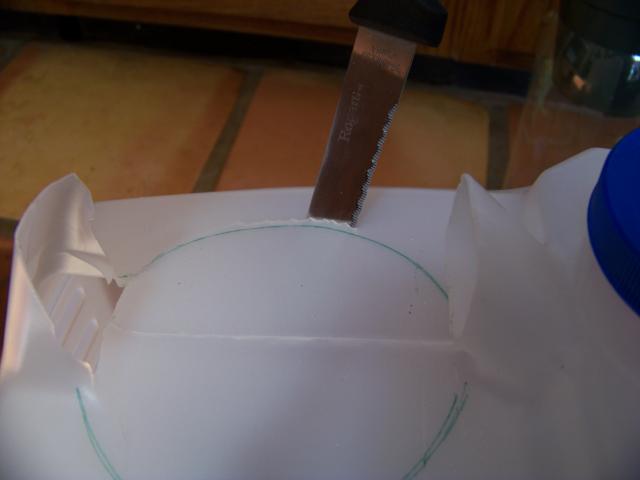
Pots now fit into the larger water reservoir.
|
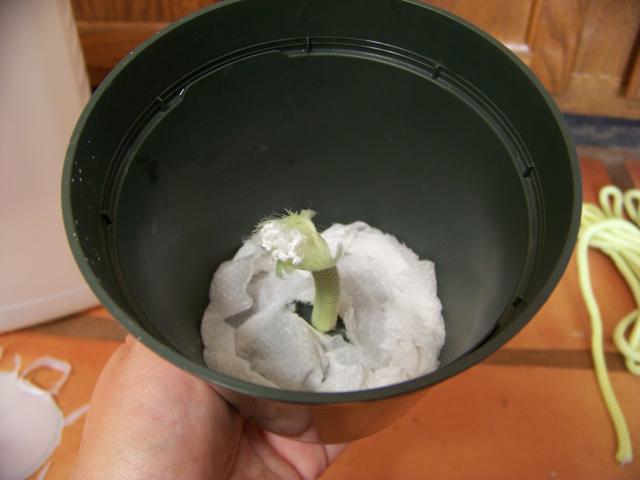
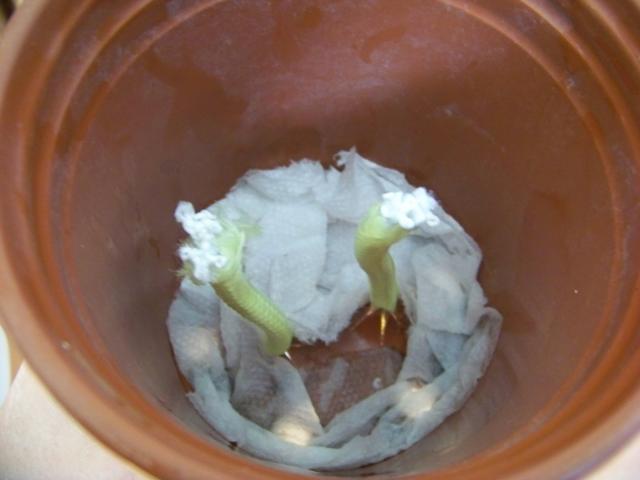
Cut rope for wick so that it willgo from the bottom to about 2/3 up the pot.
|
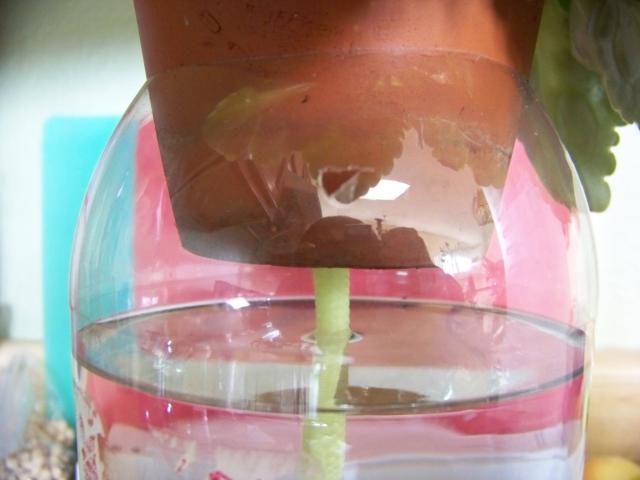
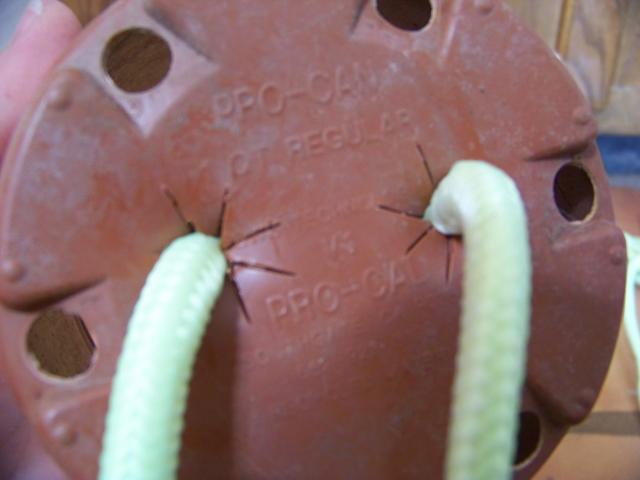
The star shape will hold the wick firmly in place after you push it in from the bottom.
|
|
|
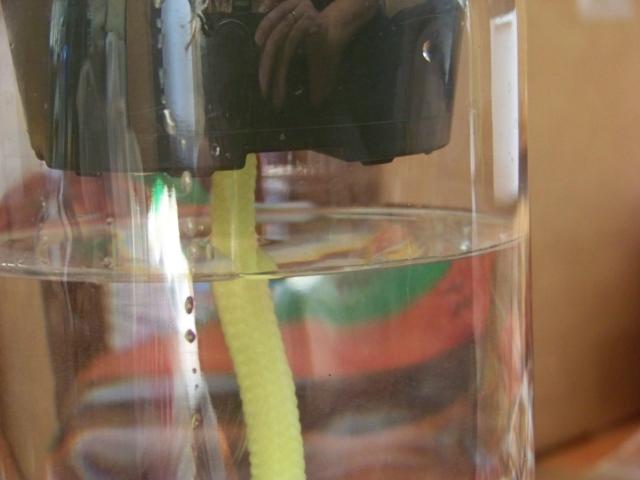
Wick goes to bottom of reservoir.
|
|
|
|
|
I belive I may need to add water on the top of this one for a while until the seeds germinate and grow a little.
|
|
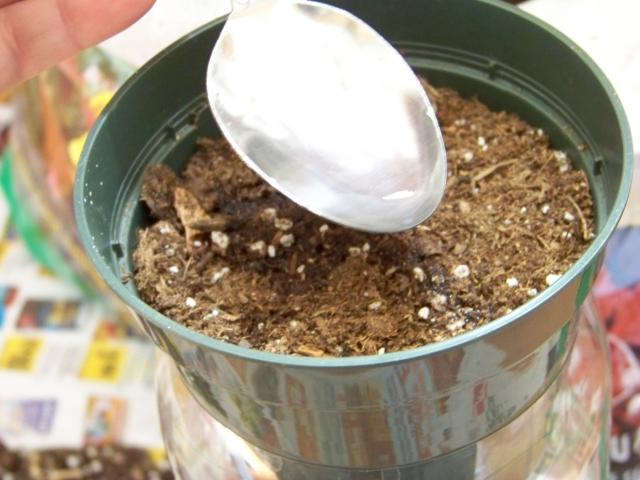
When using a pre-planted pot, use a marker or stick to puch a hole deep into the soil on the bottom to get the wick pushed far up into the pot.
|
I decided that the soda bottles may need a small air hole poked so that the water could freely move up the wick without suffering from a vacuum situation in the bottle. Probably isn't nessesary, but did it anyway.
|
|
|
It may take a bit of trial and error to get it right. Trim small to start with... remember, you can always trim away more, but can't put back any if you cut too far.
|
|
|
|
|
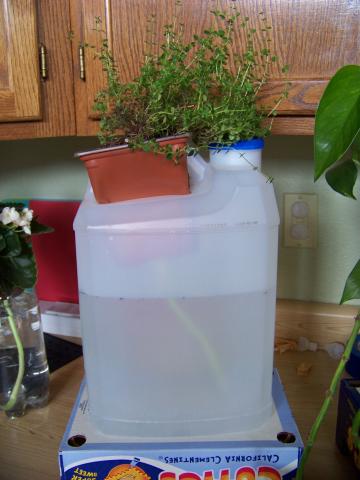
I like the cat litter containers since you don't have to remove the pot to add water.
|
I had to pull the pot off this well established plant to get the wicks up into the dirt, then put the pot back on carefully sliding the wicks through the bottom as I put it on.
|
|
|