|
|
|
|
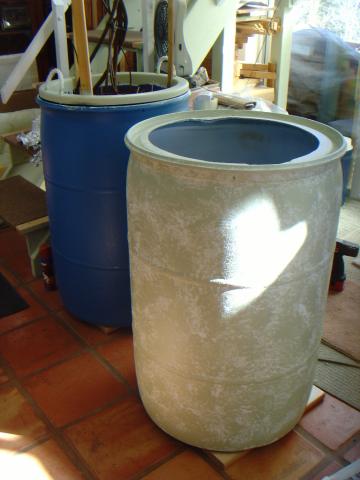
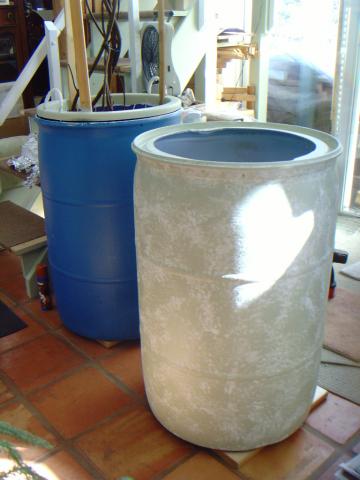
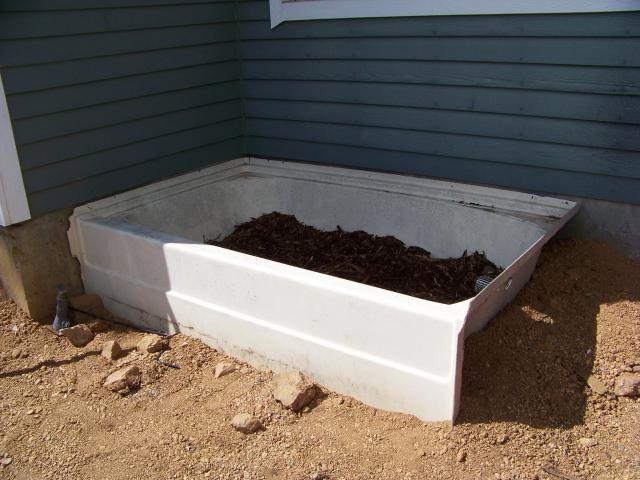
Painted, then prepare to move!
|
|
|
|
|
|
|
|
|
|
|
|
|
|
|
|
|
|
|
|
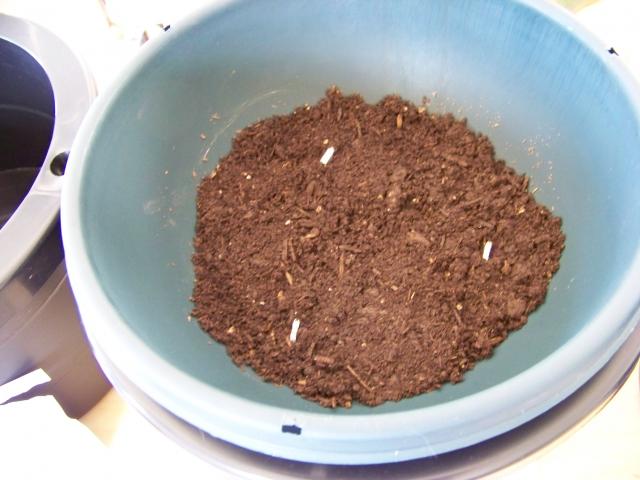
Layering wood chip mulch, potting mulch, and peat moss.
|
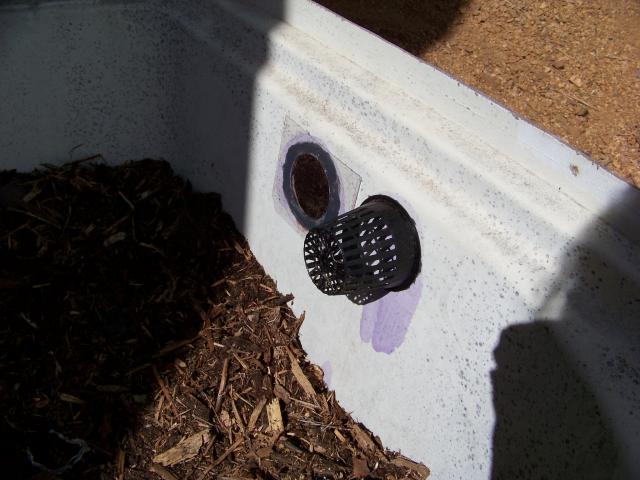
Used PVC glue to seal normal holes and to glue net pots over drain holes. 4 drains added at 3 inches from base, and one added just a few inches below dirt level.
|
|
|
Garlic in front row, Shallots in second row, asparagras in back row, and room in third row for green onions.
|
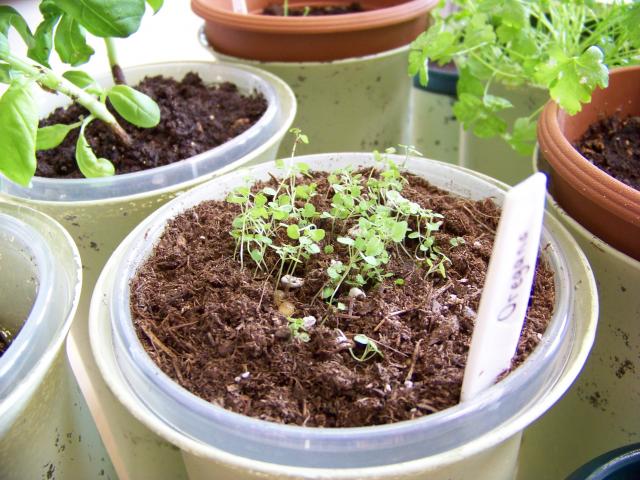
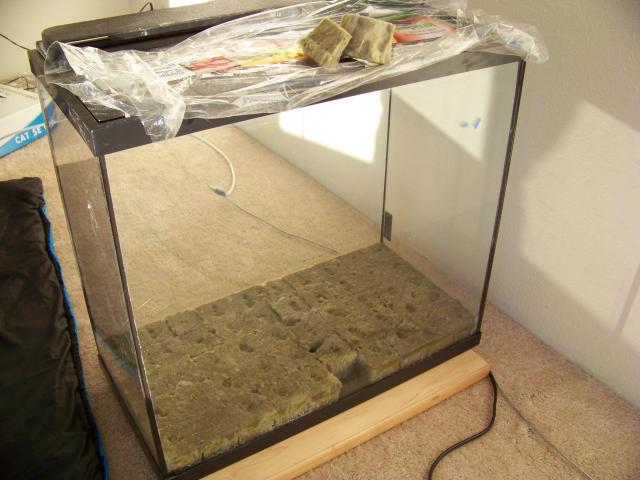
I started the tomatoes and sweetpeas and herbs and brocolli. This has a plant heating pad underneath on a timer to keep it warm at night, but I am affraid it may have gotten too hot today in the sun. I may have to move it further into the shade so that I don't broil my seeds.
|
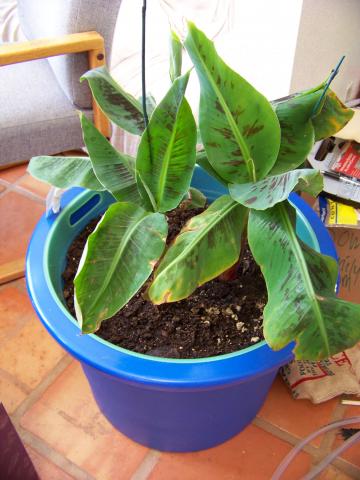
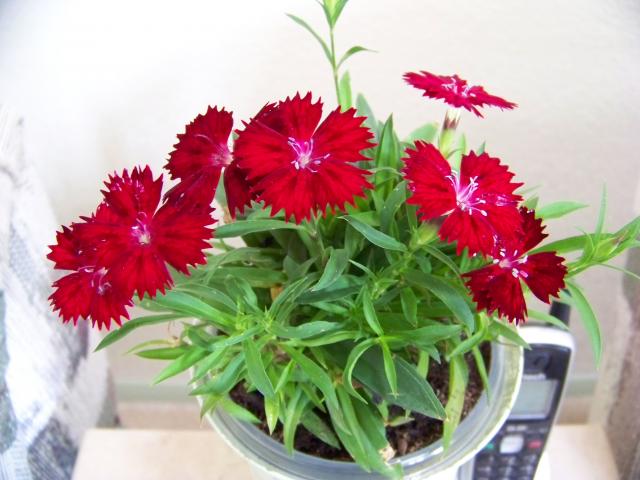
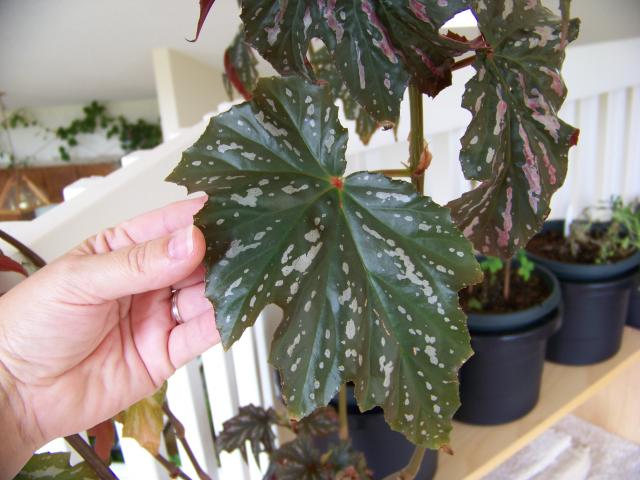
Hopefully I can keep this alive to use as our christmas tree year after year. It is so soft and pretty.
|
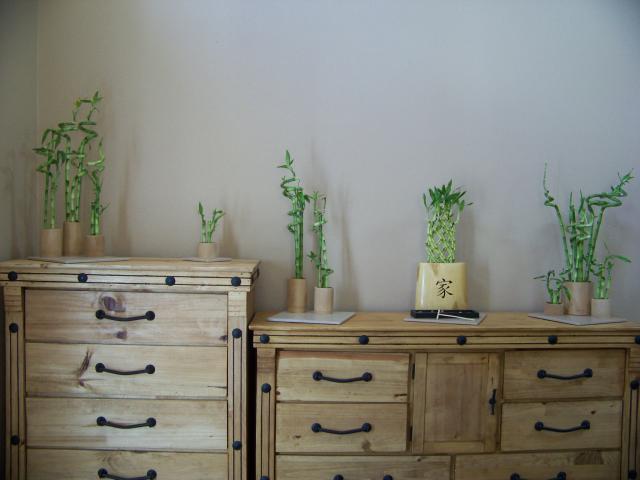
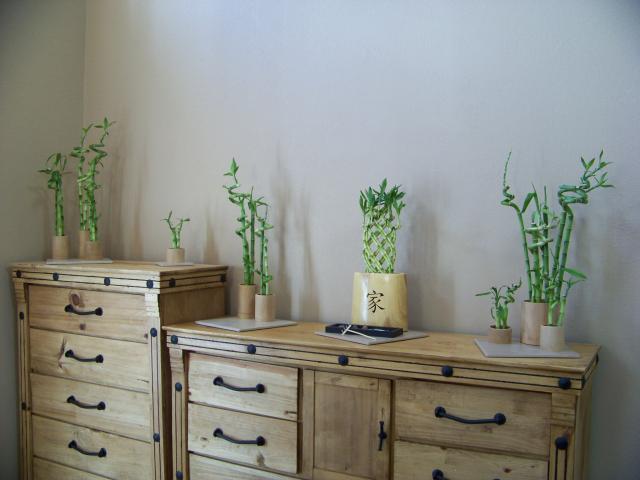
I still need to build the night stands and get lamps, but I am pretty much all done with the bedroom decorating. Here is a little of how things look.
|
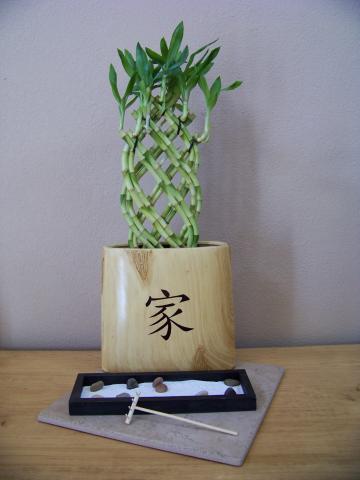
The Chinese symbol that I put on the center vase is "Home", and it also stands for "family".
I have another vase that I will put another woven bamboo arrangement in that will go in the cut-out area above the fireplace, and a couple more arrangements in the bamboo cups that are on the dressers next to the bed.
|
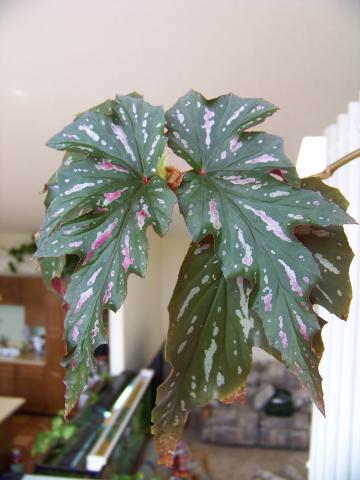
Now if only I can keep Ten from eating them all.....
|
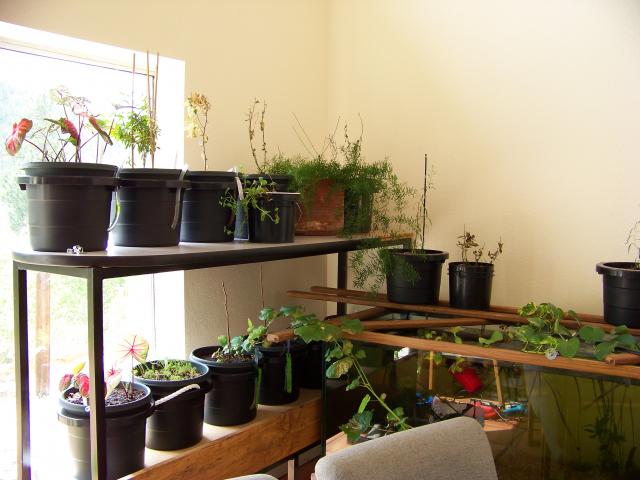
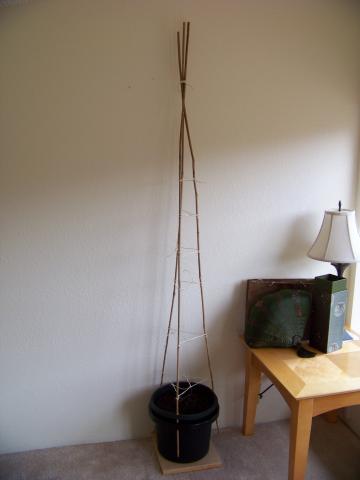
I will eventually be replacing the metal stand with a trellis that goes over the big fish tank that the grape vine can grow on, but for now, it just holds all the downstairs plants.
|
I have planted snow peas in one and pole beans in the other.
We still need to get gutters to do the spinach across the top edge of the banister, and set up the tomato buckets, but this is a start.
|
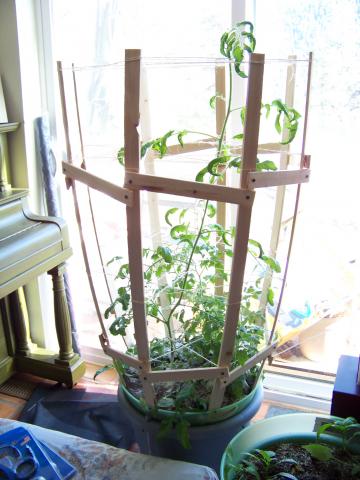
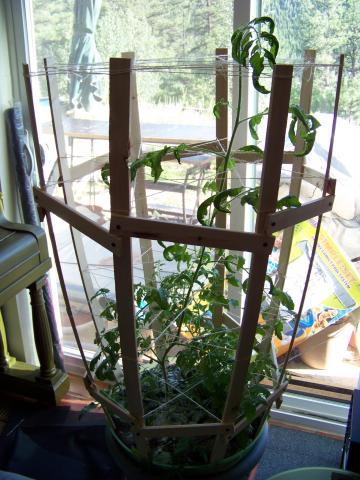
Bamboo supports and twine will hold up the vines. I planted them very heavily, so I may need to move the beans away from the banister so that they don't get crazy and start attaching to it.
|
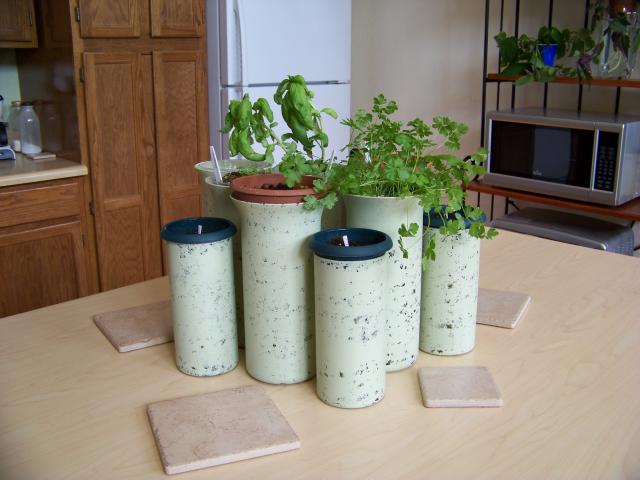
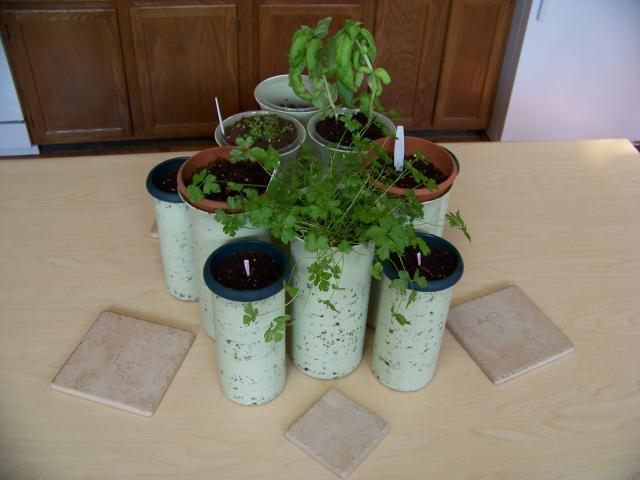
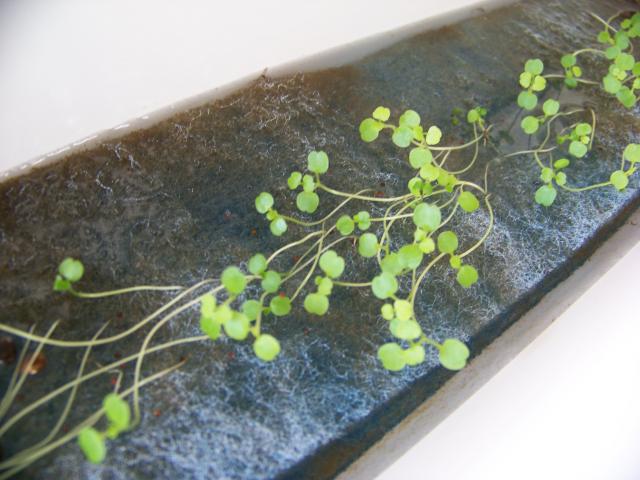
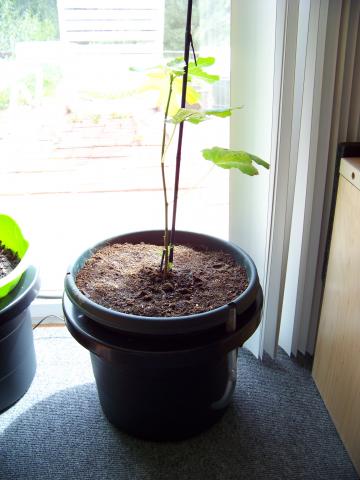
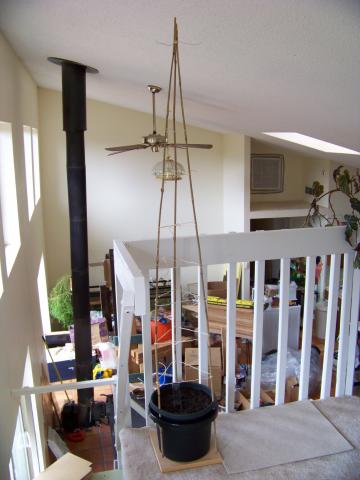
Here is the beginnings of the Tea Garden "garden".
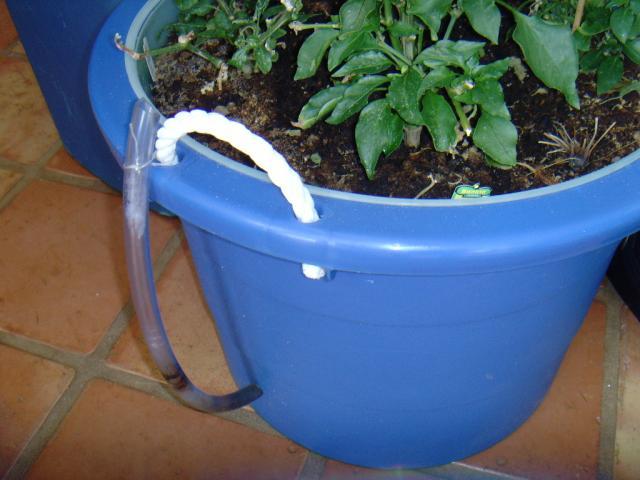
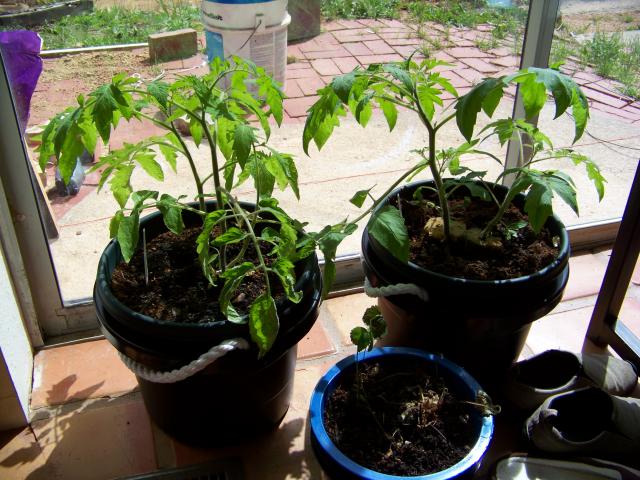
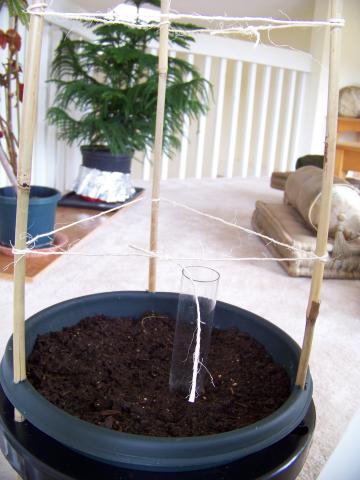
The upper container is a hanging basket that sits into the black bucket about 2 inches, and the pipe allows me to pour 2 gallons of water into the lower bucket. A single rope "wick" will draw the water (hopefully just the right amount) from the bucket into the soil.
|
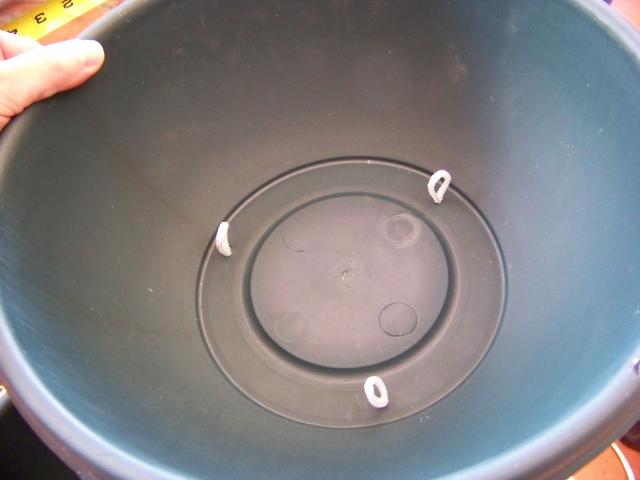
I used the nylon cord that came with the hanging planters to make the wicks. I drilled three small holes and used a bread-tie to pull the cord through.
|
I decided that it would be better to use three small wicks instead of one large one in the center. Hopefully this will distribute the water more evenly.
|
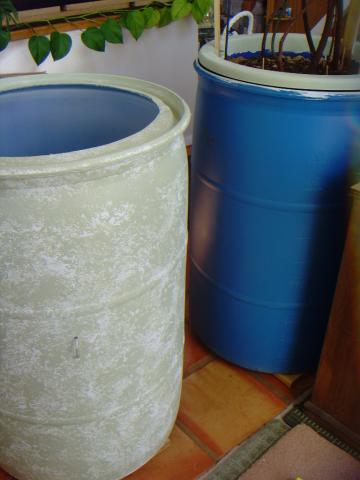
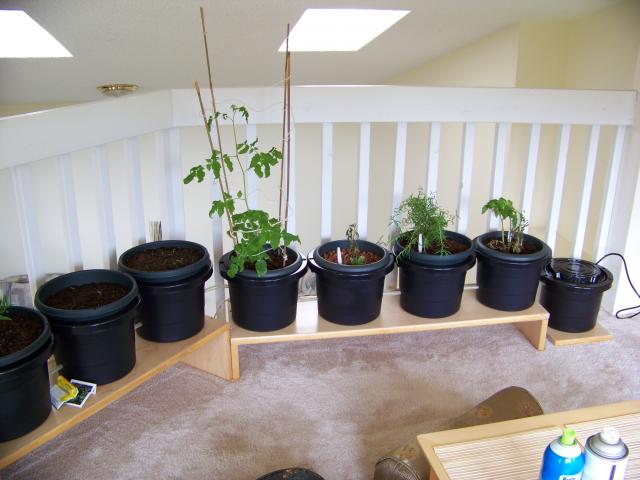
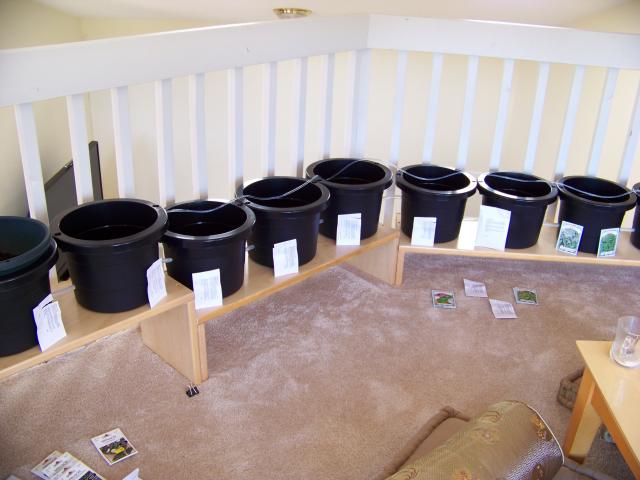
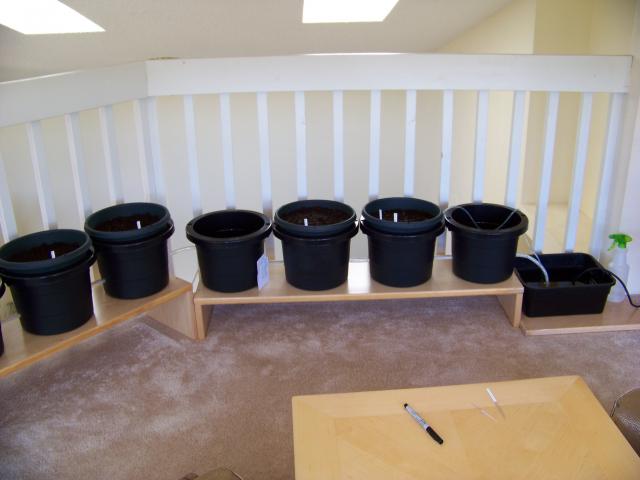
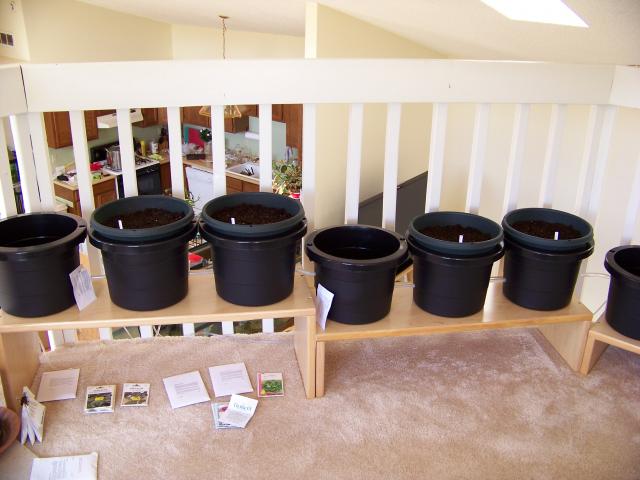
I made three bucket racks, to protect the carpet and make three levels of planting buckets for water to travel through. The water will pump from the reservoir on the right, up into planters along the banister rail to the left (not yet put up) then drop into the bucket on the left and travel through the buckets back to the reservoir on the right.
|
I tested and think three with small loops only an inch in the bucket will draw the right amount of water from the bucket beneath.
|
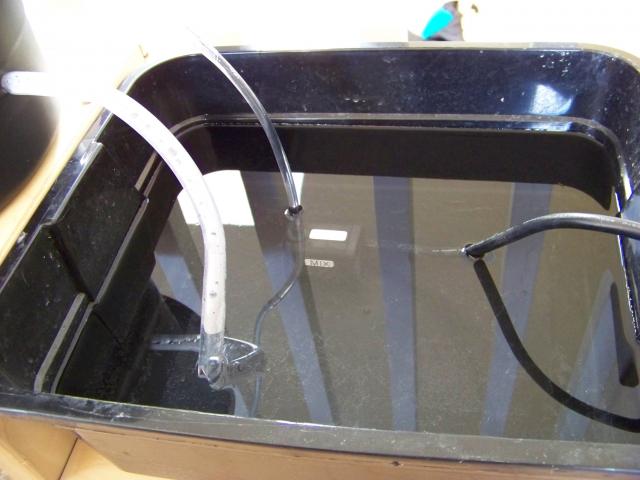
The holes are smaller than the flexible tube. The tubes were cut at an angle and heated in boiling water for several minutes. Then the tube angle part was stuck into the hole and pulled through with pliers. The pressure of the tube when it cooled creates a tight but moveable seal.
|
Each tube is pulled in about 1 1/2 inch.
|
I will probably swich this out with a bucket with a lid to prevent the cats from drinking out of it. Here is where I will add water and fertilizers to maintain the whole system.
|
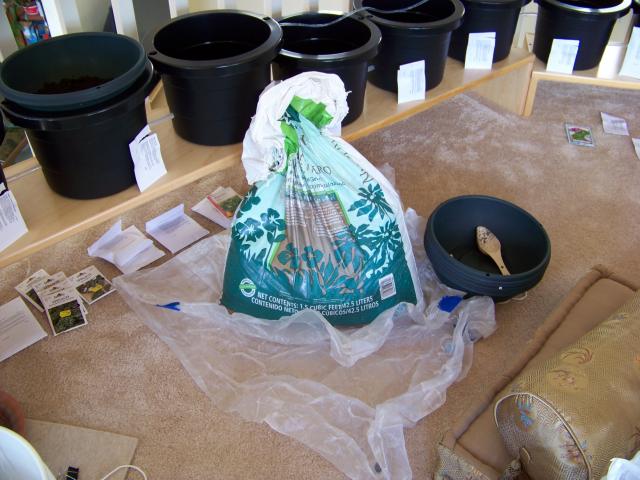
I didn't want to have to carry so many filled buckets up the stairs, so brought the potting soil up instead. A dollar store shower curtain makes a GREAT drop-cloth for so many purposes.
|
Tomato - to be planted.
Bush Beans
Cinamon Basil / Moss Curl Parsley
Tomato - to be planted
|
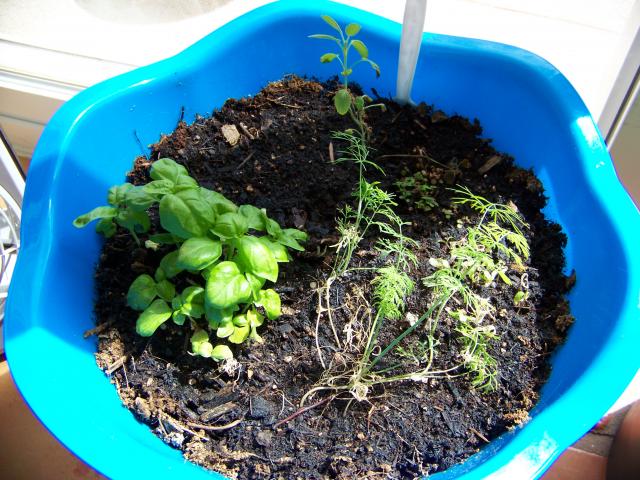
From Left to right.
Tomato - to be planted
Lavender
Broad Leaf Sage
Tomato - to be planted
Brocolli
Cauliflower
|
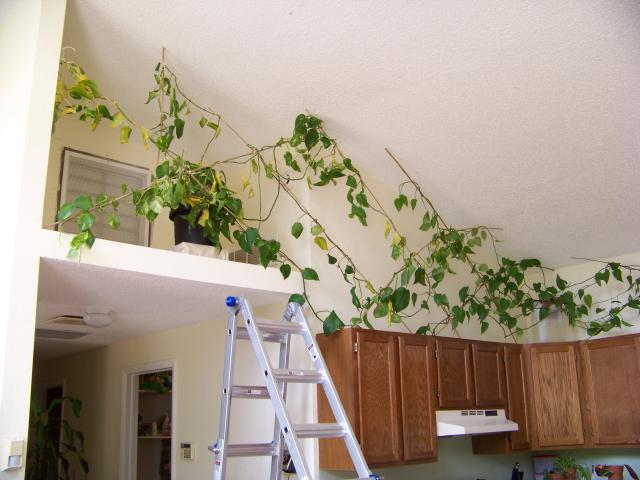
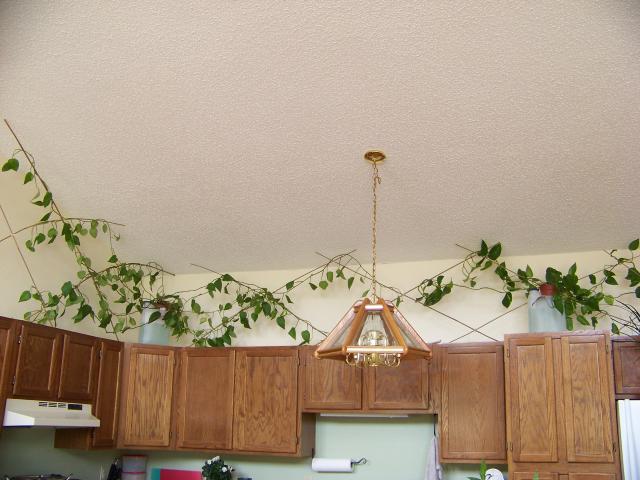
It looked awfully bare above the cupboads in the kitchen, especially when viewed from the loft... not to mention dusty. So after vacuuming an inch of dust off the tops (not easy to do by the way), I added bamboo supports tied with twine and put my philodendrions in wick containers and wove them up there.
|
I think it will look even better as it fills in.
|
|