|
|
|
|
|
|
|
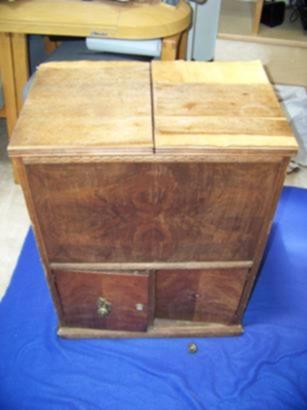
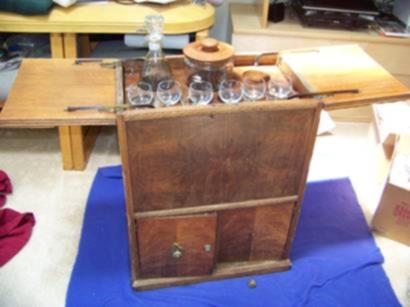
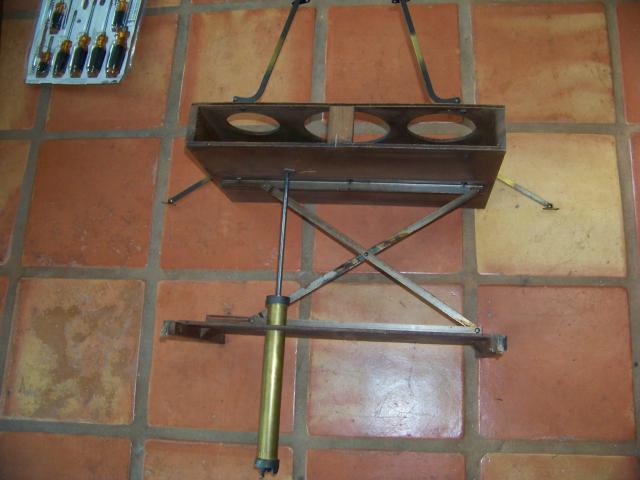
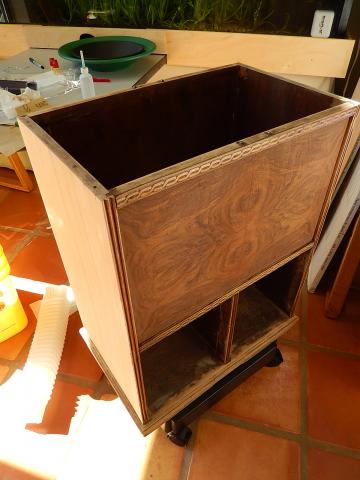
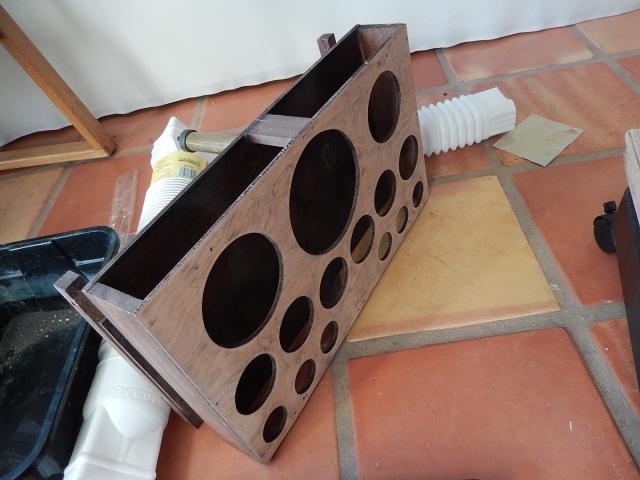
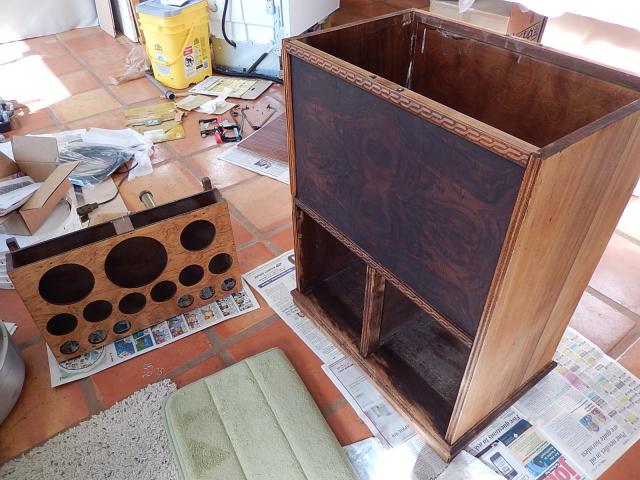
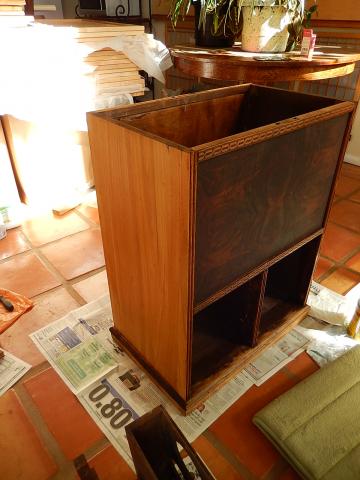
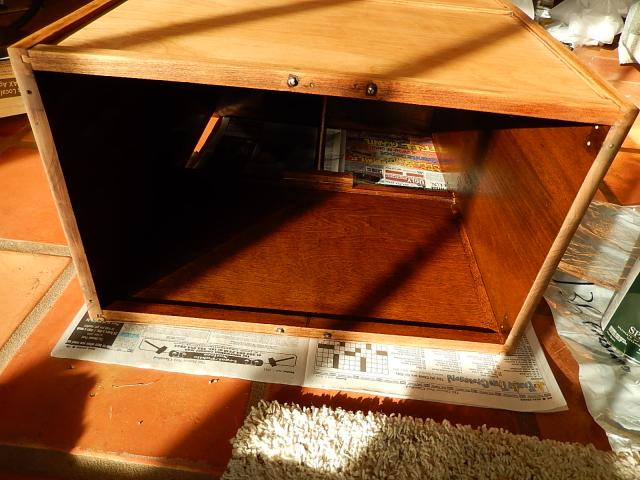
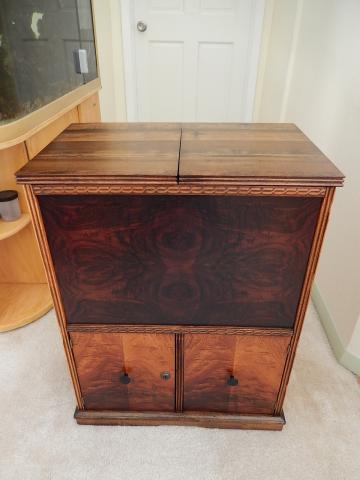
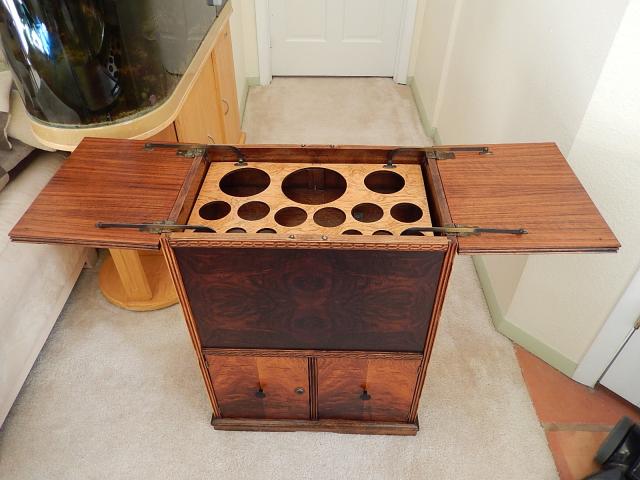
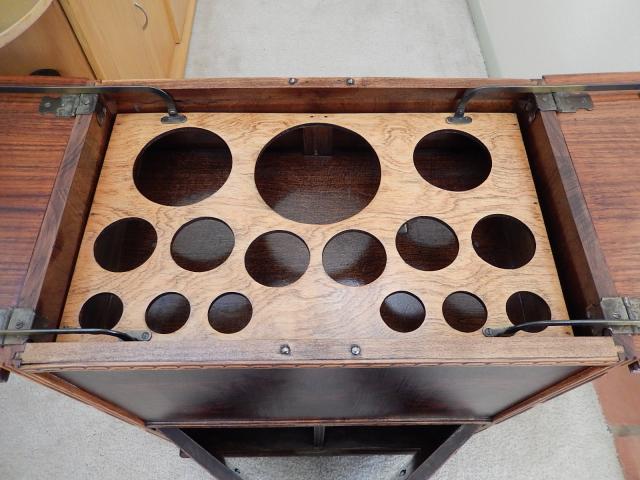
It has an interesting mechanism with a leather valve so that the top slowly closes and lowers the interior display.
|
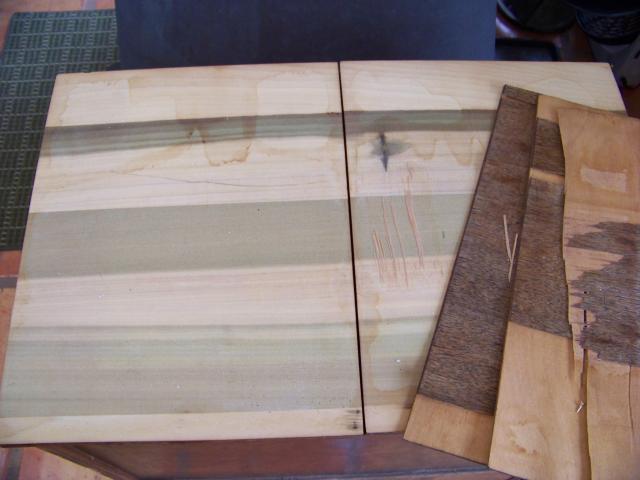
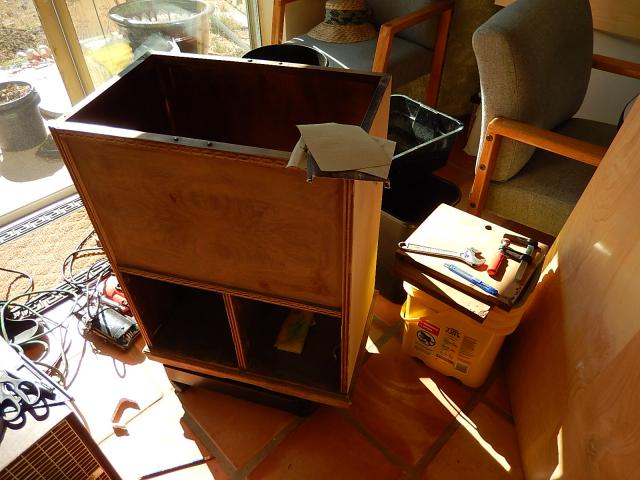
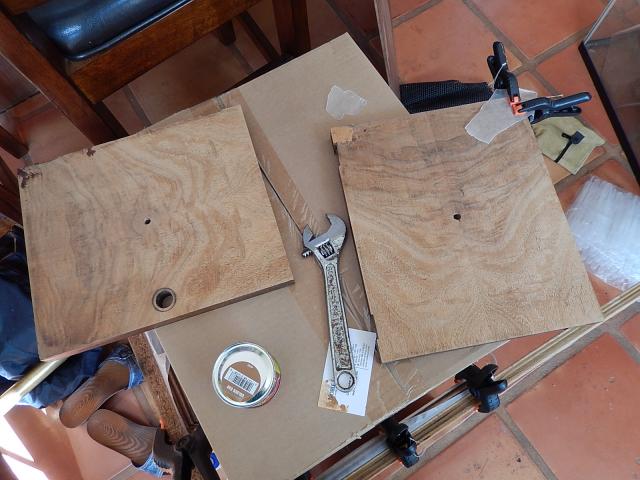
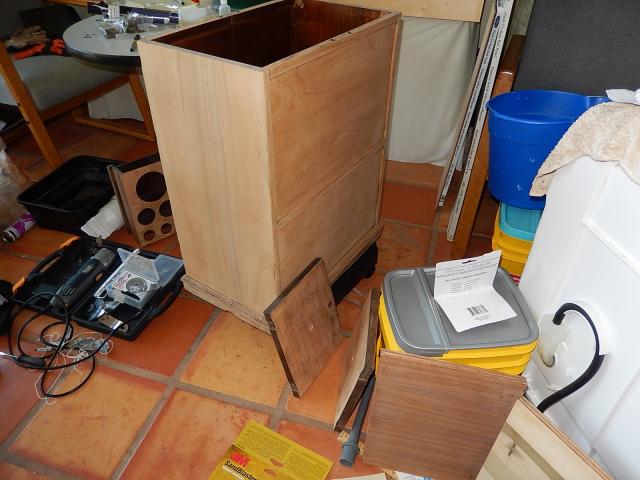
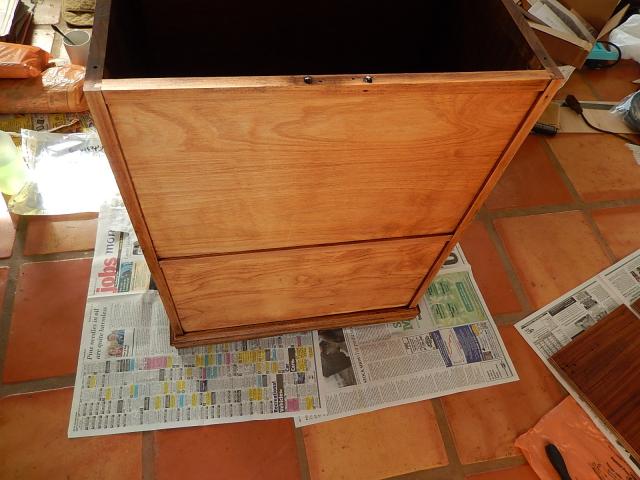
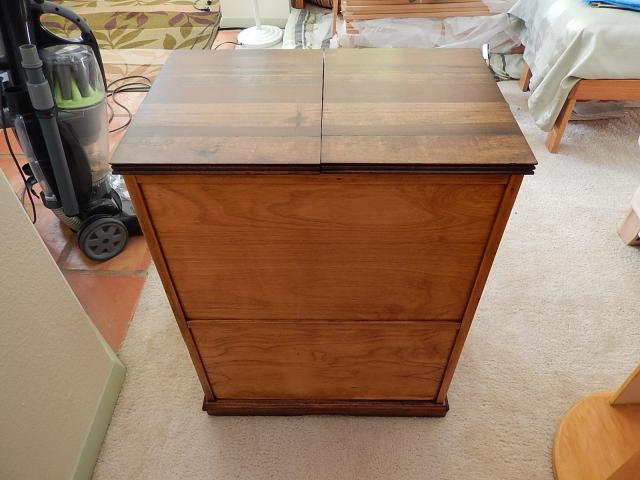
After first rough sanding
|
|
|
|
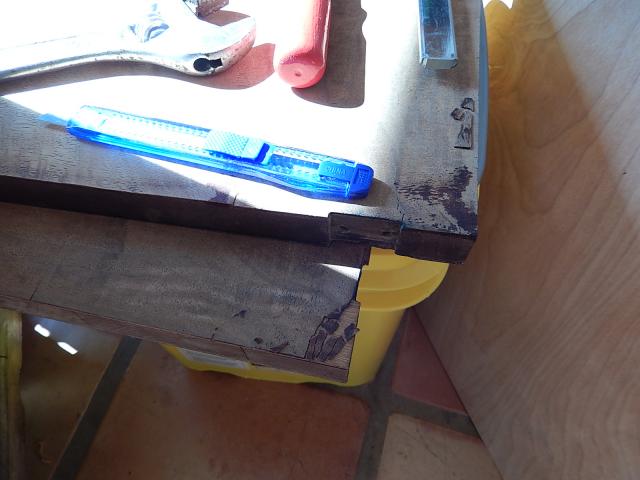
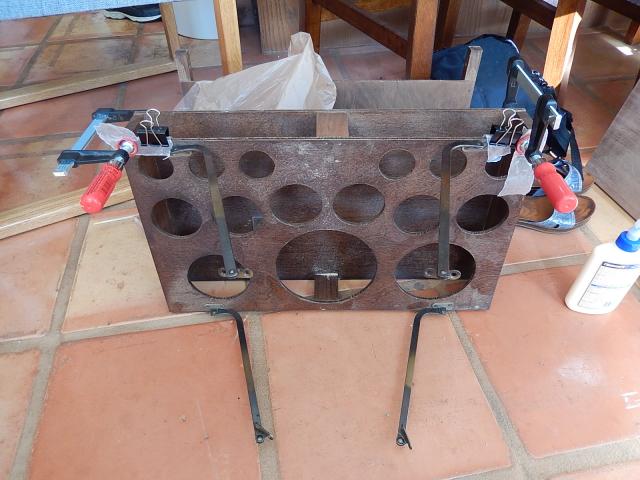
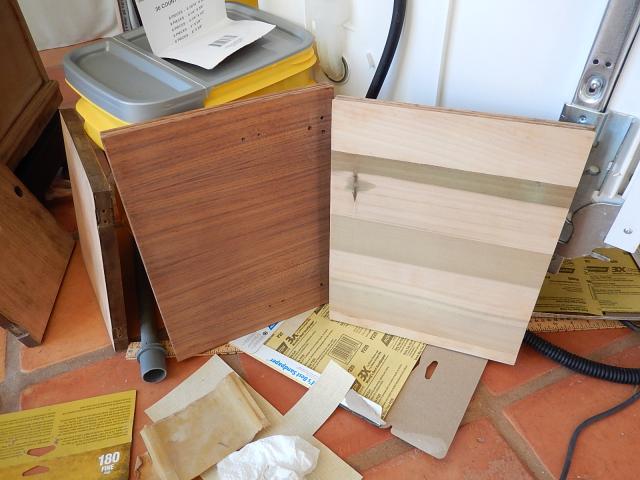
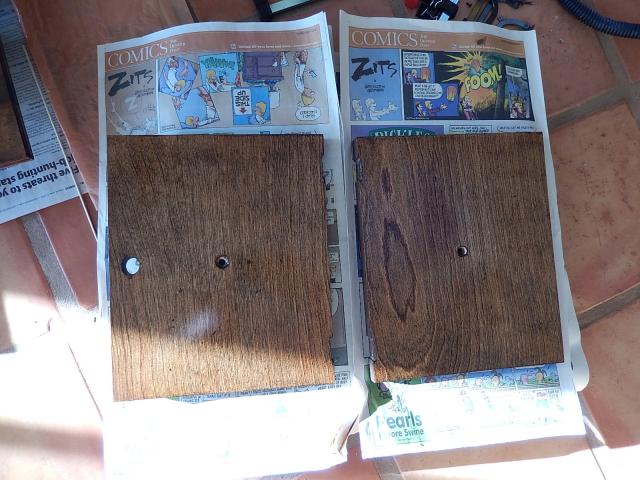
I glued down the corner of the door veneer, but it stuck to the clamp. I later learned I should have put wax paper over it to keep it from sticking.
|
|
|
|
|
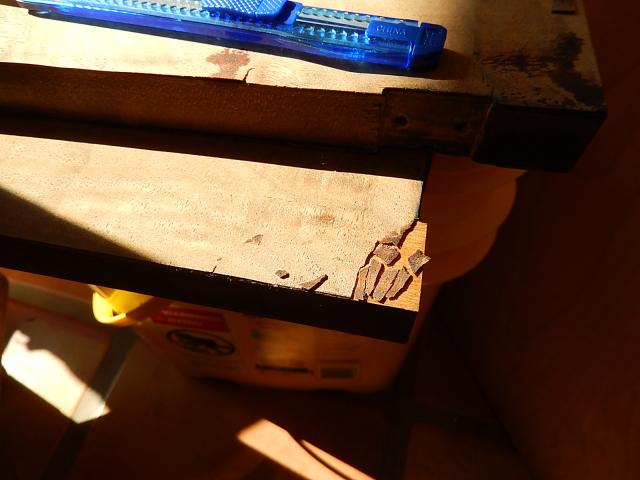
I re-glued the pieces of the door corner with wax paper. Also, I used wood filler on the corner that was all chipped up to fill in the gaps.
|
Other corners needed some glue as well.
|
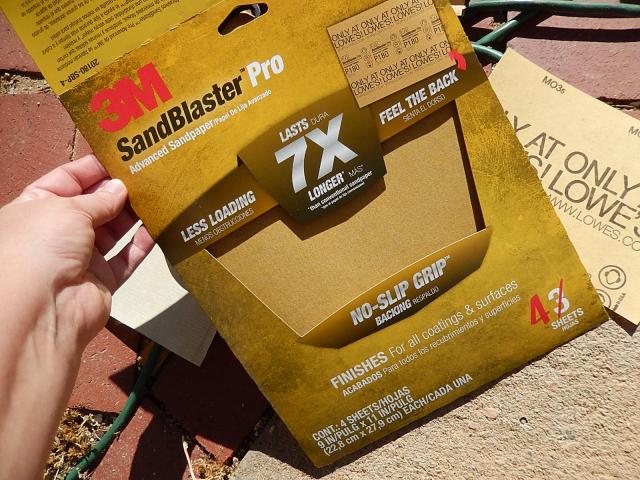
High quality sand paper really is worth the extra cost. It lasts MUCH longer and is just better quality over all.
|
|
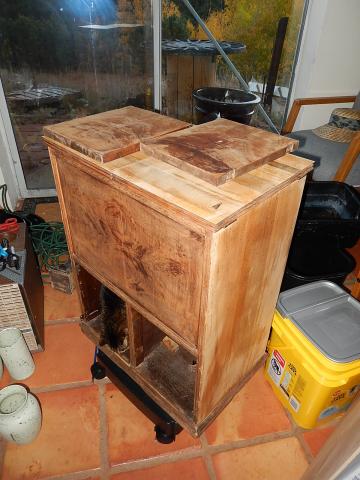
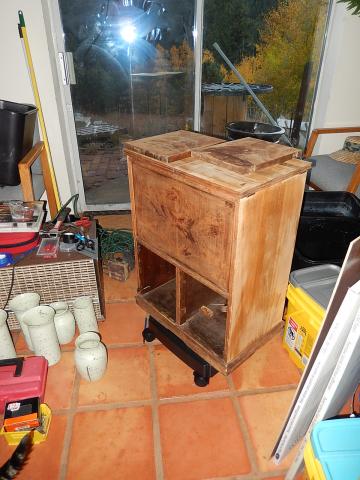
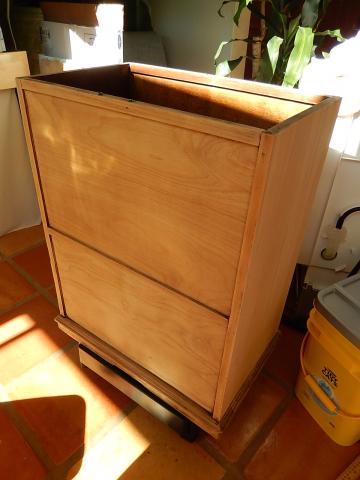
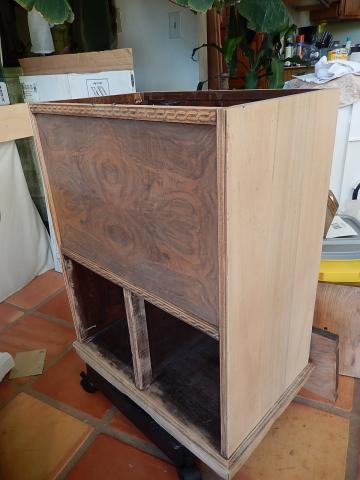
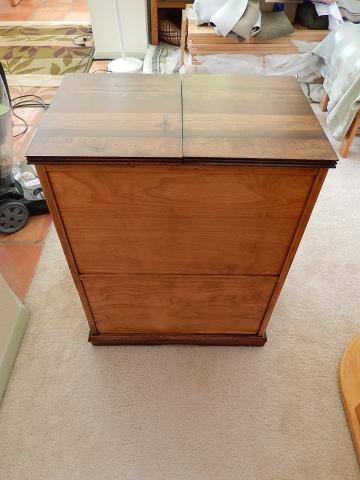
Cabinet is finished with the sanding and ready to stain.
|
|
|
|
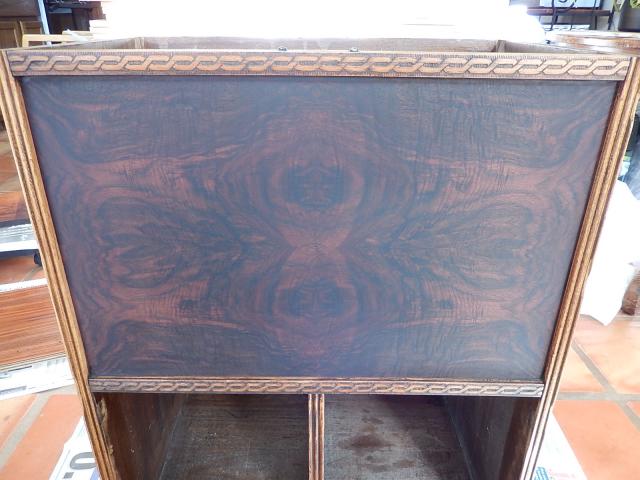
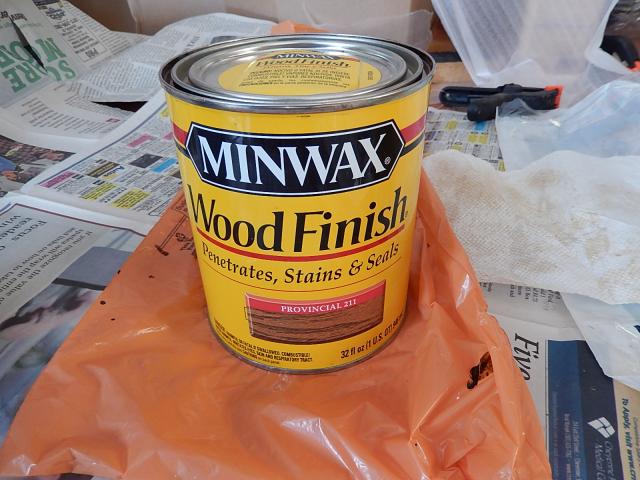
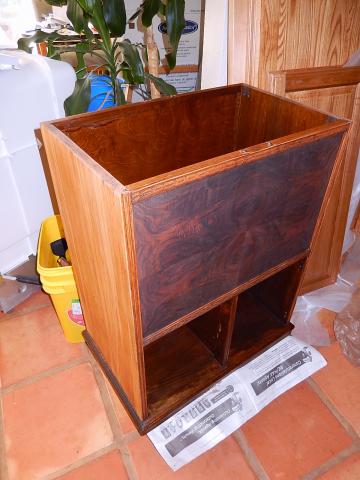
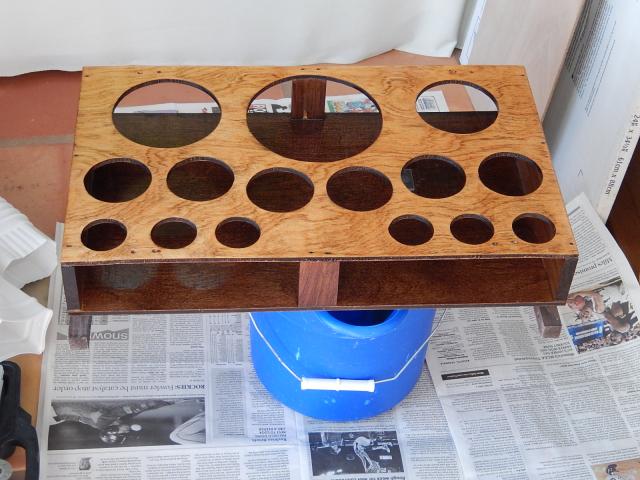
I used a very light natural stain for most of the cabinet to keep the natural beauty of the wood showing.
|
|
|
|
|
|
|
|
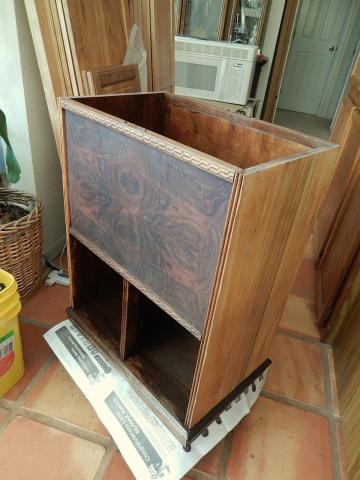
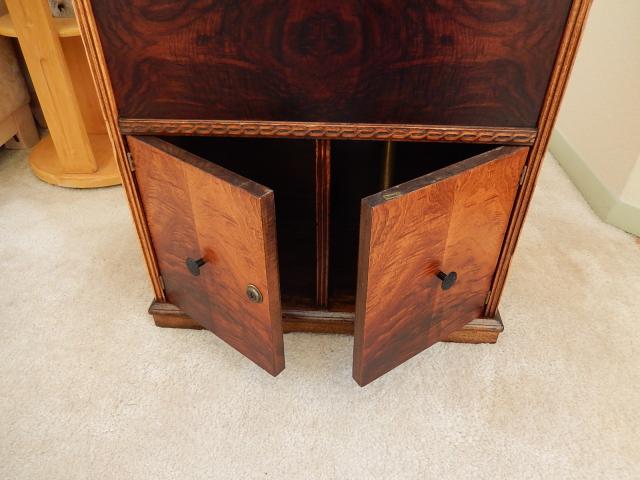
I used darker for the top doors and the base edge of the cabinet.
|
|
|
|
|
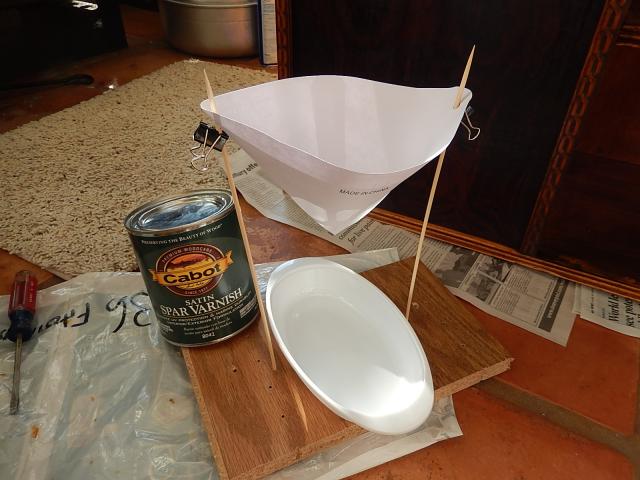
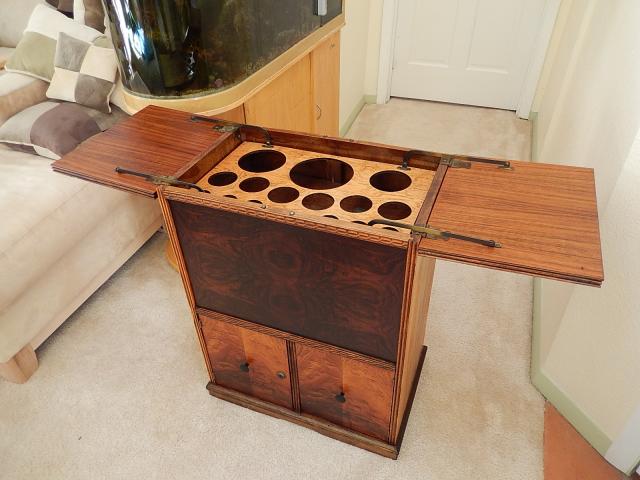
Varnish for the cabinet and several coats for the top to make it as water resistant as possible.
|
|
|
|
|
|
I found out that you should ALWAYS use a paint strainer to strain out lumps and gunk from your varnish. I made a quick stand to hold the disposable paint filters.
|
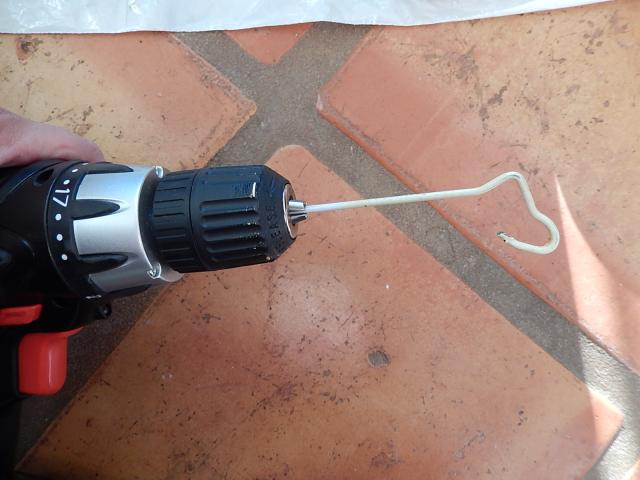
A coat hanger in a drill makes a great varnish stir device.
|
|
|
|
|
|
|
|
|
|