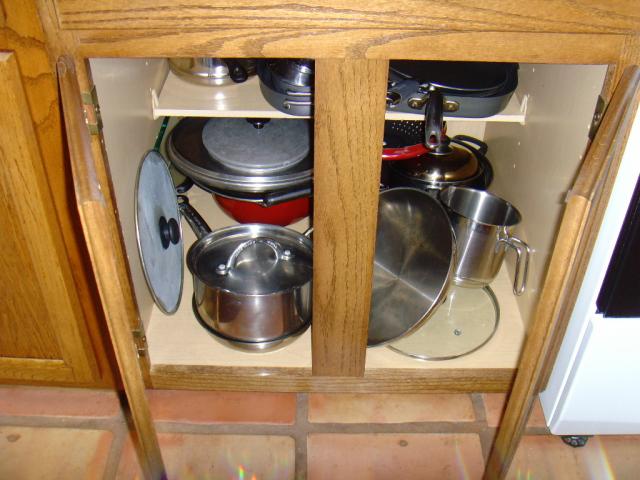
After doing repair and semi-refinishing on our kitchen cabinets, it felt a shame for them to be such a cluttered mess inside.
|
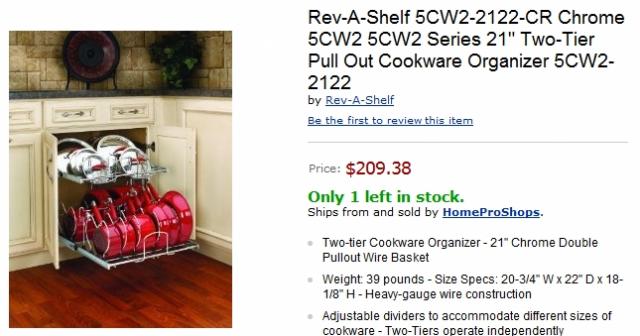
We researched slide-out cabinet racks and found them to cost upwards of $100 to $300... each!!!
|
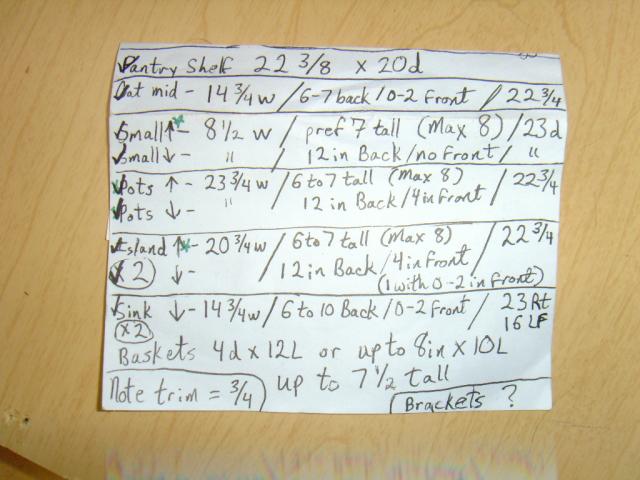
So I carefully measured all the cabinets we wanted to improve, and we decided which would need full extension slides and which could use 3/4 extension. Then off to the store for supplies.
|
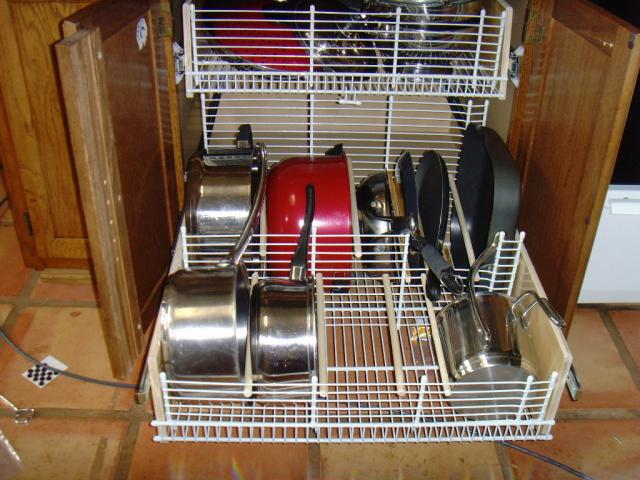
We purchased wire shelving and drawer slides, but will use drawer boards we had on hand for the sides. Chris cut all the wire racks to size with bolt cutters available at the home improvement store for cutting.
|
|
|
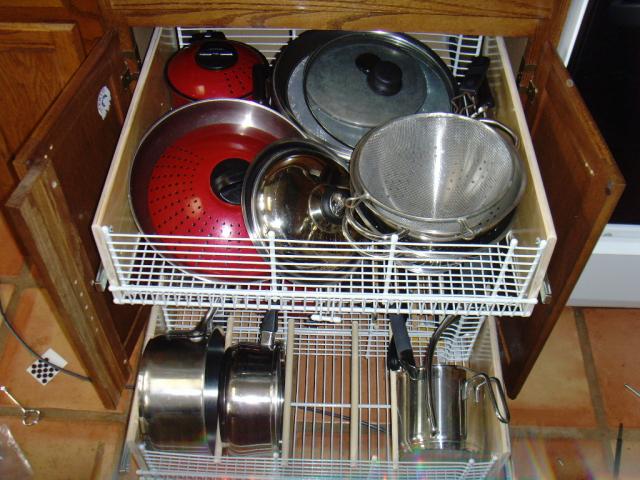
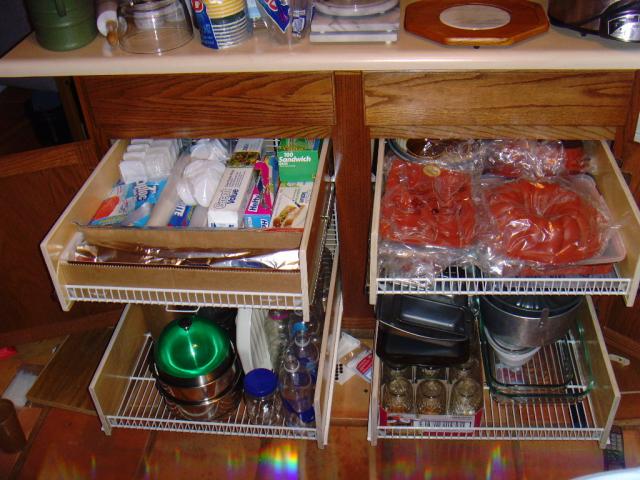
Lids and Strainers fit above.
|
The center bar had to be cut out and attached to the left door... I forgot this at first and had to re-make the back of the bottom rack to leave enough space in the front for the center support to close.
|
It closes nicely now.
|
Not too bad, but a lot of wasted space above the pans.
|
|
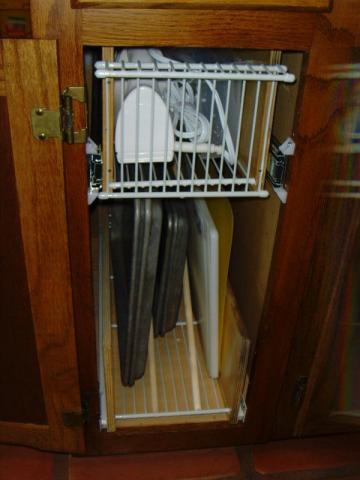
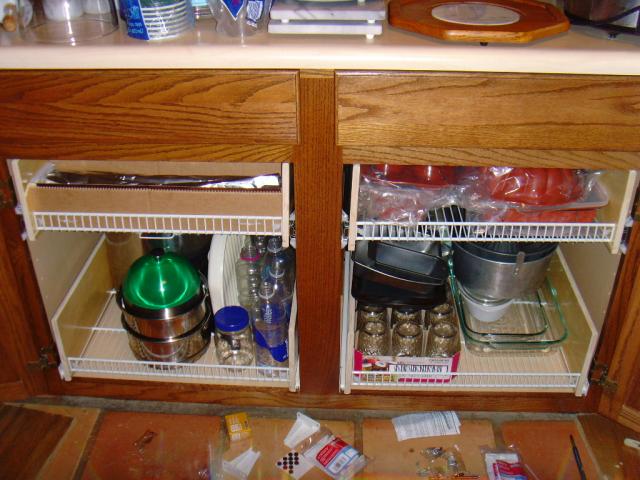
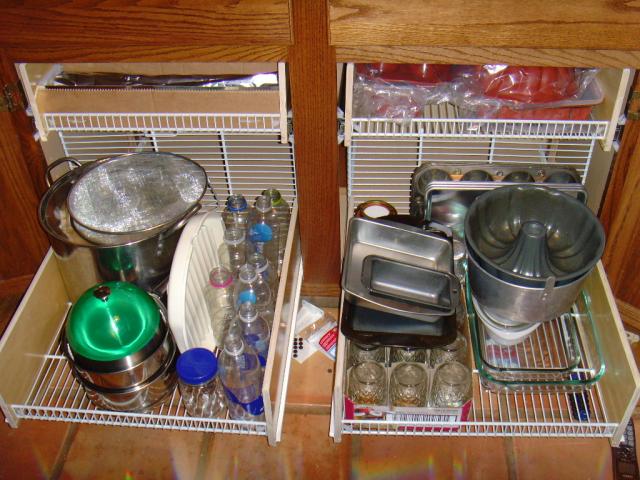
Now both parts slide out to allow easy access and the top holds small kitchen tools, mixers, etc.
|
The bottom shelf rolled out already, but the middle was pretty inaccessible in the back.
|
|
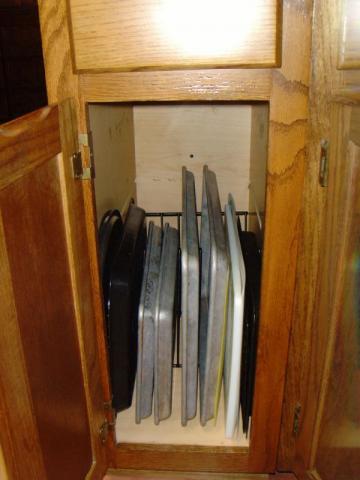
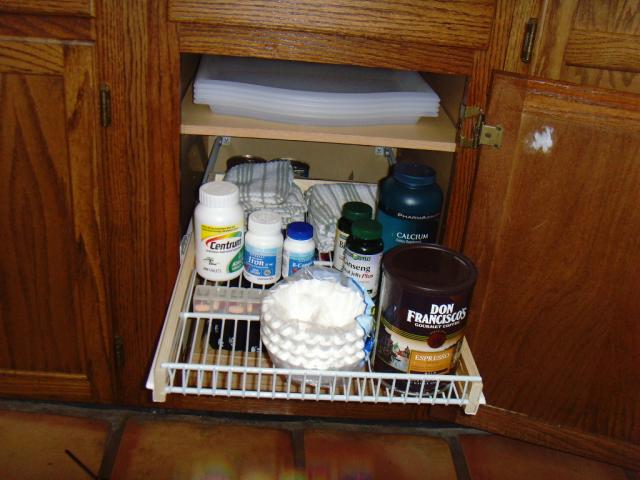
Now I can store my coffee and assorted vitamins and the trays can slide easily in the top.
|
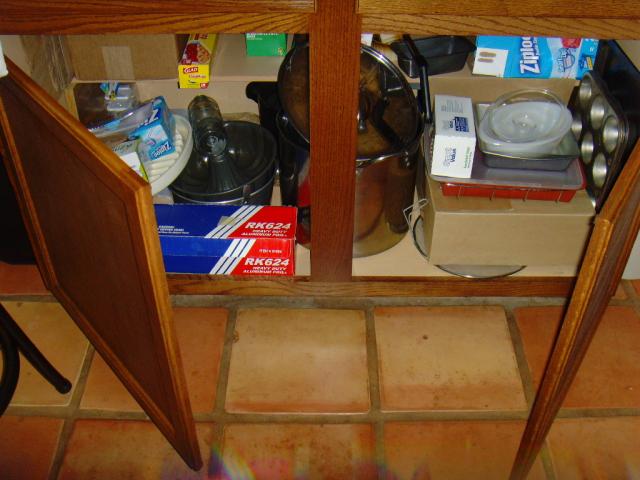
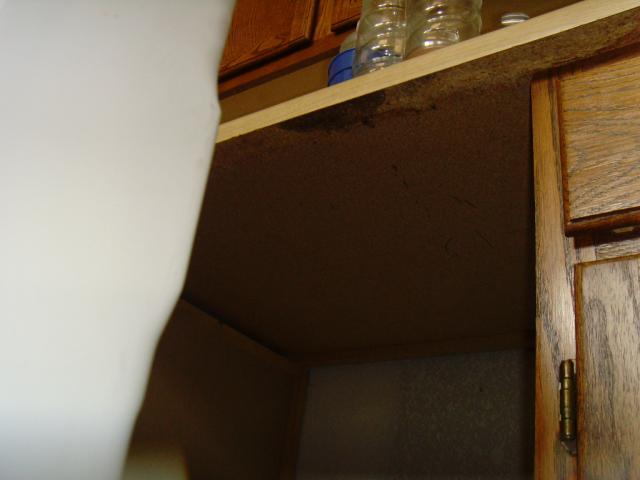
What a mess! A ton of wasted space and baking dishes so hard to get to.
|
|
|
|
Where is what?
|
|
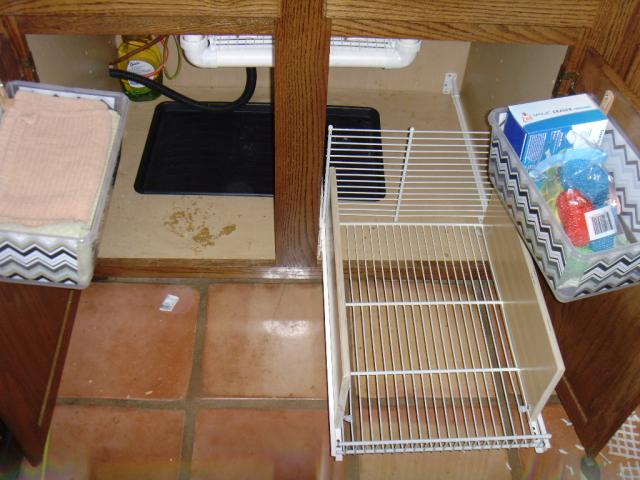
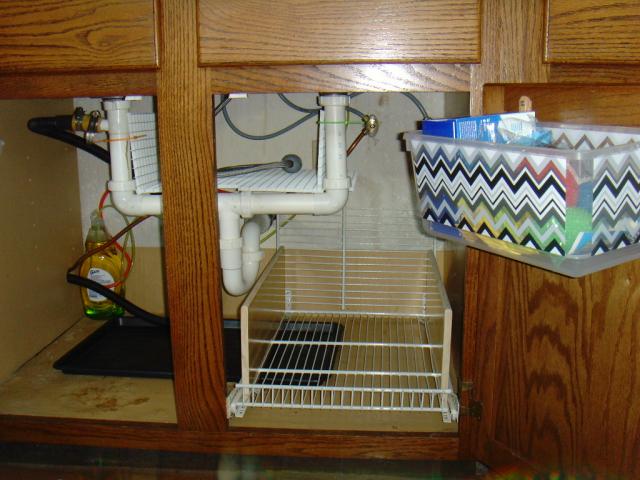
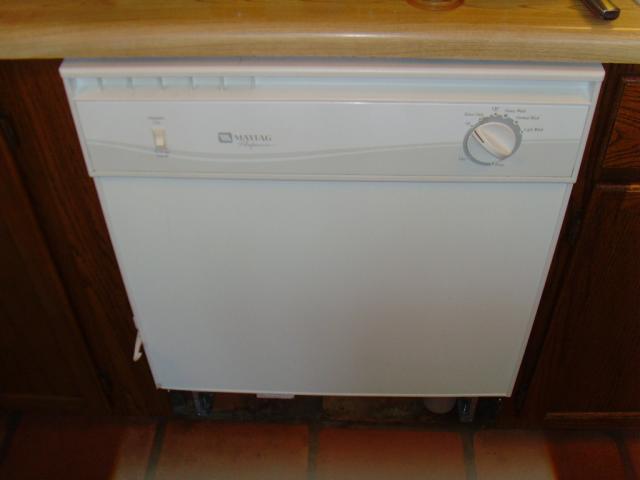
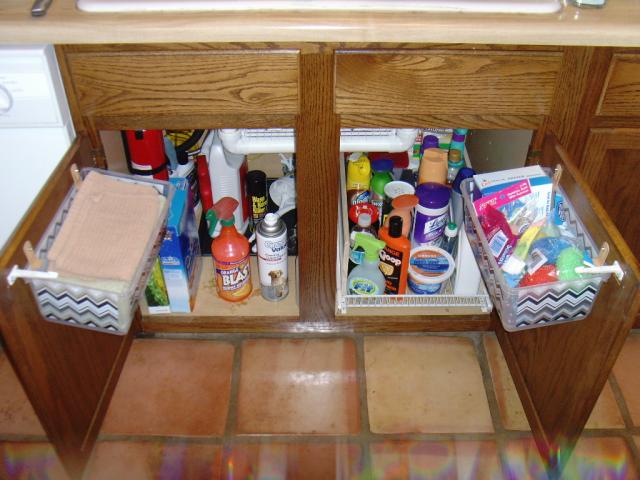
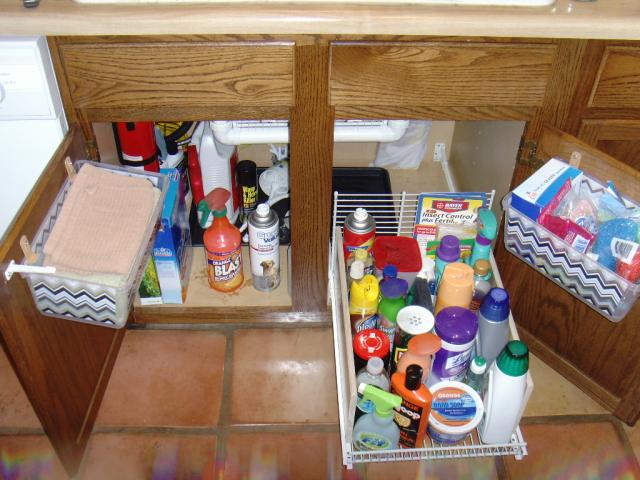
We decided to do a slide out only on one side to avoid bumping pipes to the dishwasher on the other.
|
|
I made a basket for the faucet hose to sit in, so that it doesn't catch on bottles and stuff under the sink.
|
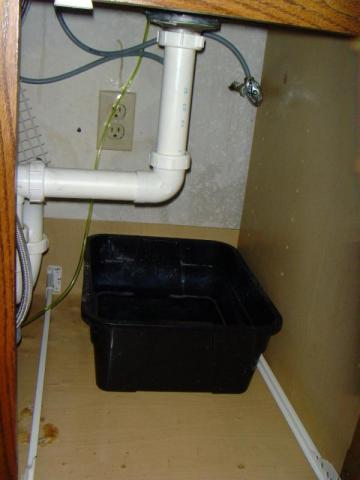
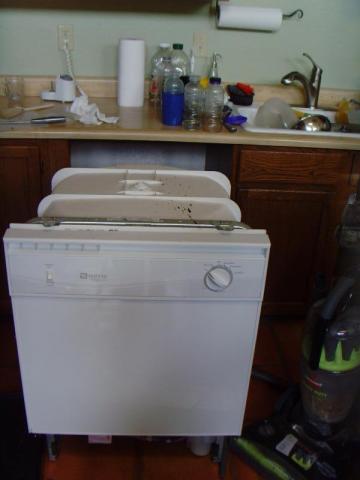
I should know by now that when working near pipes, you should just plan ahead for one or more to spring a leak.
I bumped the stiff copper pipe that ran to the dishwasher and had to send Chris to the local hardware store in Bailey to get a replacement. (He got a soft wire-mesh wrapped pipe and now we won't have to worry about bumps causing it to leak any more.)
|
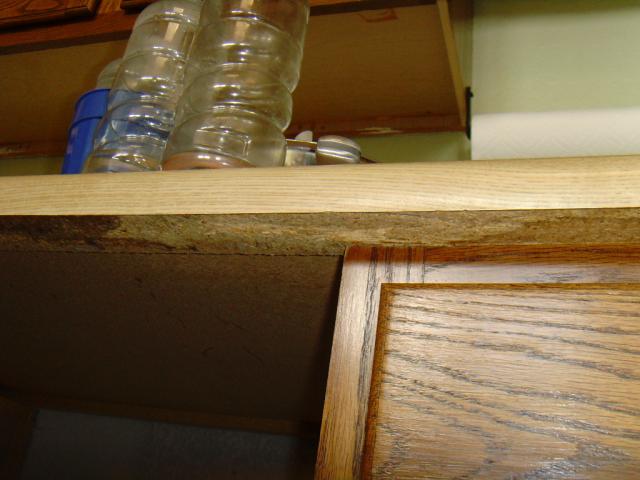
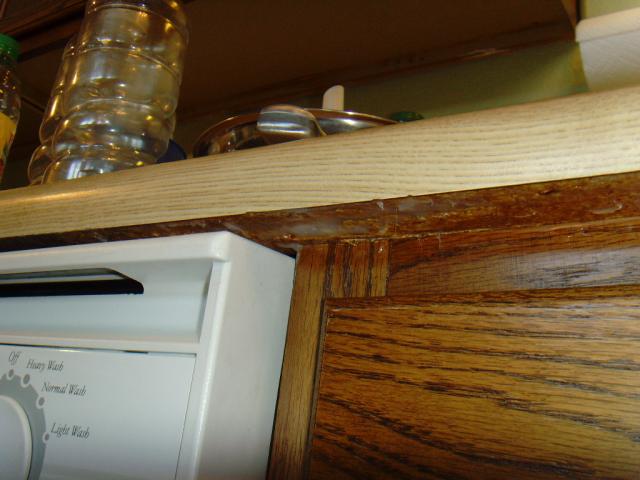
In the mean-time I pulled out the dishwasher to check for any other pipe issues and thought it would be a good time to fix the underside edge of the counter top that had been damaged from years of dish-washer steam swelling the chip-board.
|
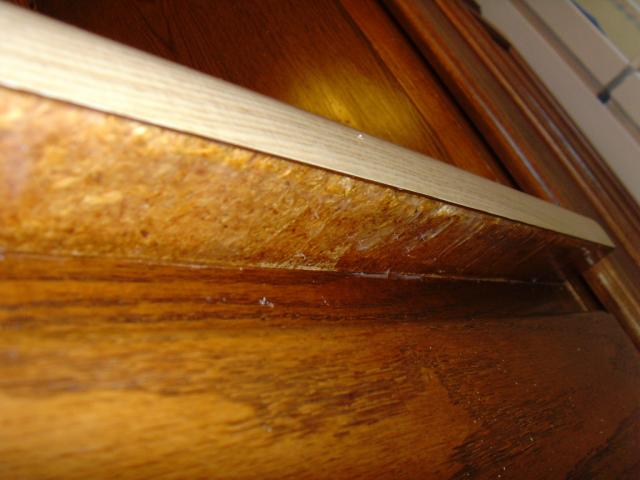
I used my ocilating cutting tool to cut away the worst of the swelled particle-board.
|
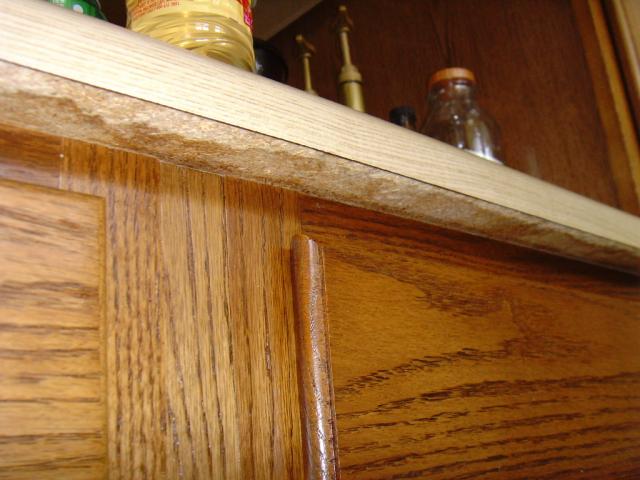
Then a paint scraper to scrape away the rest until it was smooth under the counter edge.
|
It was hard not to damage the counter edge while scraping.
|
|
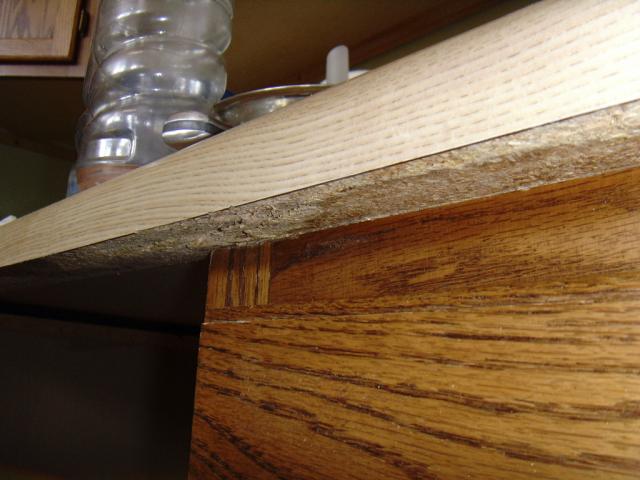
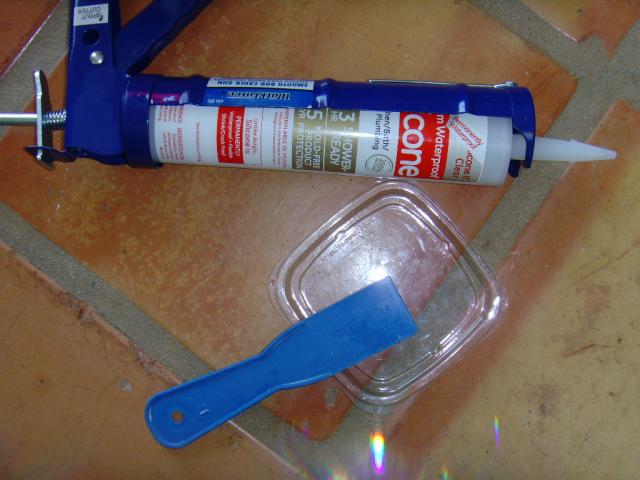
Chris and I discussed the many products that we could use to seal the particle board and protect it from future water damage from the dish-washer and the sink over-splash, but we finally decided silicone would be the way to go. Thick enough to apply with a putty knife, and very water resistant.
|
The silicone should really do the trick!
|
|
|
|
|
|