






| Next Post - Previous Post List View
| |
 | 9/28/2015 6:01:09 PM How to Grill Wall... Maybe. |
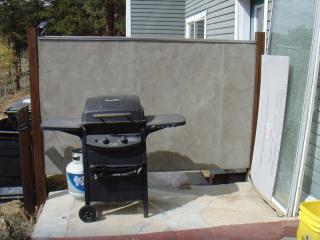
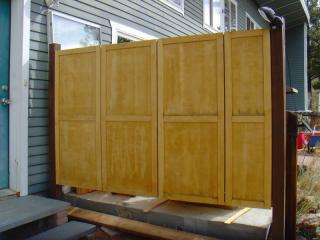
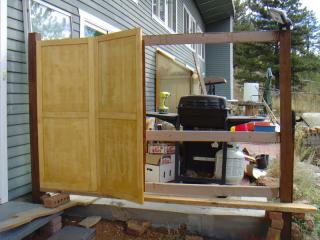
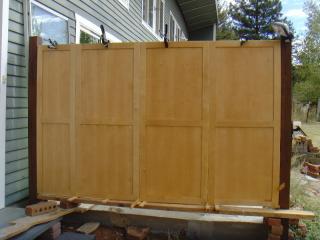
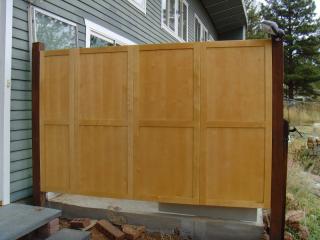
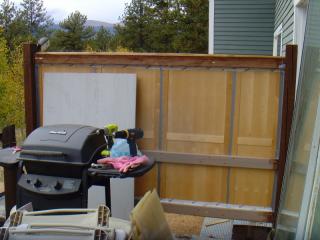
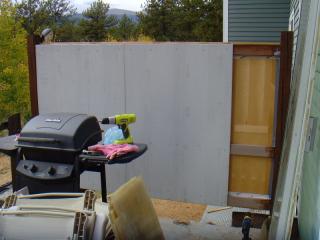
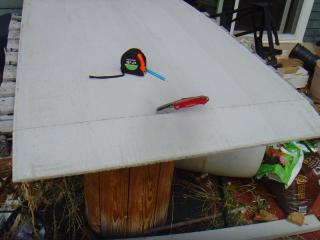
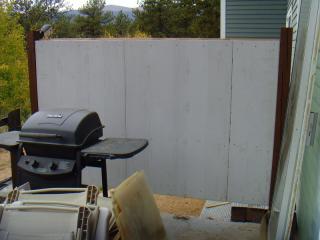
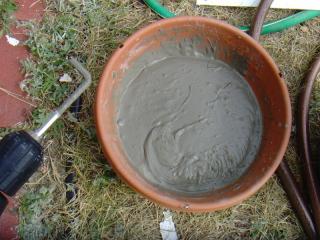
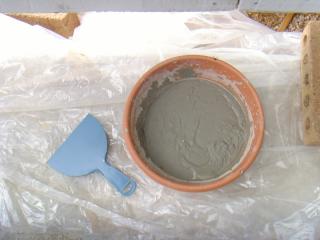
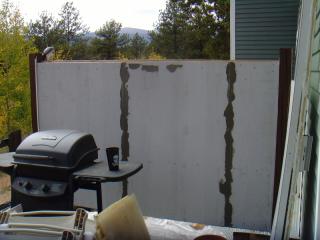
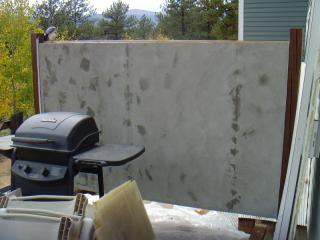
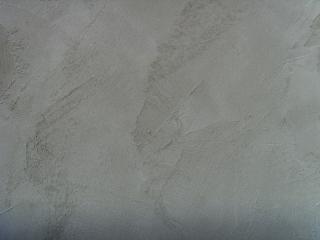
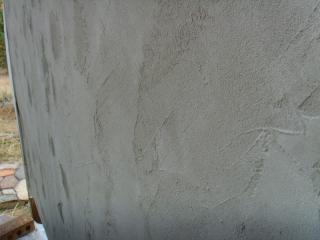
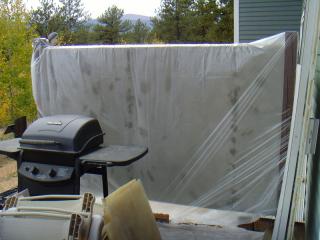
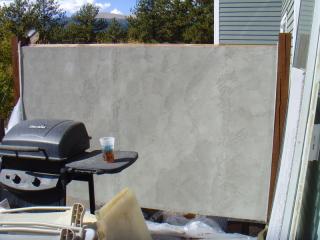
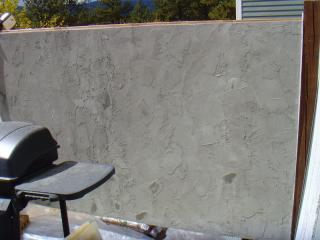
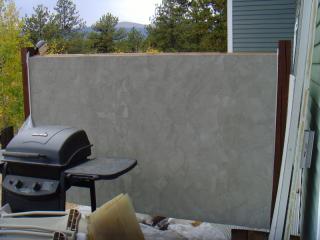
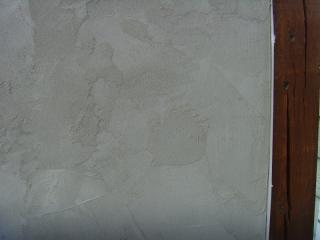
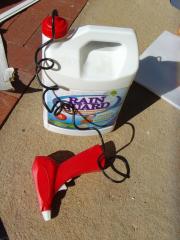
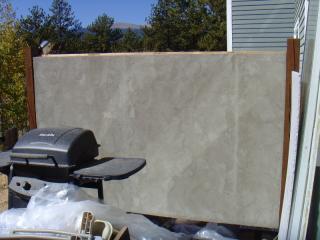
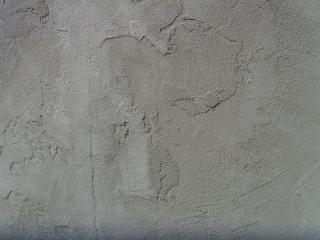
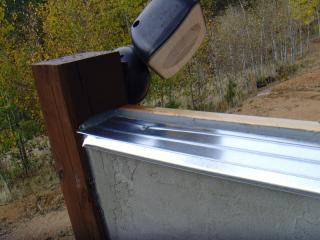
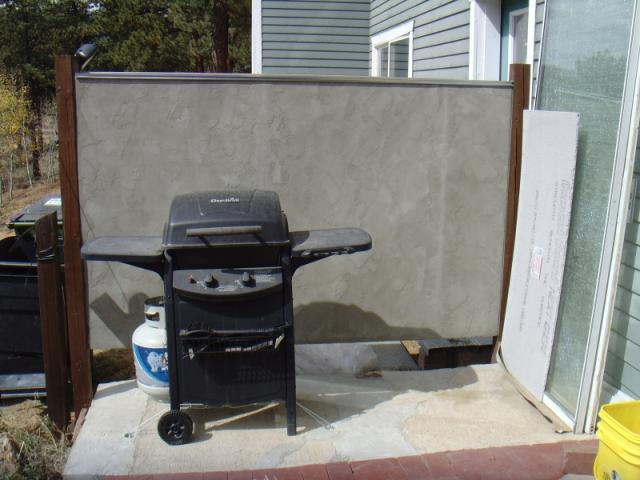
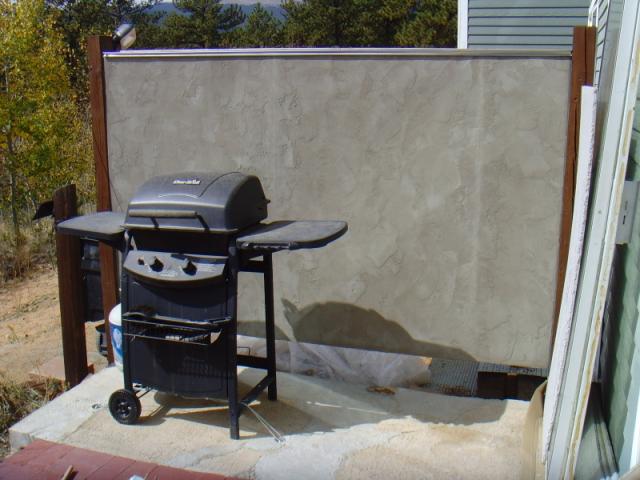
While I would like to say this is a "How To", I am reluctant to say so when I don't know how long (or short) this grill wall will last in the outdoor weather. My poor sanding job of the panels meant that I needed to remove and replace them with some multi-coat pre-varnished panels... which isn't easy with just one person. Some creative help from an old 2x6 that was laying around and some clamps got it done though. So the "privacy wall" portion was complete and hopefully will weather better than the poorly sealed panels did. And on to the heat-shield/grill wall. It isn't surprising that there are not many "wall" or "fence" surfaces that are designed to withstand heat without warping or catching on fire. And since a good portion of this project is so that the grill can be close to the wall for wind and weather protection, I decided to go with indoor/outdoor cement board. And here is where the first "If I did it again, I would..." moment happened. I should have put support boards behind the sides and seams but didn't think about it, and now it would be too much work to get the cement boards back off and re-do it. I am not sure if it would have prevented the coating from cracking at the seams, but it definitely would have given the cement board some better structural support. In any case, I didn't and may live to regret it. The second "I should have...", was that I should have gone ahead and gotten the expensive little bottle of adhesive enhancer type product to mix with the thin-set mortar. I think it would have given the finish a stronger sticking power. Without it and using the cheapest thin-set, left the surface pretty easy to brush off a lot of the sandy grit. I am however, very happy with the texture. I used the wide putty knife and swiped the thin-set on in the seams, then with strokes in all directions to cover the whole surface. The result was a nice random pattern that looks great. I covered the "wall" for the night and was sad to find small cracks along the seams in the morning. I added another coat along the seams and increased the texture in several places that needed it and hoped for the best, but the cracks over the seams still came back a little the next day. Four heavy coats of waterproofing sealer did help harden and make the thin-set stronger so it doesn't brush off the grit as easily, and hopefully it will make it last through the weather, though I will probably need to reapply the sealant each year to keep it in good condition. Despite the small cracking at the seams, the sealant should help keep the wall looking nice, and as importantly, I added a galvanized metal trim piece to the top to prevent moisture and snow from soaking in while it sits on the edge. The trim is sealed with caulk around the top and the sides are caulked with a small bead as well. Now... if only I could figure out how to move the old glass door panels out of the way and put in a bench or maybe a brick-sided stone counter top. And I also need to figure out a good way to hang or install some lights for grilling in the evening. LOL... even when "done" the projects continue. | |
|
POST LINKS BACK TO: 9/13/2015 2:36:35 PM - Project ADD | |
Next Post - Previous Post List View | |
Add Your Comment...



You get my drift LOL
Beautiful wall!!