







| Next Post - Previous Post List View
| |
| 10/26/2016 4:03:04 PM Organizing a workshop... one box at a time. | |
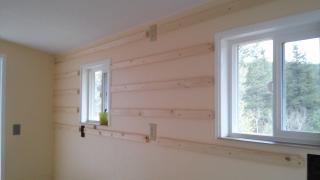
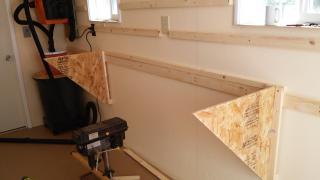
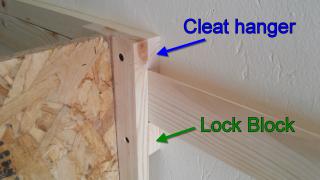
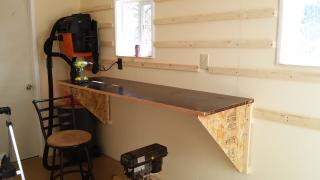
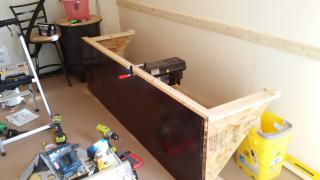
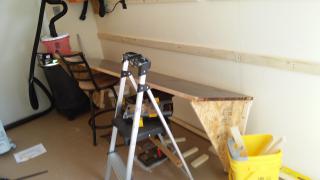
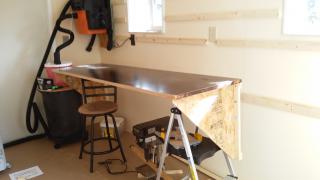
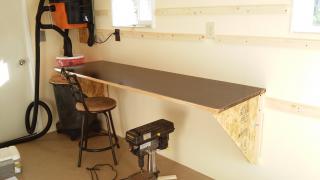
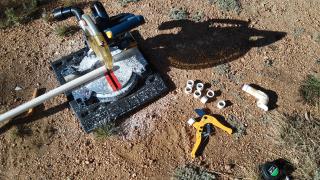
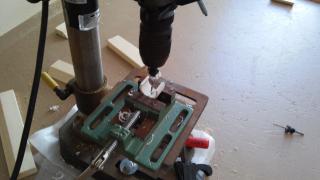
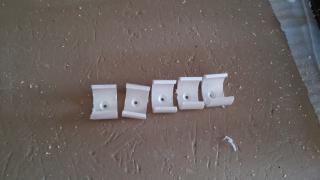
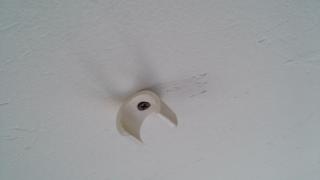
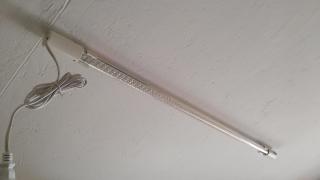
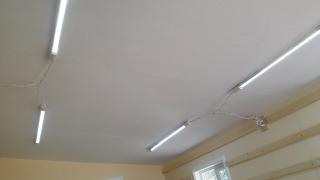
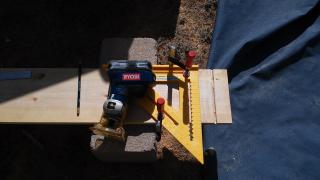
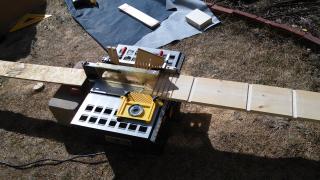
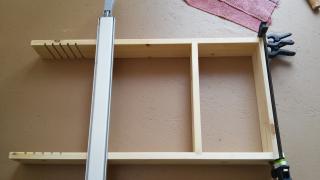
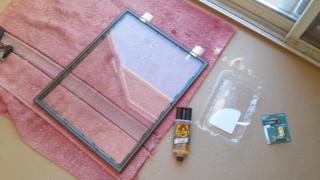
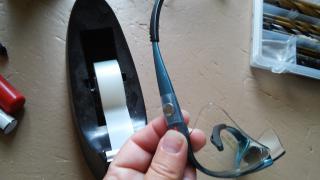
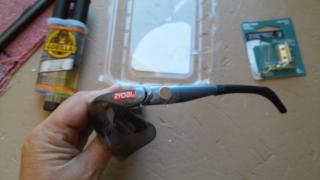
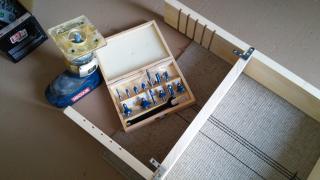
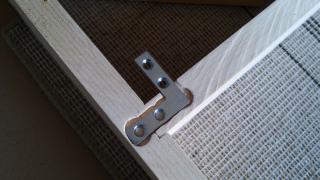
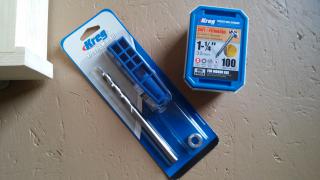
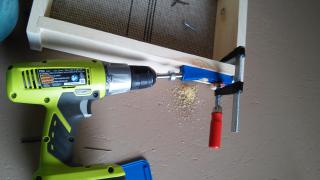
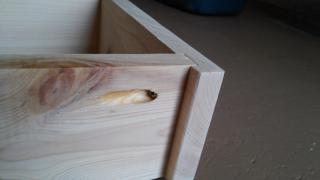
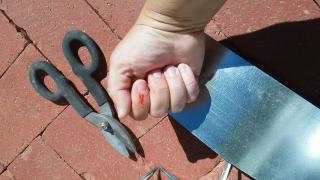
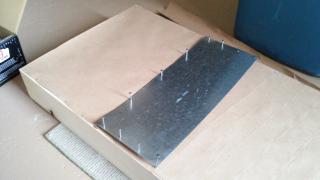
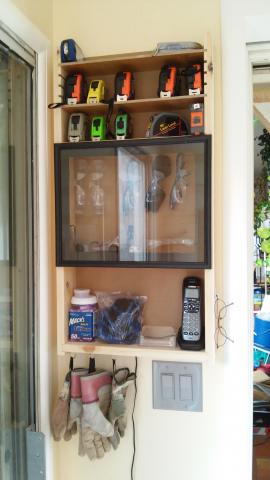
To make my workshop more adjustable I attached french cleats to the walls and will be building "boxes" on matching french cleat hangers. This way I can move everything around when I change my mind about where everything will go. And let's face it... I will probably change my mind about the organization in there at least four times in the next year. The first item to go up though was actually the workbench. It may also get changed in size and placement, so it too sits on an extra wide cleat. However, unlike most of the cleat boxes, it has a added lock piece under the cleat to secure it firmly against bumps and hammering. I built arm supports and attached them to braces that go into the back cleat hanger. After the cleat hanger is settled onto the cleat, the lock-blocks are pressed up into place and screwed in. A test fit of the top made me realize that I had the whole thing exactly 5 inches too high. There was no way I could work like that... so I had to take it all down and start over with the cleat re-attached at the right height. I took the opportunity to attach the back of the workbench to the cleat hanger, though wrestling it all together back into place was quite a challenge. Evidently the best way is to get it placed steady on something else (like a chair and step-stool) and then scootch it up to the wall before trying to lower one side at a time into place. Bench secured, it was time to get some real lighting up. Clips made from PVC pipe worked quite well for my LED tube lights. The cords still could use a little tidy-up, but the shop is well lit for working now. And then finally... on to my first "box". This one is special because it attaches directly to the wall in order to save as much depth space next to the door as possible since I will need to get past it frequently in the winter to get to the firewood. Therefor, it will never move... and needed to be planned as perfectly as possible on the first try. I used my little palm router to cut grooves across a wide board... then used the table saw to cut that board in half, creating two sides with shelf slots perfectly aligned. Gluing up the stationary shelves is vastly annoying to wait on, so I moved forward with epoxy on a dollar tree frame to secure the glass to the frame. While I was at it, I also glued tiny magnets to the left arm of each of my safety glasses, the tape holds the magnets in place while the epoxy sets. Why, yes... that is strange, but don't ruin the surprise. The next day I was able to sand the face smooth and rout a little groove in the back for a couple brackets on the top shelf. I also tried out my new "Mini Kreg Jig" on the bottom shelf and put in a couple pocket screws. After that I added some heavy craft paper to the back just to keep things from scraping the wall paint (again trying to save as much in depth as possible). Then it was time to add the special touch... Behind the safety glasses compartment, I attached some galvanized flashing (after cutting up my finger a little). Surprise! Now my glasses grip right were I put them in the case and the glass door helps to keep dust off the glasses and goggles. Surprisingly after I finished the "box" and had a place to put tape measures... within a few hours I had spotted more than half-a-dozen tape measures all over the house. I thought most of them were lost and gone forever! (and since then at least five more tape measures have been found) And to celebrate... a little grocery shopping... Ummmm, yeah. That is vitamins, yogurt, fruit, crab legs, and ice-cream. Because healthy is what I am all about. LOL | |
|
POST LINKS FORWARD TO: 10/27/2016 9:48:48 AM - Hanging boxes of all sorts. | |
Next Post - Previous Post List View | |
Add Your Comment...






Fantastic!!!!
By-the-by you received high praises for the roll out drawers in my kitchen just on Monday when we had to have a new garbage disposal installed. The electrcition was very impressed as to the accessibility to work under the sink an to the cabinets by the refrigerator as they could be removed.
Cu do's to you and hubby.