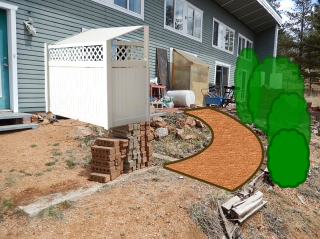
 Along with a lot of hole digging to prepare for bushes to be planted in the small yard near the house, we also needed to prepare for several bushes that will go next to the curved ramp/walkway. The trouble is... there just isn't enough area before it slopes sharply down to the curved driveway. Along with a lot of hole digging to prepare for bushes to be planted in the small yard near the house, we also needed to prepare for several bushes that will go next to the curved ramp/walkway. The trouble is... there just isn't enough area before it slopes sharply down to the curved driveway.
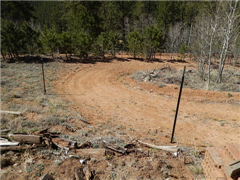 So we had a few ideas on how to keep some dirt available for the bushes. First idea was to cut the tops and bottoms off 55g barrels and dig holes to put the barrels down to ground level and fill them with nice dirt and plant the bushes directly into them.
While it isn't a bad idea on the head of things, many bushes need to spread their roots wider than a barrel would allow for, and it might prevent the bushes from growing well in the future. So the only other option I could see was to build a small retaining wall that would hopefully last at least until the bushes were established enough to hold the soil in place.
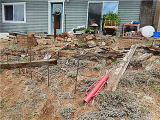 Of course, all I had available was some rebar and half-rotten landscape timbers from around the walkway. So I am pretty sure this is how NOT to build a retaining wall, but it works for now and we will see how it holds up in the future.
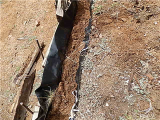 I first made front supports from rebar that the timbers could rest against, and then backed it with some plastic so that water and ground moisture would not be constantly against the wood. Then I started to fill in behind it with dirt, but quickly decided that going to that much work for something that would probably fall apart within the year was just foolish.
So I pulled the dirt back and had Hubby bring home several bags of crack-resistant Quickcrete. The next day, I added more rebar and some wire fencing behind the timbers and then plastic and pressed scrap boards to hold up the plastic... using bricks to hold the support boards in place. This created a channel averaging 4 inches thick with rebar and wire in it to help support the concrete that would be poured in and make it much stronger.
Mixing concrete by hand in a wheel-barrow is just about as much fun as mixing dirt to fill holes... as in... none. 
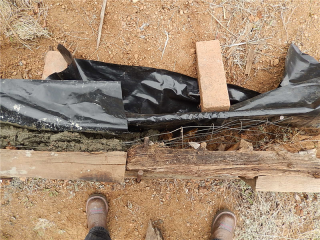 I mixed it fairly dry to push into gaps in the wood, and then mixed a ton more with better moisture consistency to scoop in with my garden trowel and fill up the rest. Larger gaps got a few rocks pushed in as well to reduce the amount of concrete needed to fill voids. After mixing and filling with five 80lb bags of Quickcrete, I realized I would need at least two more and had Hubby pick more up on the way home. 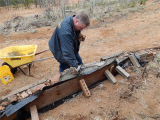 Luckily about the time I was falling apart, he got home and helped me mix the last 2 1/2 bags. Then we pressed some native rocks into the top to give the gray concrete a little decorative touch and called it a day.
Of course, then it snowed 12 inches on top of it.  So I fear that the freezing weather may have caused it to set poorly, but it appears fine and acceptably sturdy at the moment.
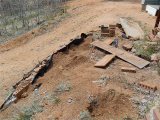 After a few days I removed the wood supports on the back. Added one more sheet of plastic to guarantee water would not flow close to the concrete, and started to fill it behind it with excess dirt from the bush holes I have been digging. Once the dirt is almost level with the wall, we will fold the black plastic back where it can't be seen... or maybe cut it flush with a knife.
Not the prettiest or strongest wall, I am sure, but it will serve it's purpose, and if it holds up for 5 to 10 years, it will have been well worth the work.
| 




 Along with a lot of hole digging to prepare for bushes to be planted in the small yard near the house, we also needed to prepare for several bushes that will go next to the curved ramp/walkway. The trouble is... there just isn't enough area before it slopes sharply down to the curved driveway.




As you once said the rebar is important for the strength of what is behind or in front. Please take a day off now for fun and relaxation.