







| Next Post - Previous Post List View
| |
 | 6/19/2014 1:16:19 PM Custom Car Seat Cover: Simple or Advanced |
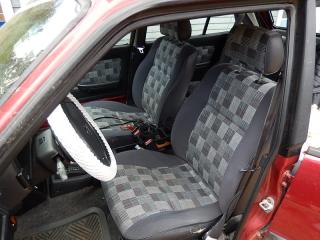
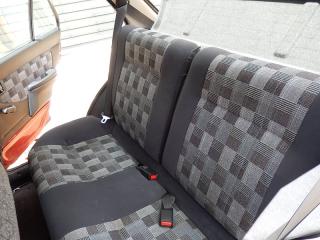
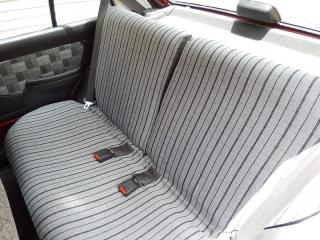
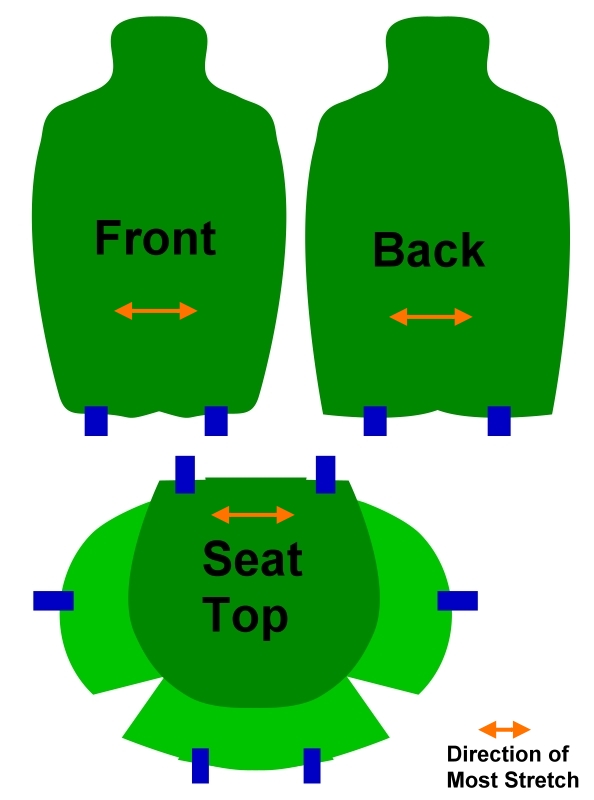
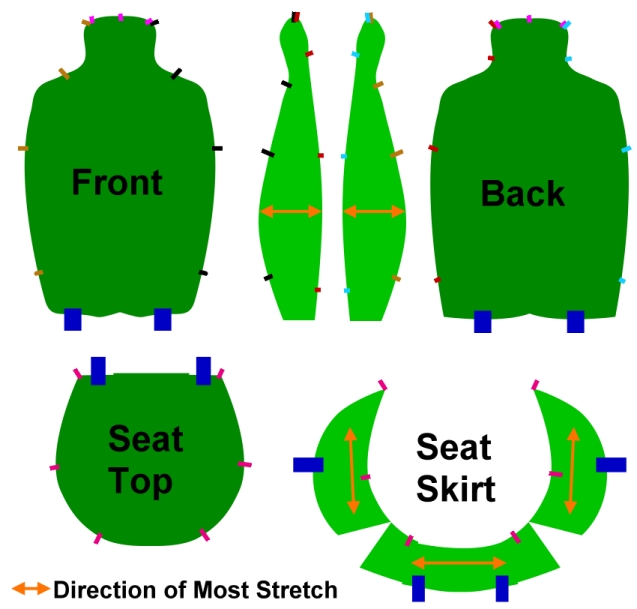
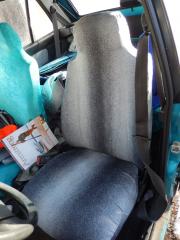
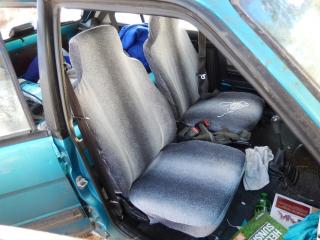
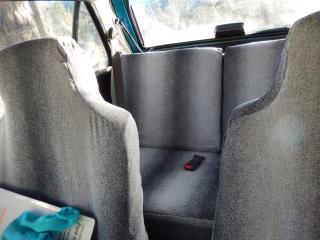
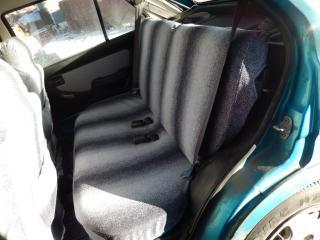
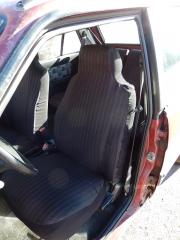
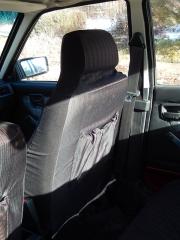
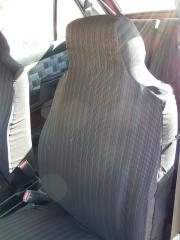
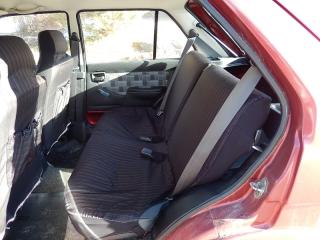
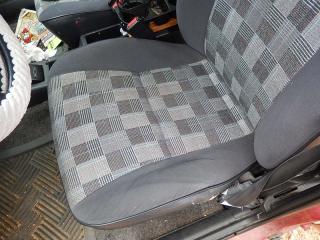
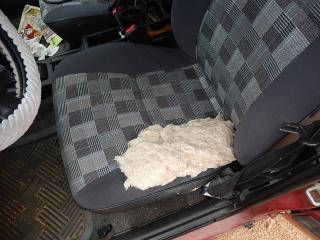
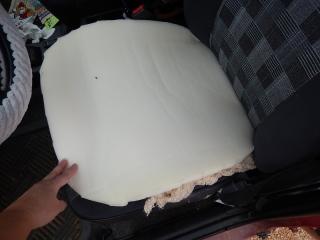
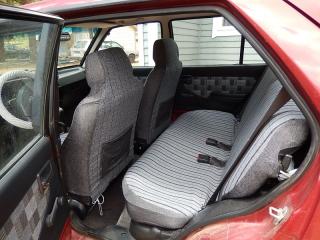
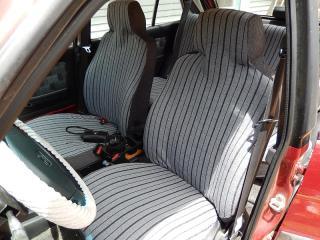
Car seat covers are one of the best ways to protect your car seat vinyl from damage or refresh a dingy or stained seat, but one-size-fits-few seat covers can be a real eye-sore when they don't fit your particular car seats. However, with some simple to moderate sewing skill, you can make custom seat covers for your car/truck/etc. to turn this: Into This: Jump to Simple Seat Cover for Beginner to Moderate Sewing Skill Jump to Advanced Seat Cover for Moderate to Advanced Sewing Skill Side-Note About My Particular Cars:  Being a Subaru Justy fan, I gave up on store-bought seat covers long ago. The Justy is the smallest four-wheel-drive car ever released in North America, and while they come in two-wheel-drive varieties, the 4wd is all I collect. Why? Because that tiny little car gets me in and out of the mountains through snow over the hood when a lot of giant SUV's and trucks are stuck on the side of the road... and it can park in half the space. Even more amazing is that when the little hatchback back-seats are folded down, you can fit an astounding amount of stuff. All while getting 35 to 42 miles to the gallon. Being a Subaru Justy fan, I gave up on store-bought seat covers long ago. The Justy is the smallest four-wheel-drive car ever released in North America, and while they come in two-wheel-drive varieties, the 4wd is all I collect. Why? Because that tiny little car gets me in and out of the mountains through snow over the hood when a lot of giant SUV's and trucks are stuck on the side of the road... and it can park in half the space. Even more amazing is that when the little hatchback back-seats are folded down, you can fit an astounding amount of stuff. All while getting 35 to 42 miles to the gallon.However, it also means that the seats are too small for any normal seat cover to fit well. Probably the simplest seat cover is all about the material you use. It must have good stretch... at least in the horizontal direction. Take a sheet of newspaper (or two taped together if needed), press it to the front of your seat, then trace the edge with a marker (be careful the marker does not bleed through the paper and onto your seat). Then use the same method to trace the back of the seat and the seat top. Ignore the side of the seats because this is where the stretch of the material will cover the gap. To the seat top pattern, add the light green wings as seen in this picture... Using very stretchy material (in this case I used a stretchy crush-velvet), cut out the front and back. Add a pocket to the back if you want one. Then sew them together on the sides and top. Remember when sewing stretchy material to stretch out the material as you sew to give the thread room for stretching, and/or use a zigzag stitch... which will also give the thread some room to stretch without breaking. Then trace and cut out the seat top with the skirt. For sewing the seat top, sew the light green "V" at the front corners closed... this will give the seat a curved skirt to hug the seat base. If your material looks like it may fray along the edges, you should fold over exposed edges and sew a zigzag along them. Then sew on loops in each location shown in blue. These will give strong tabs to tie cord, elastic, or thin rope to and from to hold the seat cover in place. Using this method may result in small "ears" at the top corners of the seat. To fix these you can tuck them in. Or you can put on the cover inside-out and pin across the base of the "ears" where they stick out... take off the cover and sew where you pinned. When you flip the cover the right way out after sewing, the "ears" will be sewn inside and won't stick out. Your seat cover is ready! Though possibly not the most beautiful thing in the world depending on your choice of fabric. But they might also match your car perfectly... For the back seats, you can use the same method of trace and sew while ignoring the sides because of the stretch of the fabric. Also, the base of the back seat will be much easier to cover if you remove it and stretch the fabric and cords underneath it. (Don't forget to cut holes for normal operation of seat belts, or latches if your seat folds down.) (If possible, remove the seats from the car for this as it will make everything MUCH easier.) To get something more professional, the key is also heavily reliant on find the right kinds of fabric. You want something with little or no stretch for the front and back, and something with moderate (or more) stretch for the sides and skirt. Take a sheet of newspaper (or two taped together if needed), press it to the front of your seat, then trace the edge with a marker (be careful the marker does not bleed through the paper and onto your seat). Then use the same method to trace the back of the seat, the sides of the seat, and the seat top. Then cut out the paper tracings. Also cut out a paper for the skirt by using the seat top as a starter. Then... and this is very important for a good fit... pin your tracings to the seat and mark about every 6 to 10 inches along each seam... Marking both papers where they meet. The marks are shown on this picture as colored marks along the edges. Be sure to transfer these marks to the edge of the material cut-outs. Then when you sew the pieces you can align the marks to be sure the pieces fit together correctly. (You can also add a triangle notch-out to the material at the marks like is done on store-bought patterns.) Out of your non-stretch material, cut the front, back, and just the dark green of the seat top. Out of your stretch material, cut out the sides and the skirt of the seat. Note: If your material is very stretchy, you may want to reduce the size of the sides and skirt pattern by about 10% to 20% (in whatever direction the stretch is greatest). Be sure to align and pin your edge markings before you sew, and sew in this order: (Add a pocket to the backs if you want one.) Top of front to top of back. (pink marks) Side 1 to front and around to back. (black then red marks) Side 2 to back and around to front. (blue then brown marks) V cuts in seat skirt. Seat skirt to seat top. (purple marks) Hem exposed edges that might fray. Add fabric loops at big dark-blue marks for ties of cord, elastic, or thin rope. If you are using a material that is moderately stretchy for all pieces including the front and back, be sure to reduce the front, back, and seat by about 10% to 20% as well as the sides in the direction of stretch. I did not do so with this one for the blue car, and I later wish I had reduced a little for a slightly snugger fit... This one for my niece's red car was done with a non-stretch for the front, back, and seat, and I am much happier with how it turned out: To sew the back seat covers, use the same method of tracing, pinning, and marking... but cut the back side of the seat-back out of the stretch material as well so that it can get squeezed onto the seat without a potential problem with curves. Don't forget to add padding if the seats are worn or uneven, or even if you just want a little boost. In this case on my personal red Justy, the driver's seat was worn uneven on the left side. Batting from a futon mattress gave a firm base and a thin foam top smoothed everything out. If you are not 100% sure of your skill, try it out with some cheap material before going with more expensive upholstery, etc. Nicer material can get really expensive, and the cost of a cheap test-run would probably be less than messing up on a high-priced material. Happy Sewing!
| |
Next Post - Previous Post List View | |
Add Your Comment...


