




| Next Post - Previous Post List View
| |
 | 6/24/2014 12:32:17 PM Lint Pot Makeover |
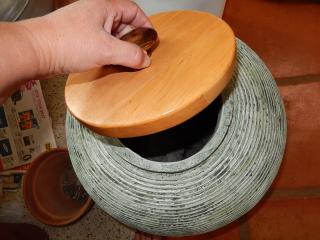
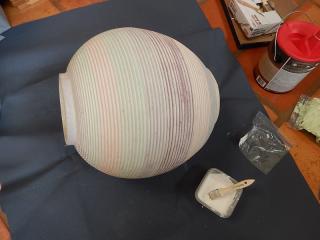
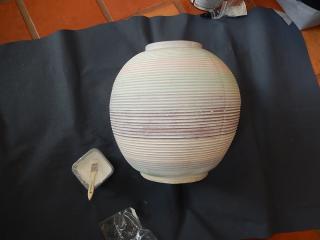
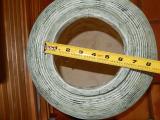
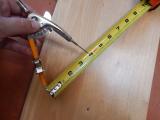
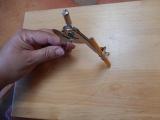
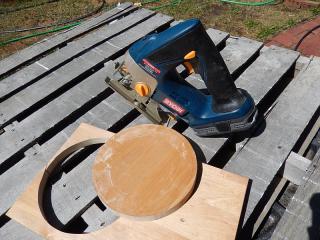
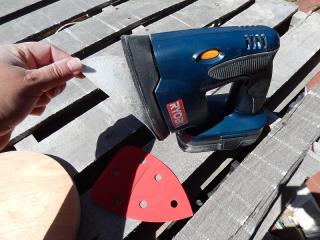
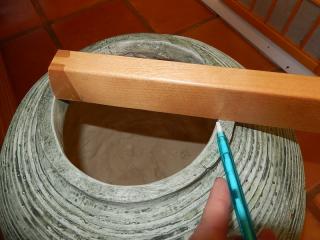
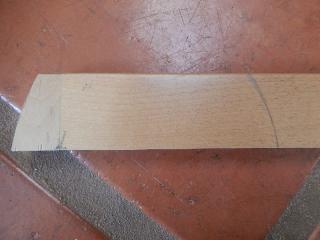
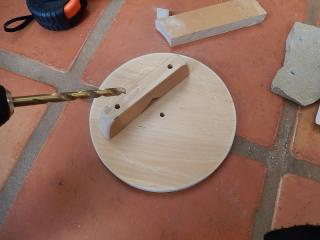
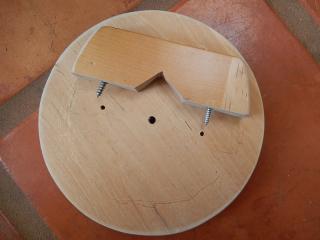
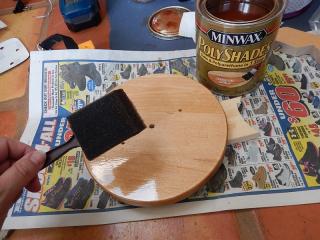
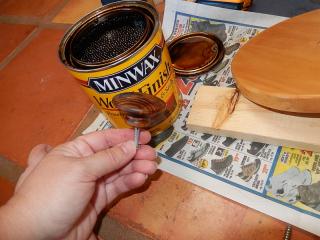
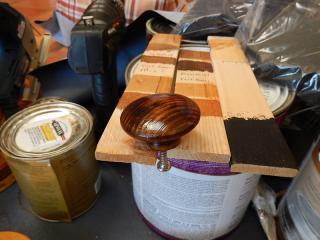
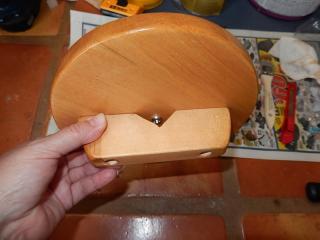
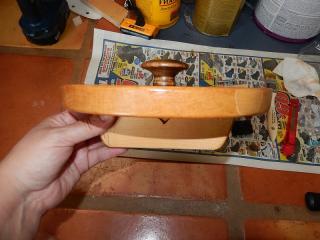
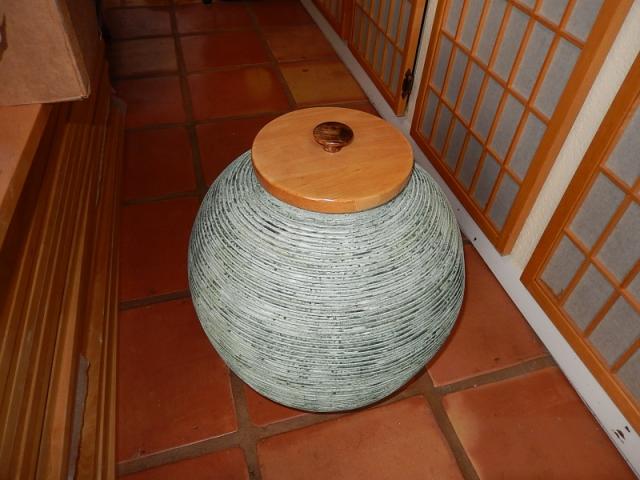
So the first thing you should ask here is "What the heck is a Lint Pot?" Well, a Lint Pot is a container that you store your Dryer Lint in. Clarifies the whole thing, right? So I have been looking for a nice container of some sort for a long time for this purpose. This very large pot / vase that I found at a thrift shop fit the size and price I was looking for, but definitely not the color, and it needed a lid. 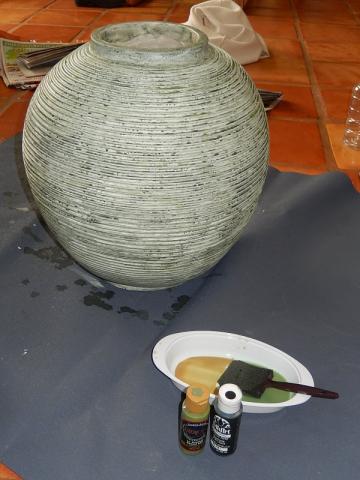 So first in order was some paint... I gave the whole thing a coat of white and let it dry fully. Then I used one part charcoal and one part olive green mixed with about ten parts water and sponged it onto everything. The watered-down paint settled into the grooves in the pot and gave it a multi-tone that I was looking for. I did not try to get the perfect amount in one go. It was easier to sponge on some and then let it dry to see how it looked, and then sponge on some more. For a final touch, I used the olive green and barely wet the sponge with it... then wiped it mostly clean and just rubbed it along the ridges. This gave the pot a little added green color and emphasized the edges. So first in order was some paint... I gave the whole thing a coat of white and let it dry fully. Then I used one part charcoal and one part olive green mixed with about ten parts water and sponged it onto everything. The watered-down paint settled into the grooves in the pot and gave it a multi-tone that I was looking for. I did not try to get the perfect amount in one go. It was easier to sponge on some and then let it dry to see how it looked, and then sponge on some more. For a final touch, I used the olive green and barely wet the sponge with it... then wiped it mostly clean and just rubbed it along the ridges. This gave the pot a little added green color and emphasized the edges.Then came time for a lid. I measured the rim and added a half inch to the measurement. Then... remember that "compass" you used to make circles with when you were a kid? Well, that really comes in handy at times like this, and for once, I was actually able to find mine when I needed it. My cordless jig-saw with a new "scroll" blade did a great job cutting out the circle and the little cordless sander made quick work of rough and fine sanding with it's velcro sanding pads. Then I cut a piece of wood to keep the lid from sliding off. I also cut a notch for the screw head that will hold on the knob, and pre-drilled holes for the screws. Then two coats of "PolyShades" with a light sanding inbetween for the lid, and stain and poly for the knob (purchased at HomeDepot). Something I realized several projects ago is that if you try to match stain on two different types of wood, you are almost always going to end up with just enough difference that the end will look off. So whenever possible, I now choose completely different stains that compliment each-other instead of trying to get things to match. It is much easier and I am usually much happier with the look in the end. I used the screw to hold the knob while staining and finishing it, and then set it between two boards to dry. Then it was time to put it all together. While not everyone needs a Lint Pot, these methods could be used for pretty much any pot that needs a little update. I find that thrift store items may not always be exactly what you are looking for, but often can be changed to work for what you need. Anyone else find a great item at a thrift store or yard sale lately?
| |
Next Post - Previous Post List View | |
Add Your Comment...


So perfect.