




| Next Post - Previous Post List View
| |
 | 8/4/2014 3:53:35 PM Fending Off Rodent Invasion: Dryer Vent Cover |
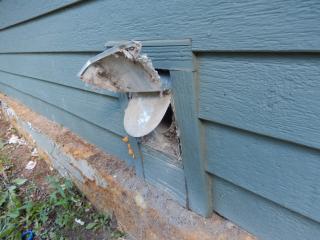
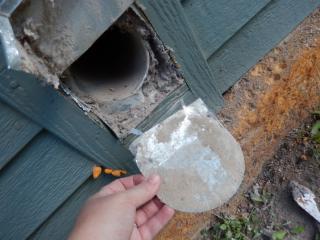
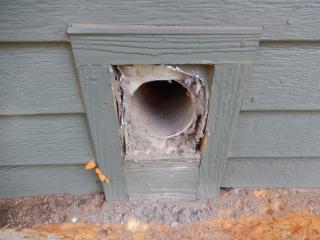
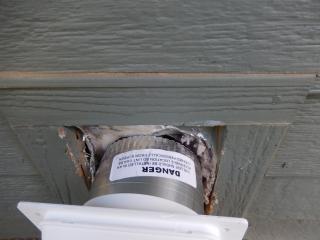
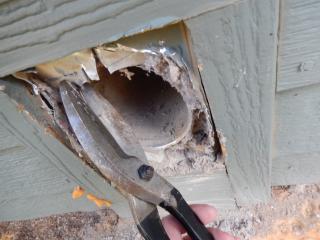
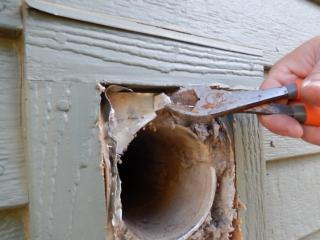
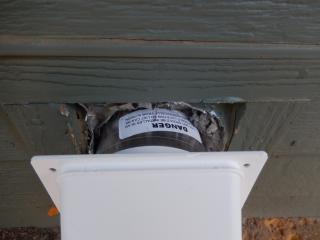
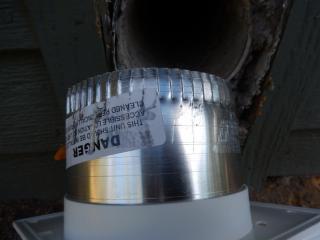
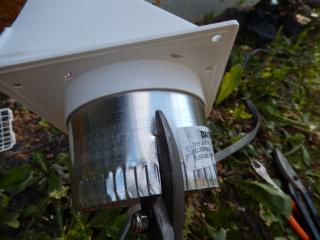
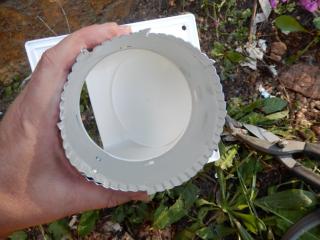
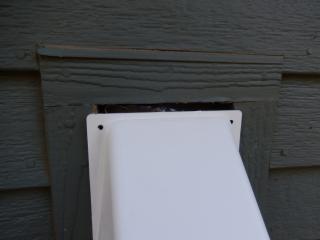
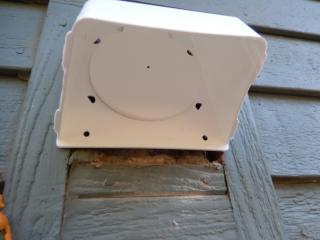
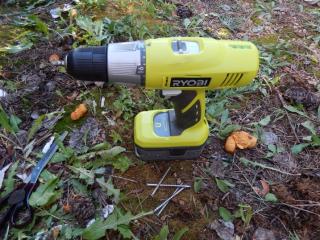
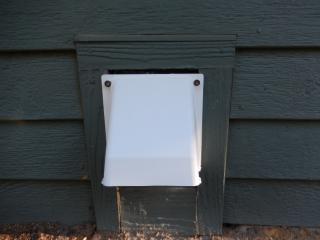
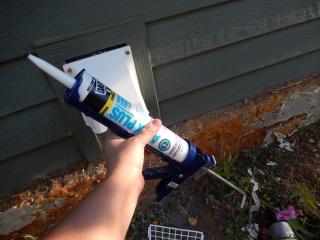
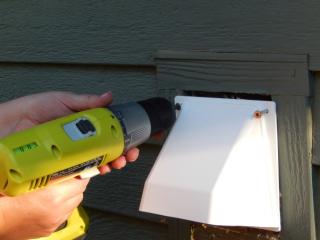
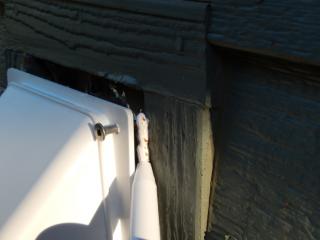
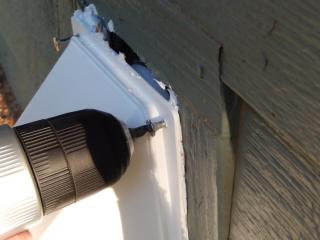
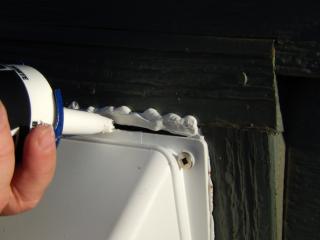
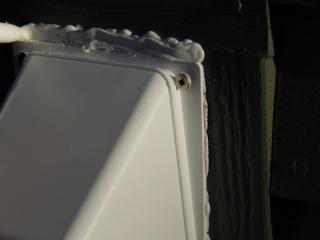
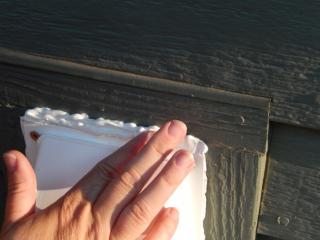
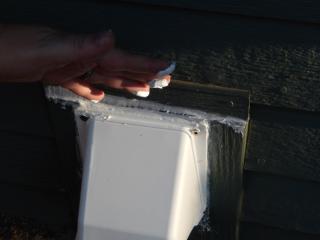
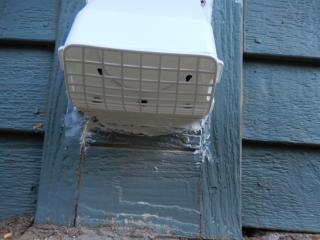
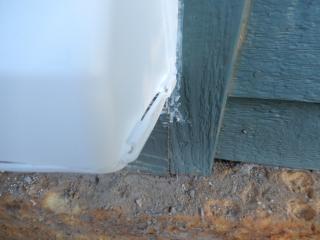
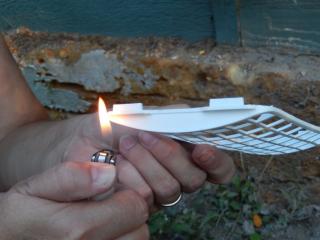
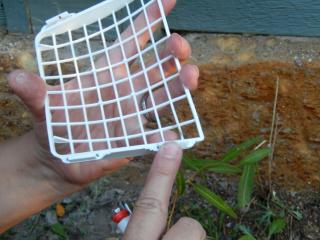
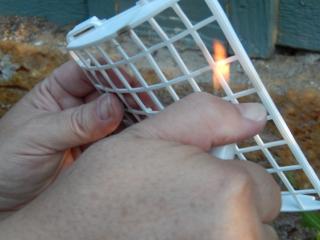
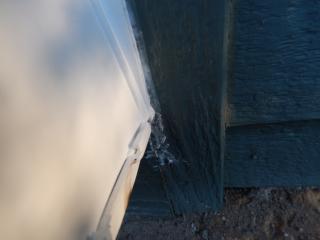
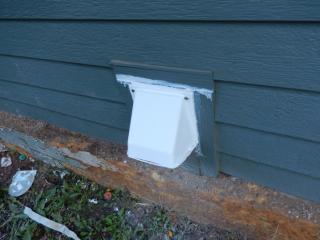
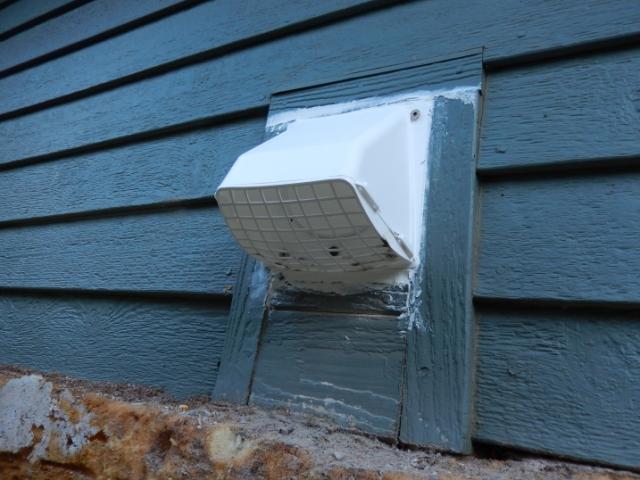
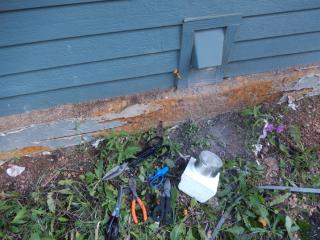
After a wild chipmunk climbed into the dryer vent and took a leap down the pipe, I decided it was past time to replace the vent cover. 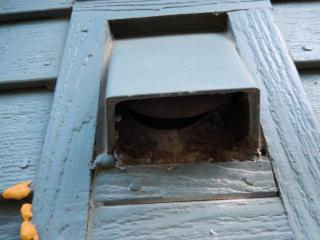 Of course, I had one on hand because I noticed the flap inside didn't close properly back when we were doing some repair work on the roof trim that the roofers screwed up, but I just had not gotten around to getting the replacement done. It is something like number 39 on my list of things todo, so it isn't all that surprising that I didn't think it was an emergency. Of course, I had one on hand because I noticed the flap inside didn't close properly back when we were doing some repair work on the roof trim that the roofers screwed up, but I just had not gotten around to getting the replacement done. It is something like number 39 on my list of things todo, so it isn't all that surprising that I didn't think it was an emergency.Really... it has been that way probably since before we moved in, but I guess once you notice an issue, you should fix it right away, or you may end up with Mr. Chippy wandering your house. Additionally having a vent flap that opens and closes properly can reduce lint build-up and risk of fire, and reduce moisture from coming into your dryer from the vent. So, in case you, too, need to replace your dryer vent cover and fend of invading rodents, here is a break-down on the steps I took. First, it is important to note that new houses probably have easier to remove vent covers than older houses. In my case, our house is medium in age and had a nice metal weather-cover, but a piece of crap-stuck-open-just-partly metal vent flap. 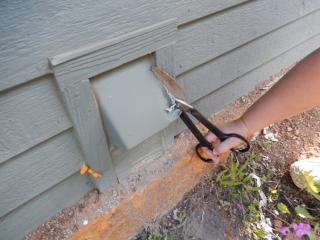 I could have torn out the wood frame, removed all the metal, and started from scratch, but it would also probably have torn a lot of the surrounding siding and really there was nothing wrong with the wood frame, so I started by cutting the metal cover with tin-snips up the sides so that I could see how hard the flap would be to remove. I could have torn out the wood frame, removed all the metal, and started from scratch, but it would also probably have torn a lot of the surrounding siding and really there was nothing wrong with the wood frame, so I started by cutting the metal cover with tin-snips up the sides so that I could see how hard the flap would be to remove.The worst problem with the existing flap was that it was not only bent out of shape, but could not open and close fully because of the sides of the cover being too small. However, it pulled right out since it was only attached by a couple loose-fit tabs. After inspecting the hole compared to the wood frame, I decided to remove the rest of the metal weather-cover altogether, and use paintable caulking to fill the gap later. However, a little more metal needed to be cut and curled away from the vent pipe opening before the new cover could be pushed into it. A tight fit is a good thing, but the fit was so tight that the new cover's pipe just would not go inside the other pipe enough to come flush with the wood frame. To fix this I carefully clipped several slits partway up the cover's pipe so that it would slip inside the vent pipe enough to meet the wood trim. With a tight but flush fit, I was ready to see if some long screws would contact enough to hold the cover. Luckily, the screws made solid contact, so I did not need to add more wood trim or additional anchoring. I backed the screws out a little to add caulking under the vent cover sides, then tightened them back down. It took several bands of caulking to fill the area above and below the vent cover, but a weather-tight seal is worth it. Then I smoothed the caulk on all the edges and covered a few areas where the wood trim needed it, too. The additional caulk on the wood trim doesn't look spectacular right now, but it protects the wood and can be painted later. The rodent-guard clips onto the vent cover so that it can be cleaned if lint builds up on it, but the clips didn't fit very firmly with the back clips barely holding on. So with a lighter and some very careful bending, I pushed the clips tighter and curved the back edge more to make the sides much more snug. The fit is now snug and hopefully between the guard and the properly closing flap, rodents should no longer get in the house... at least from the dryer vent. | |
|
POST LINKS BACK TO: 8/4/2014 3:47:22 PM - Saturday... A Study in Disaster Mitigation | |
Next Post - Previous Post List View | |
Add Your Comment...


