






| Next Post - Previous Post List View
| |
 | 8/9/2014 3:16:40 PM Repair and Replace a Badly Installed Door Knob |
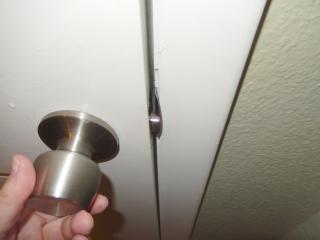
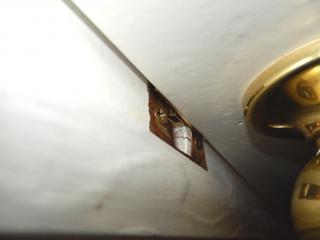
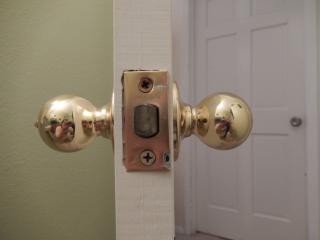
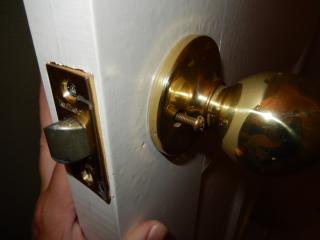
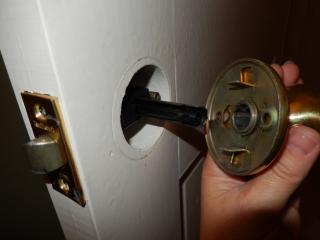
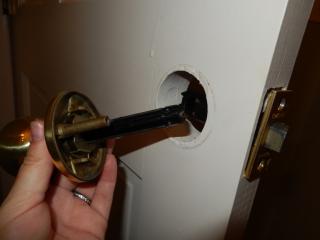
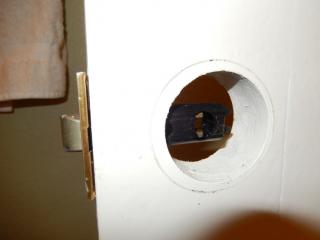
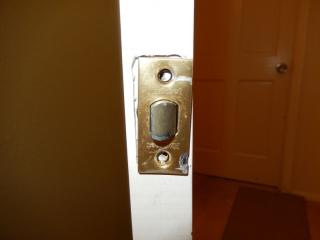
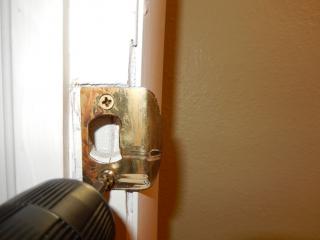
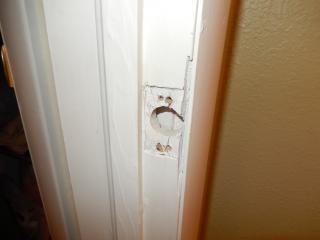
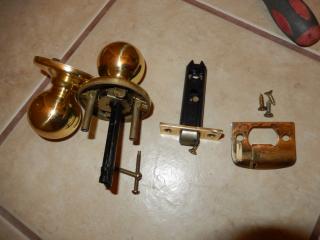
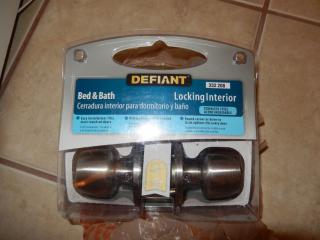
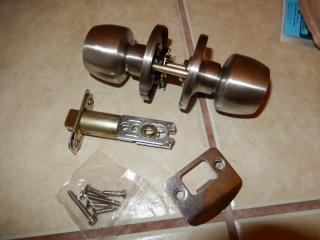
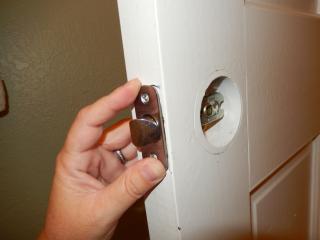
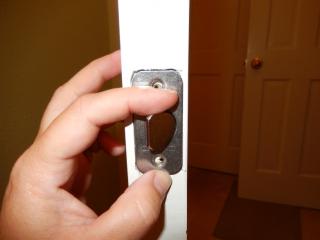
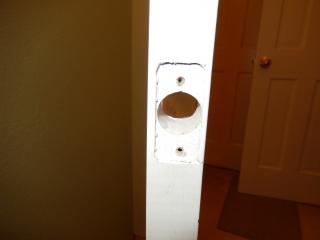
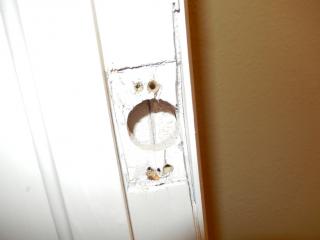
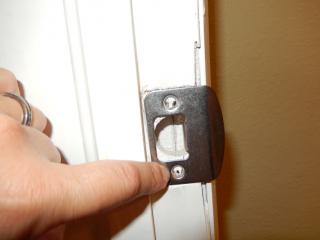
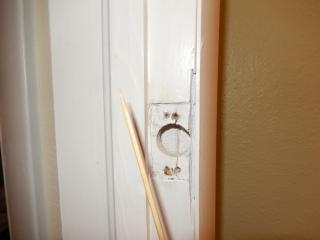
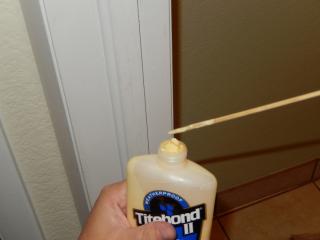
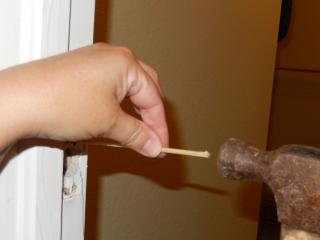
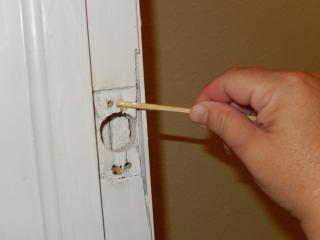
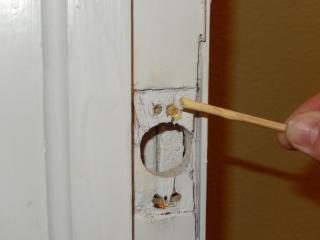
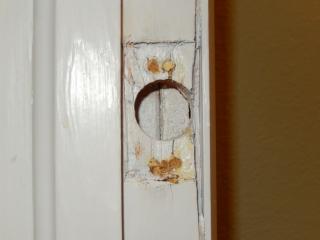
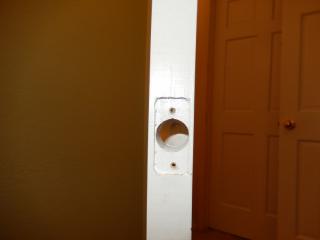
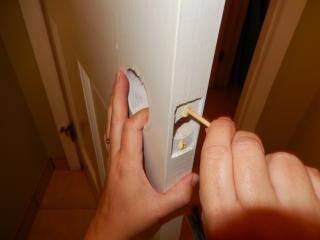
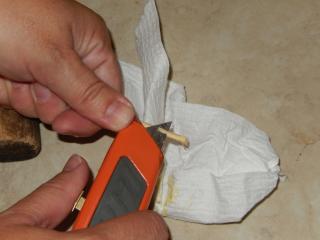
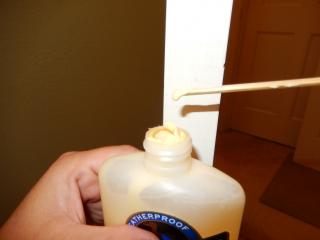
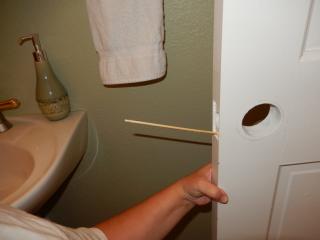
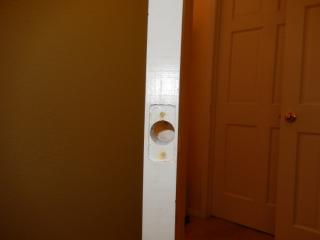
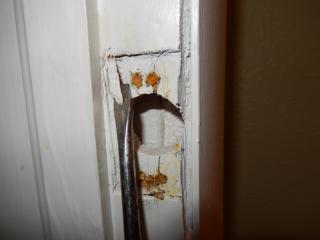
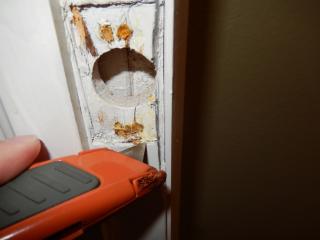
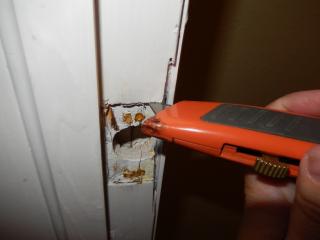
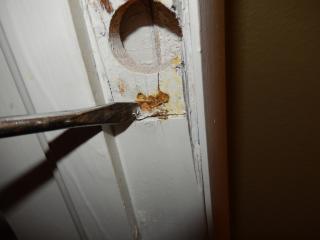
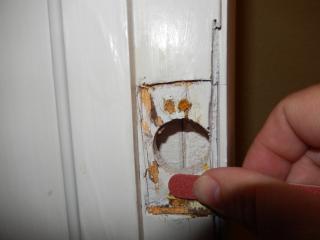
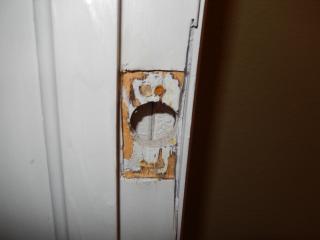
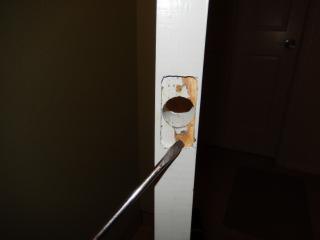
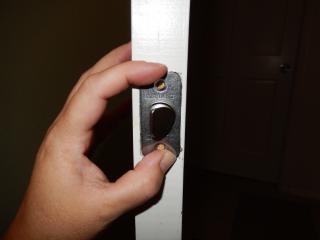
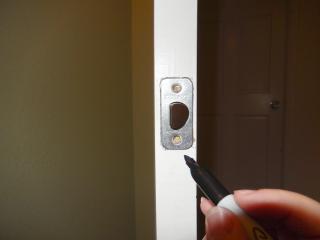
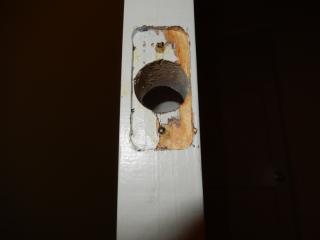
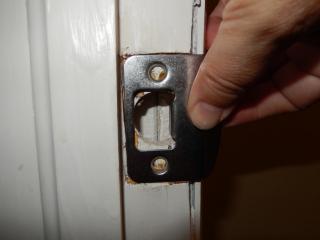
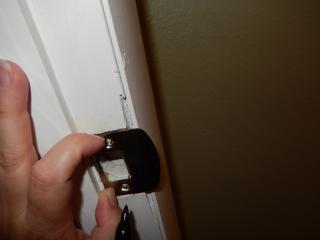
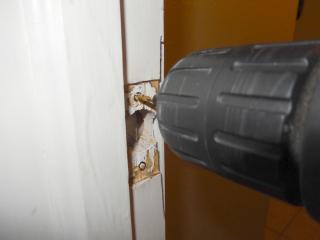
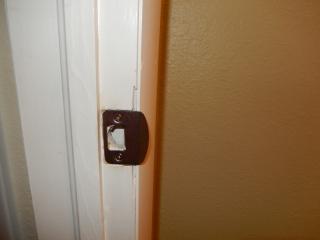
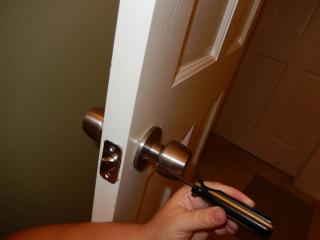
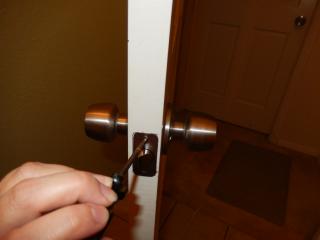
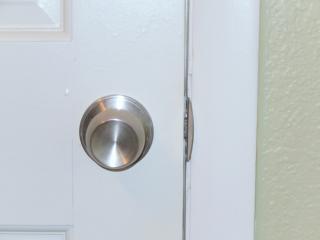
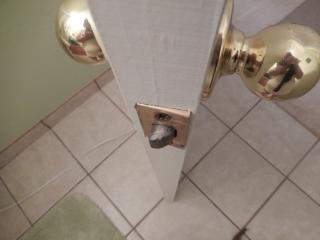 Over time, doorways can change from humidity, age, weight on hinges, and paint build up, and if a door barely closed before, it can become impossible later. However, sometimes it isn't so much a problem with the door, hinges, or frame, and more of a problem with poorly installed door handles and hardware. For example, our bathroom door knob that a three-year-old could probably have installed better... Over time, doorways can change from humidity, age, weight on hinges, and paint build up, and if a door barely closed before, it can become impossible later. However, sometimes it isn't so much a problem with the door, hinges, or frame, and more of a problem with poorly installed door handles and hardware. For example, our bathroom door knob that a three-year-old could probably have installed better...First, not a single screw had been put in with a pilot hole, so each one was far off and sticking out at strange angles, and second... the person installing the knob evidently didn't think that having it right was worth a few moments to square out the mortise. So after time wore on the door screws scraped continually on the plates and finally could not even close at all. Luckily, I had a replacement handle on hand for the door to match our other new handles, so I removed the existing hardware with the intention of replacing it with new. It was quickly obvious why the square plate didn't fit into the rounded mortise. Why the installer didn't think it would be a good idea to chisel out the mortise to match... who knows? And of course, the screws in the strike-plate were also completely crooked. With the old hardware out, it is time to check out how the new hardware will fit. The new plate was rounded like the door originally was designed for, however, some adjustments would still need to be made for a perfect fit. Mostly, the holes were put in by a drunk gopher. This is why pilot holes are SOOO important on projects like this. And the frame strike-plate is even worse with several holes that are all crooked. Unfortunately, at this point, trying to drill new holes would just drag into the holes next to them and result in more crooked screws and even less strength to the fixture, so we have to start over completely. Start with finding a wood stick (in this case a bamboo skewer) that will fit very tightly into the screw holes, dip the tip into wood glue, and then stick it into the hole. Hammer it in carefully and then break off the stick by bending back and forth until it snaps off. Repeat until all holes are filled tightly with glue-covered wood. Trim the tip slightly if it can't fit into the hole... The stick shows just how crooked the holes are when a pilot hole isn't made first... Unfortunately, having to start over also means having to stop the project after this point until the glue is fully dry. So I came back to it a couple days later. Once the holes are filled tightly and everything is dry, cleaning up other issues with the mortises is the next task. A small chisel can help clean and sharpen the edges of the mortise, but a sharp cutting tool may be needed to prevent chipping the sides. NOTE: Go slow and be careful... if you are using a cutting blade, you can damage your frame, and your hands very easily if you are not careful with what you are doing. A little sanding with sand paper or an emery board can help smooth things out. The mortise on the door should also be checked for perfect fit... and carefully chiseled out if needed. Then mark the holes for the new screws. You may need to check how tight the door closes before marking the holes on the strike-plate, or you could end up with the plate too far in and have to fill the holes and start over again. In this case though, I already knew the plate would be fine fully in the mortise. I can not stress this enough... DRILL PILOT HOLES. Not just for your benefit now, but for anyone needing to replace the hardware in the future as well. Follow directions (or just the reverse of the way you took the hardware off) to install the door handle again. And marvel at how nice, straight, and smooth the screws fit with proper pilot holes. And then see if your sweet hubby, wife, significant-other, or pet, will clean up the mess for you. | |
Next Post - Previous Post List View | |
| COMMENTS | |
| 8/9/2014 3:28:33 PM Hubby | |
| 8/9/2014 4:19:38 PM TinkerT LOL... yup. |
Add Your Comment...





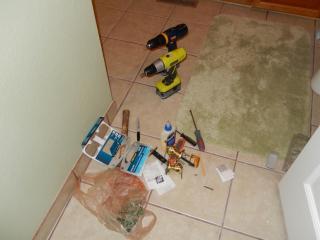
And in this case, TinkerT' sweet hubby did...