




| Next Post - Previous Post List View
| |
 | 8/18/2014 2:06:05 PM Grill / Privacy Wall |
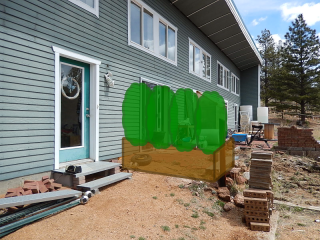
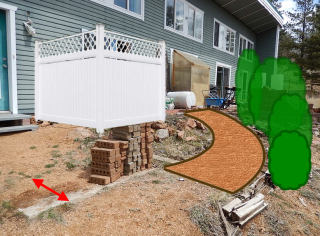
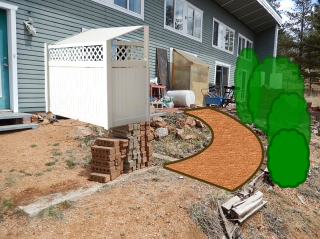
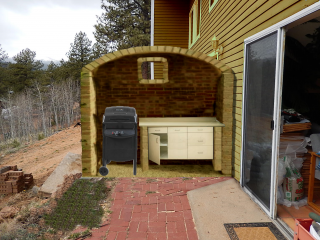
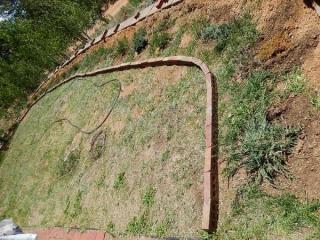
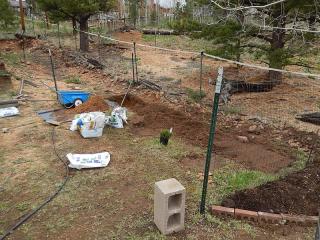
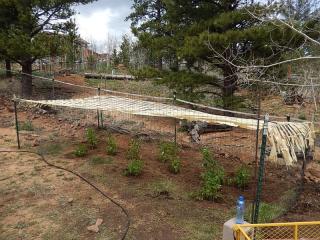
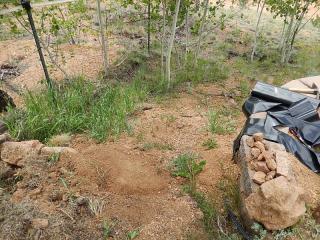
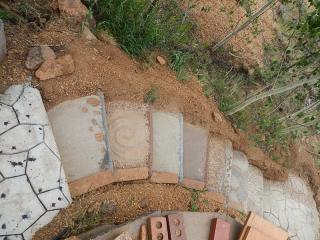
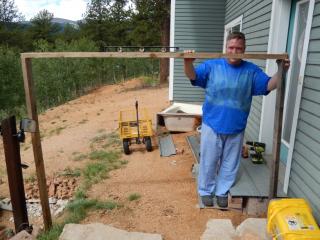
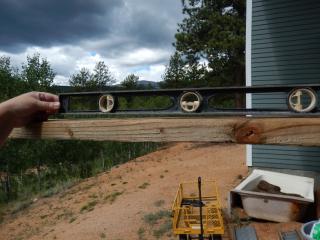
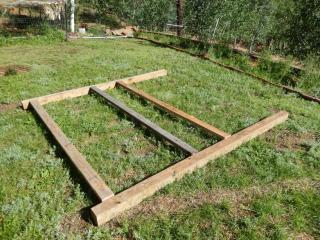
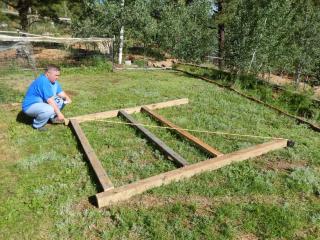
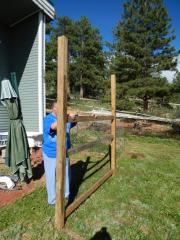
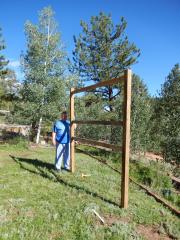
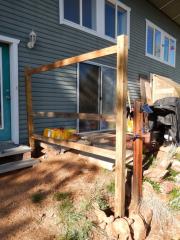
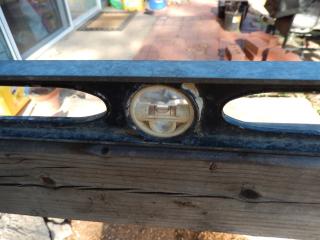
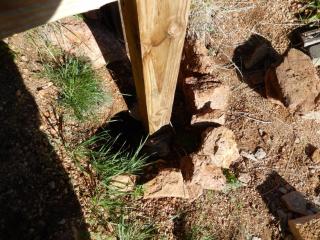
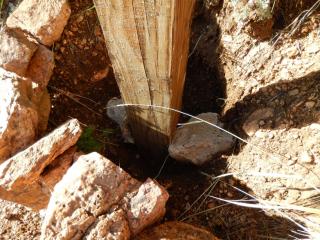
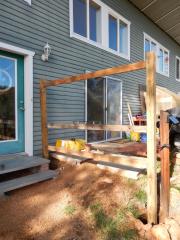
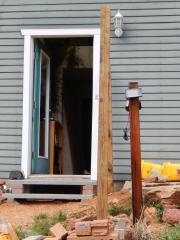
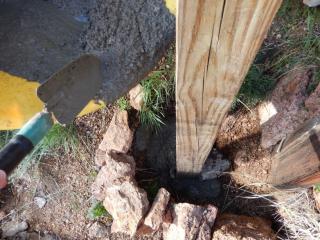
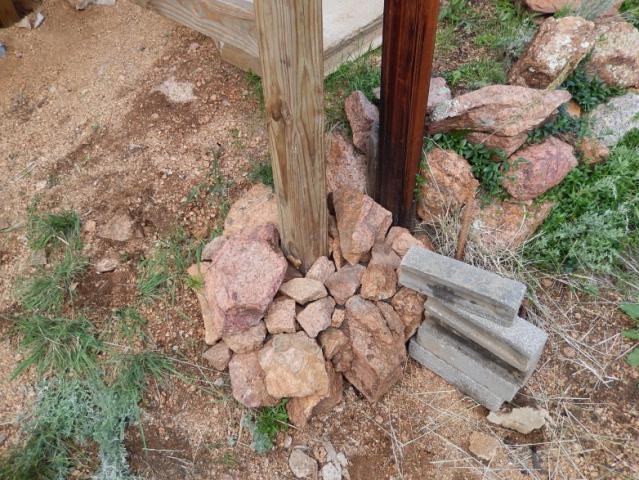
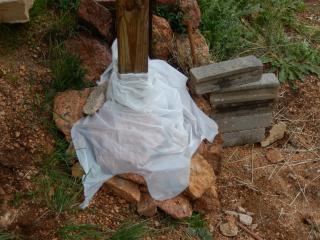
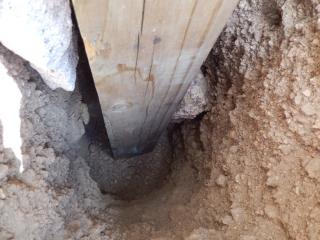
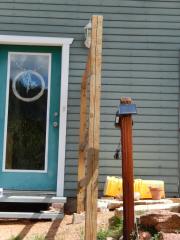
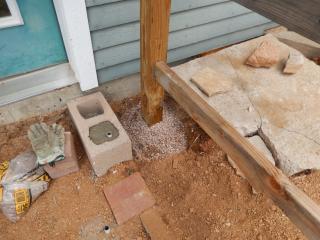
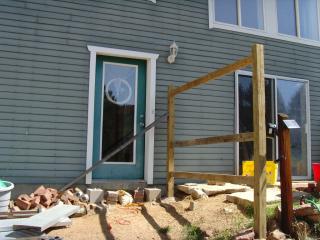
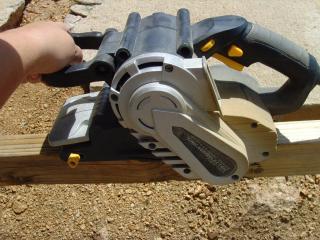
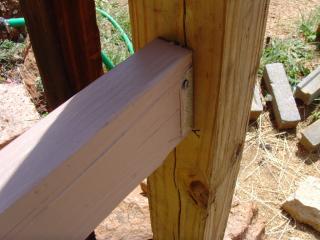
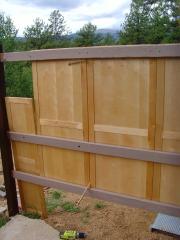
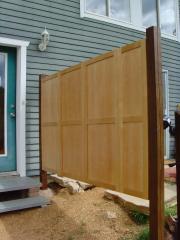
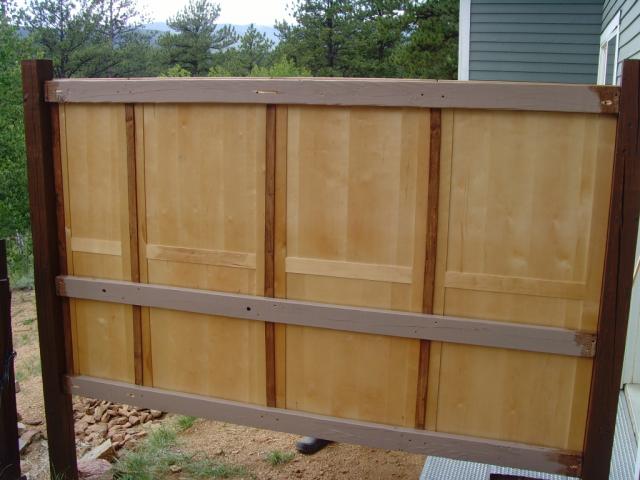
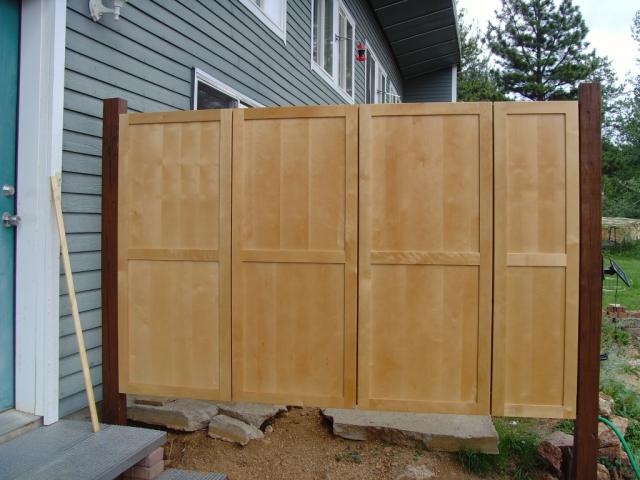
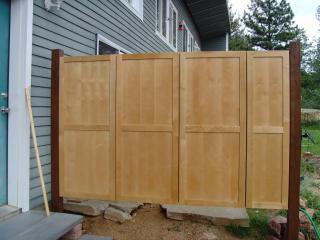
This has been the year of landscaping around our house, and one of the few projects that I wanted to get done was a privacy divider between the front door and the rest of the patio and sliding glass doors. Not only because the lack of a divider encourages just anyone to head towards the patio instead of stopping at the front door, but also because there is no telling what state of undress I might be in behind those glass doors. Considering that my height of "dressed" around the house is a tank-top and pajama pants, this could be an issue. Pretty much the only landscaping project that I intended to get to this summer was the privacy fence/bushes/wall and the creation of a nice smooth ramp to get around it. Of course it is a little surprising then, that 35 other bushes have been planted, cement stairs were poured on the other side of the yard, and a short retaining wall was built... but no divider and ramp yet. It is, in fact a little embarrassing, but definitely just a normal process around here. If something is supposed to be done... it will be the very last thing I get to. And really, it isn't unreasonable, either. This level of visible item needed a lot of thought, and when we decided it would also act as a wind shelter for the grill, it got even harder to plan. Here were a couple early thoughts... The bushes were a big draw since both hubby and I like the natural look for a divider, but they would never be okay if we put the grill next to them. The brick grill shelter was also very attractive, but completely unfeasible for the work and budget it would require. So one type or other of the fence seemed a good idea, but again, the grill being close would melt a vinyl fence into soup. So a swath of other landscaping happened like this: And a few other projects as well. In the mean time, I pondered the question of the privacy fence / grill shelter. What I finally decided was that I just... don't... know. And of course, what is better to do if you don't know? Jump in and make it up, right? 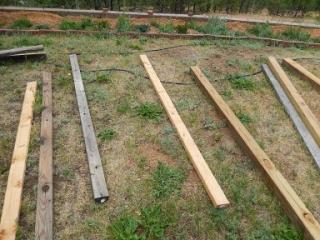 So finally the choice was obvious... use what materials we have on hand to start with and then make changes later if we don't like it. So finally the choice was obvious... use what materials we have on hand to start with and then make changes later if we don't like it. We had a few 4x4s and 2x4s available, and quite a few large cupboard doors that we got for $1 each or less, and so I thought that would be a great place to start. To allow for the grill to be placed close later, I also plan on adding cement board to the grill side to protect the wood from heat. With a basic plan like that and a herd of bags of quickcrete that we got for doing the ramp-walkway later, I made some measurements based on the cupboard doors and the distance that we wanted to cover. Three large doors and one narrow one fit the best for what we wanted. Then I started to dig the holes and had hubby help dig and get the holes to a level depth by putting boards of the same length in and testing with a level across a board on the top of the "legs". By raising the level, I was able to see which hole was taller and by how much it needed to be dug down. We purchased a few fence brackets to hold the 2x4 ends in the middle of the 4x4s and laid everything out on the ground after attaching the brackets. Then measured both diagonals to square up the frame. Then I attached the 2x4s to the bottom of the bracket and one side, then flipped it up to attach the other side of the bracket... then flipped it over to be right side up. (Luckily hubby is patient while I grab the camera all the time to take pictures.) We then carried the frame over to the holes and used the level to make sure it was still good. A bit of gravel added to one hole got it level from side to side. The outside hole was very shallow because of the slope, so we stacked local rocks around the outer edge to give a form for the concrete. Then I wedged a couple rocks in the hole to hold our post up-right. We decided it was more important to look straight compared to the house than to be truly vertical, so I moved myself until line of site put the post next to the door frame and adjusted the rocks in the hole to get it as close to matching the door frame as I could (of course slight bends in the post made it impossible to be 100% perfect). At this point we were completely ignoring the back post as we could force it straight after the front post was fully set in concrete and, if possible, worrying about the look of one post at a time is much easier. Hubby mixed up the quickcrete and I scooped it into place one bag at a time. This post took three bags and I checked vertical alignment after each bag to be sure it was just right and no wiggling had occurred while I poked the cement with my trowel to "burp" bubbles out of it. After the last bag was poured I added more natural rocks to the top. Eventually the whole fence piece will have natural stone stacked below it and vinca minor planted like what is already along the walkway-ramp (plants in the rocks to the right in this picture). Of course, the semi-cloudy day finally threatened to fully rain, so I tied a bag around the base to prevent the concrete from just washing away. Almost a week later, the next post could be forced straight and concreted into place... "concreted"... is that a word? Again we wedged the post straight with rocks to start with, however a little added umph was needed, so I used a spare board to get the top straight. I used the other post to eyeball the vertical, which was a bit of a chore since both posts were somewhat crooked at the top. This post took two bags of quickcrete to fill around, then I topped it with pea-gravel to look nicer. Then another week passed while the post set before the next step. After the concrete was cured, I sanded the 2x4s just enough to knock off big splinters and then painted them with a solid stain we had on hand. It does not look as nice as the semi-transparent stain we have, but it will provide better protection for the cross pieces that won't be seen once both sides of the fence are covered. I painted the 4x4s with the nicer dark semi-transparent stain. It is not as protective, but can be re-stained much easier than the cross pieces. After the stain had a few days to cure, I put up the wood panels using paint-stir-sticks as spacers. It would have been an interesting picture. Me standing on one foot, holding the base of the board with the other foot, the top with one hand, and screwing the boards in through the 2x4, all the while trying to keep it level at the top and pressed tight against the spacers. However, since I was of course in my pajama pants and tank-top, it is probably a good thing no one else was there to take a picture. Afterwards, I decided that the spacing could be improved by using lath instead of stir-sticks and I wanted the gaps to be filled on the back side, so I pre-stained lath strips and had hubby help me re-set the boards on Sunday since I broke my toe on Friday. Oddly, it didn't seem to go much smoother than me doing the one-foot juggle... Some things are just like that. The pre-stained lath strips were attached to cover the back gaps and this entire side will be covered with cement board (and hopefully some nice design in thin-set or something). Then we will be able to put the grill up close to it on the left side, and maybe a bench or counter-top on the right side. This side will have natural rocks filling the gap underneath to match the edging of the walkway-ramp. It will probably get a small slant roof as well when we have the time and decide on materials, but it looks reasonably nice for now. So while it isn't perfect, and isn't really finished, at least it is progress on one of the main projects for this summer. And of course, the wood and stain colors will look much better when the whole house is painted a shade of tan instead of blue... But that is a project for another day... or week... or summer. In the mean time, I will start collecting big rocks to put at the base once my toe is feeling better... and add the cement boards to the other side once our budget is feeling better. | |
|
POST LINKS BACK TO: 4/30/2014 3:29:00 PM - A Grill Dream | |
Next Post - Previous Post List View | |
Add Your Comment...


