






| Next Post - Previous Post List View
| |
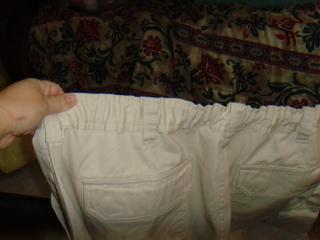 | 11/4/2014 11:51:19 AM Adding Elastic to Pants... Step By Step |
This weekend started well with Saturday being Pizza and Elastic day. Er... What? Yes. While hubby made pizza dough from scratch and we topped four pizzas with our favorite toppings... or at least whatever favorite toppings were around the house, I added elastic to the back of his pants. ( No... your eyes are not deceiving you... that pizza does have a funny giant crust like a bagel got jiggy with a pizza and had a bagzza child. It made me laugh a LOT... but Soooo Tasty.)
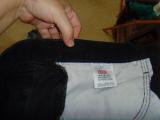
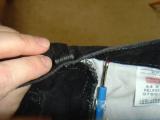
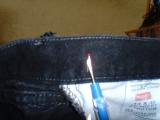
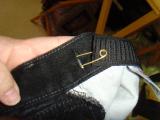
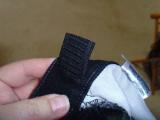
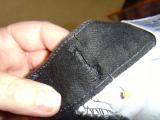
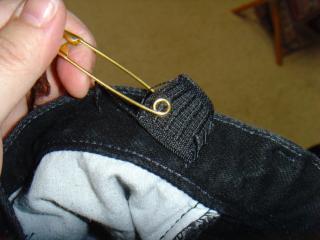
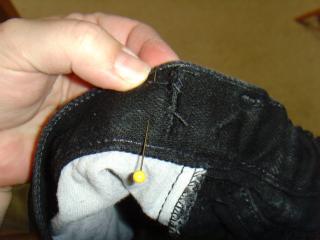
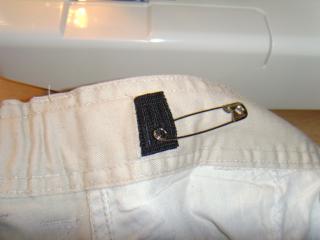
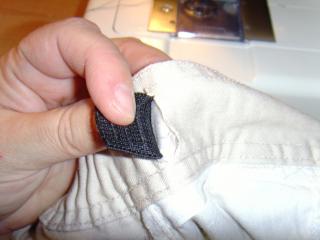
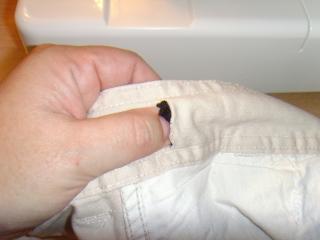
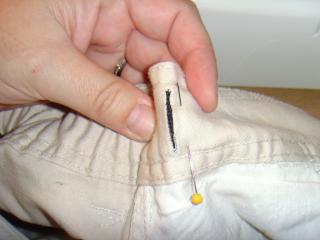
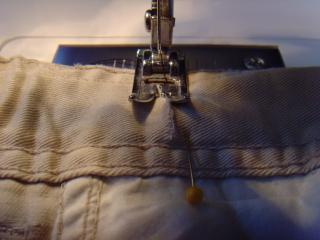
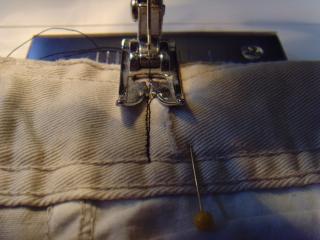
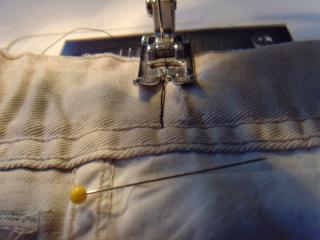
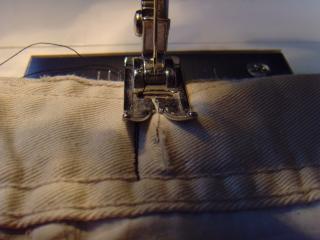
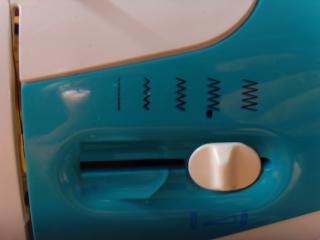
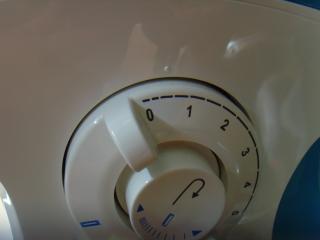
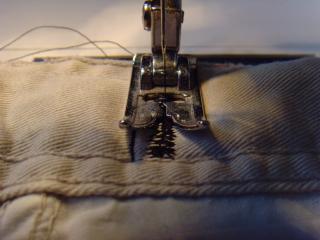
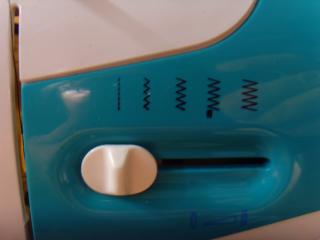
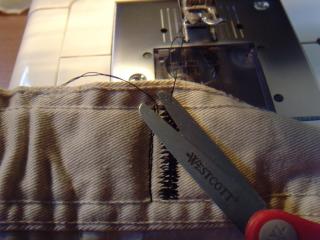
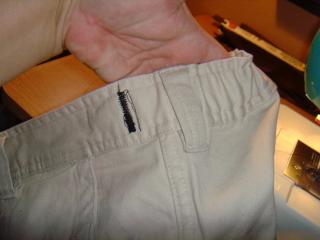
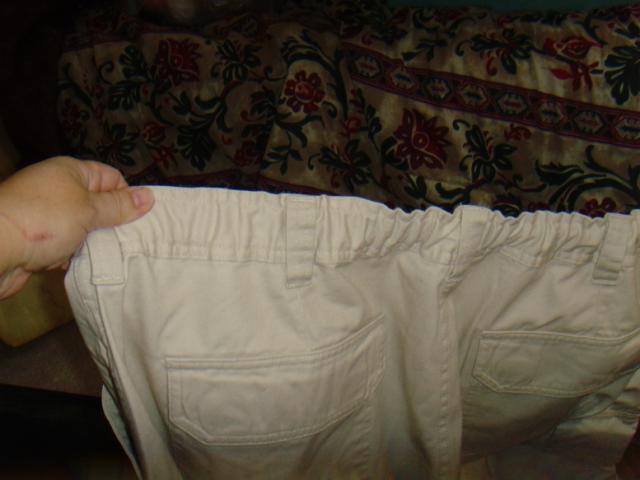
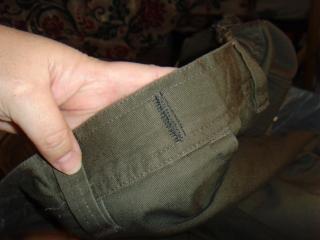
Of course, the pizza was the more enjoyable part of the day, but it isn't hard to add elastic to pants with a few steps. Why did he need elastic in all his pants? Because while "plumber's crack" may be exclusive to plumbers, pants just aren't made to fit full bottomed men of any occupation. Additionally, we were lucky to hit K-Mart at the right time for the final clearance of summer cloths and got pants and shorts for $2 each... of course, they were all about 2 inches too big for hubby, so a little elastic makes them fit nicely, if a little baggy in the legs. So here is how to add elastic to pants for pretty much anyone... for whatever reason...  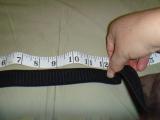 Step one... Prep Your Elastic. Stretch elastic across the back of the person the pants are for from hip to hip. Stretch it somewhat firmly, but not to it's maximum... you don't want the pants to end up too tight. Step one... Prep Your Elastic. Stretch elastic across the back of the person the pants are for from hip to hip. Stretch it somewhat firmly, but not to it's maximum... you don't want the pants to end up too tight.Then measure the length of elastic un-stretched. This is your hip to hip length and fixes baggy back and over-size of a couple inches. (If the pants are more than a couple inches too big, you may want to stretch and install elastic around the hips and about half-way to the belly button so the extra is not all bunched in the back.) 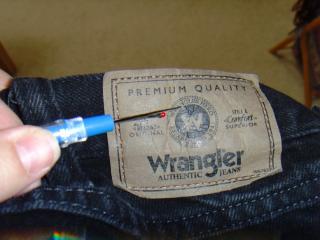 Step two... Preparing the Pants. You may need to remove any tags that sew through the waistline. Then identify the hip center area... often it is about an inch past the side seam towards the zipper. Step two... Preparing the Pants. You may need to remove any tags that sew through the waistline. Then identify the hip center area... often it is about an inch past the side seam towards the zipper. Turn to the waist inside making sure your spot is at least an inch away from any belt loops. Cut only the inner layer of fabric at the waist with scissors or a seam ripper. Do the same to the other hip. Step three... Inserting and Pinning the Elastic. Using your favorite method of pulling elastic through, slide in the elastic until about one inch is left sticking out. Tuck in the elastic and pin. Then pull the elastic through the other side hole, tuck and pin. (Here I have switched to a light pair of pants to show the sewing... though I recommend using a matching color of thread when you are not trying to show the steps. Of course, hubby wears a belt with his pants, so all is hidden anyway.) Step four... Sewing. Place your pants with the needle just a little to the opposite side of the slice from the pin. Sew a straight line across the band and back again. This holds the elastic in place and you can now remove the pin and position your stitch line at the center of the slice. Set your machine for a wide zigzag and a small stitch length. Stitch zigzag forward and back over the slice several times, then set your machine to a straight stitch and go over the center once more to lock down the zigzag stitches. Trim threads. The stitching on the outside would be much less noticeable if you use thread that matches the pants. Repeat sewing process on the other side. Ta-Da! Your Done... Repeat on the rest of your pants.
| |
|
POST LINKS FORWARD TO: 1/30/2015 3:15:54 PM - The Five Stages of Grief... Over Pizza Dough | |
Next Post - Previous Post List View | |
Add Your Comment...




I now know how to fix pants and insert elastic in the back and that is a fantastic thing to know and I will probably be doing that soon.
Question what is the best kind of elastic for denim material as
Bob has several shorts that need elastic.