




| Next Post - Previous Post List View
| |
 | 2/11/2015 12:26:10 PM The Excessively Complete Guide to Homemade Pizza For Beginners |
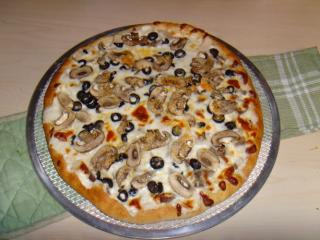
This post is a basic guide to homemade pizza and includes detailed instructional videos for beginners, a review of different baking methods, and quite a lot of tips for getting the perfect home pizza. While there are plenty of instructionals for pizza on the net, all I could find was "the right way to do it" by people who have obviously made a few thousand pizzas. 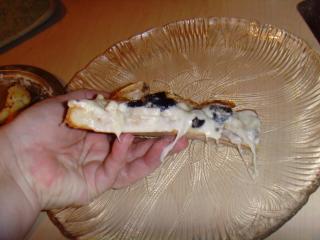 So I decided that it might be helpful to give an instructional to beginners by a beginner who has made just enough pizzas to have a good idea how to do it, but not so many that I have forgotten just how intimidating it seemed to start with. So I decided that it might be helpful to give an instructional to beginners by a beginner who has made just enough pizzas to have a good idea how to do it, but not so many that I have forgotten just how intimidating it seemed to start with.Because of this, people who are familiar with baking and making might find this post overly detailed and the videos annoyingly slow. However, my hope is that you will only have to read and watch once, and then be ready to make your own pizza without having to refer back to the post and videos many times or be left guessing at any point. Why make pizza at home? Three reasons... what you like, how you like it, and better pizza for less cost. And besides... who wouldn't like to wow their friends and family with fabulous pizza skills? Here are quick-jump links to navigate to a particular section: 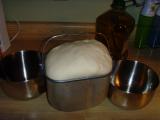 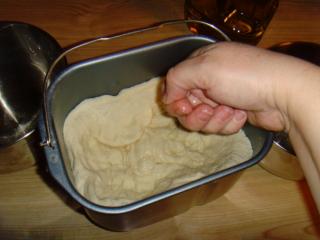 So... the very first thing about pizza dough that I want to say is... It Falls. I went through a nasty bout of pizza drama recently because not one recipe that I read for pizza dough told me... It Falls. It is supposed to fall. No matter how many times you "rise" the dough... It Falls. And that is okay. As soon as I found a video that actually showed this happening to a pro, the world of homemade pizza just got a whole lot less confusing. So... the very first thing about pizza dough that I want to say is... It Falls. I went through a nasty bout of pizza drama recently because not one recipe that I read for pizza dough told me... It Falls. It is supposed to fall. No matter how many times you "rise" the dough... It Falls. And that is okay. As soon as I found a video that actually showed this happening to a pro, the world of homemade pizza just got a whole lot less confusing.And now... with this entirely over-in-depth post and videos, you too can make a great pizza at home...... Getting Ready and Initial Tips Strangely enough, the first thing you need to decide is for the last steps. What kind of crust do you like... and possibly more important, what kind of pan or baking device do you have on hand to use? 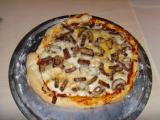 After the first couple times of baking pizza on our cheap solid pans, I already knew I wanted a better method of baking through the center than pre-cooking the crust, so I ordered a couple pizza screens very cheaply from Amazon. While these made me happy and got the crust cooked through more evenly without pre-baking, hubby still yearned for a more crispy crunchy crust. So we tried out my 10 inch cast iron griddle pan. After the first couple times of baking pizza on our cheap solid pans, I already knew I wanted a better method of baking through the center than pre-cooking the crust, so I ordered a couple pizza screens very cheaply from Amazon. While these made me happy and got the crust cooked through more evenly without pre-baking, hubby still yearned for a more crispy crunchy crust. So we tried out my 10 inch cast iron griddle pan. 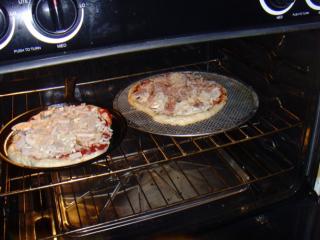 This gave a great crust, but would take forever to cook four little pizzas one at a time, so I started looking into pizza stones. Stones run from about $15 for a cheap one to your-kidding-right? And with a stone comes the need for a peel to get the pizza on and off the stone. And while you can use a well floured flat baking sheet or cutting board, a peel is pretty handy. Lets face it... it is specifically designed for the purpose, but runs another $15 on the low end. This gave a great crust, but would take forever to cook four little pizzas one at a time, so I started looking into pizza stones. Stones run from about $15 for a cheap one to your-kidding-right? And with a stone comes the need for a peel to get the pizza on and off the stone. And while you can use a well floured flat baking sheet or cutting board, a peel is pretty handy. Lets face it... it is specifically designed for the purpose, but runs another $15 on the low end.It's all about the soft-chewy vs crispy-crunchy, and how much you want to spend for your particular pizza crust. I would recommend first trying pizza on a thin baking sheet you already have and then decide from there... however, if you like crunchy crust at all, a stone or cast iron is the way to go since they improve even cooking as well as crisping the crust. And if you are not sure about the investment, remember that leaving a stone or cast iron in your oven can help regulate and improve even heating the rest of the time, too. Enough talk... here is the action: http://youtu.be/ZzW2oXOOXK0 This video shows for comparison several baking methods for Homemade Pizza. Times and summary: 0:07 - Aluminium Pan or Baking Sheet - Chewy and Pre-Bake for 5 to 10 minutes recommended 0:56 - Pizza Screen - Golden Chewy Crust with a little Crispness, careful not to press down while building or dough can press through holes and stick to screen 1:25 - Cast Iron Griddle / Skillet - Crispiest Crunchiest Crust, pre-heat pan in oven, can brush on oil before adding pizza for improved crust, sides can be more difficult than a stone, can be expensive to purchase if you don't have one 2:02 - Pizza Stone - Very Crispy Crunchy Crust, pre-heat stone in oven, no side walls to work around, can be expensive to purchase if you don't have one, cheap ones may break as temps change 3:18 - Parchment Onto Stone - Almost exactly like bare Stone but with ease of sliding on and off, is NOT wax paper, can add a little cost to baking 4:03 - Screen Over Stone - Crispy Crunchy Crust without the hassle of sliding pizza off a peel, slightly more chewy and less crunchy than bare stone, careful not to press down while building or dough can press through holes and stick to screen 5:29 - Pre-Bake on Stone - Pre-Bake can be used with any pan or method and makes sliding from peel to stone very easy, it also allows for fully cooked crust when making medium/thick crusts or piling on the toppings Making the Dough Making the Dough is really quite easy if you have a bread machine. That is what I have and what I use in the video. Getting the water amount just right is the trick. This video is much longer than probably strictly necessary, but I was so fed-up with recipes saying to get a "smooth" or "consistent look" without any images for reference that I decided a long video you only need to watch once would be much better than leaving you guessing.
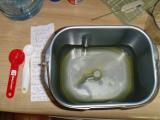
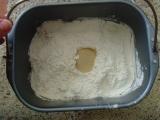
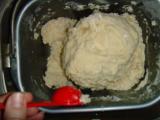
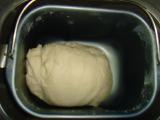
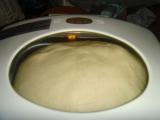
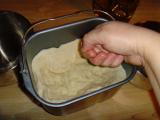
Here is my Dough video: http://youtu.be/i9dwrQrr3WU ( See Recipe Below... ) How to make pizza dough in a bread machine, including video of how it should look when you have the right amount of water and how to tell when you should add more water. Dough can be difficult since humidity, altitude, and even the thirst of your flour can change the amount of water you need to add. This video includes action shots so that you can see how the dough looks and acts when it needs more water and when you get the water right. ( Pizza dough is more forgiving on the slightly wet side since you will work the dough by kneading and shaping it, so when in doubt, add 1/2 to 1 more tablespoon water. ) Recipe: My Bread Machine makes up to a 2lb loaf. If yours is smaller cut the recipe. This recipe makes two 12 to 14 inch pizza crusts or four 9 to 11 inch crusts (medium to thin crust). ADD TO BREAD MACHINE MIXING PAN: 1 1/4 c Warm Water @ 110 to 115 degrees fahrenheit ( use a thermometer... this is important ) 3 tbsp Olive Oil (or other oil) 2 tsp Table Salt (or 2 1/2 coarse kosher salt) 1 tbsp Sugar (2 if you like your dough a little sweeter) Optional Ingredients: 1 tbsp Honey 1 tsp Garlic Powder/Granulated 1 tbsp powdered butter 1 tsp Basil or Italian Seasonings THEN ADD THE FOLLOWING ON TOP: 4 c Bread Flour (cheaper in bulk at Costco/Sams) 2 tsp Active Dry Yeast (also cheap in bulk at Costco/Sams) START MACHINE DOUGH CYCLE AND CHECK A FEW MINUTES INTO THE CYCLE... Add 1 to 6 additional tbsp Water as needed (one tablespoon at a time with one minute in-between until smooth and just a little bit tacky to the touch... watch video for reference)
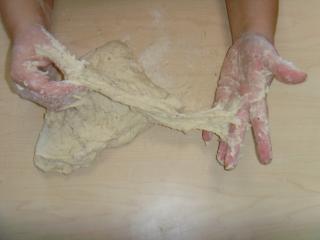
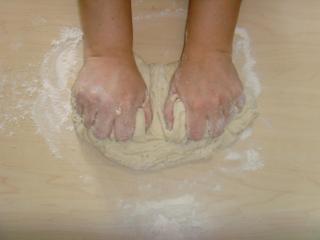
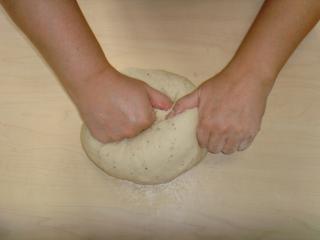
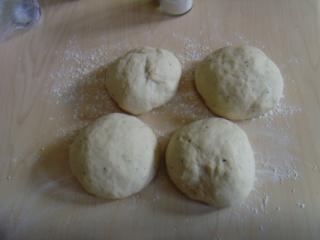
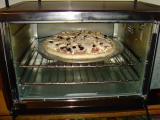
While the bread machine does most of the work kneading and letting the pizza dough rise, it may still be a little weak and tear. It only takes 3 to 5 minutes of extra working to have the dough stretchy enough for even thin pizza crusts. Knead and Separate video here: http://youtu.be/OtK8v3HLdps After separating the dough into portions, you can put them into oiled bowls and cover with plastic wrap for later use and even refrigerate for a couple days if needed. Note: If you got your dough a bit too wet and sticky, don't worry. In the kneading process just add a couple tablespoons of flour and knead it in. Eventually it will get to the tacky-slightly-sticky-but-not-sticking-to-everything stage that it should be. Preparing the Crust (Start Oven Pre-Heating to 425 and make sure baking stones or cast iron is already in oven if you will be using them.) 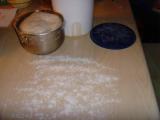 While tossing dough in the air may look cool, for beginners it may be entirely too intimidating... at least it was (and still is) for me. Here is two methods for preparing your pizza crust that anyone can do with little to no skill. I have prepared these pizzas for a moderately thin crust, but you can use the same methods for a medium crust as well. While tossing dough in the air may look cool, for beginners it may be entirely too intimidating... at least it was (and still is) for me. Here is two methods for preparing your pizza crust that anyone can do with little to no skill. I have prepared these pizzas for a moderately thin crust, but you can use the same methods for a medium crust as well.It also includes two ways to prepare your pizza peel, though you can use the same methods on a flat cookie sheet or pizza pan, too. The video is surprisingly long, but comprehensive. If you want a quicker idea of how to do it, skip to the next video. Long Video: http://youtu.be/Gigv6rKNX-c Stretch Crust starts at 1:46 Rolled Crust starts at 6:36 Here is a speedy view of the same methods for quick reference: http://youtu.be/eR6QX0ooozg Stretch Style at 0:07 Roll Style at 1:08 The stretch style gives a more classic crust with slightly thicker and thinner areas, and the rolled style gives a much more even crust. Both take about the same amount of time, but I like the rolled edge a little more because it gives a more even height on the crust edge allowing for more toppings. You could also put a little cheese around the edge and fold over for a stuffed crust. 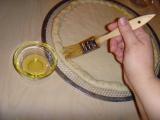 Regardless of what type of crust you make, I definitely recommend brushing the edge with a little oil to help browning and you can sprinkle seasonings, coarse salt, or parmesan cheese on the oil for an even better crust. Baking the Pizza How to build your pizza and bake it on a Stone, Stone with Parchment, and Screen Over Stone. Build and Bake video: http://youtu.be/MYEnrsnt4Ao
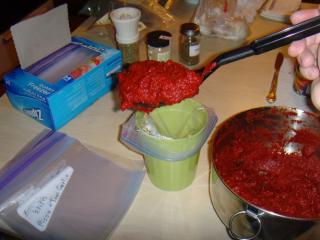
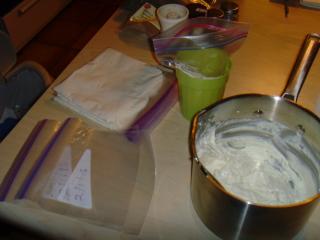
You can use canned spaghetti sauce, but it may be runny and make the dough a bit soggy. We prefer using one drained can of diced tomatoes and one can tomato paste for a thick sauce and add garlic, salt, and italian seasoning for flavor. White Sauce: 4 oz Cream Cheese 2 tbsp Butter softened 1/3 c. Canned Alfredo Sauce 2 medium Garlic Cloves crushed 1/4 tsp Table Salt Use mixer to blend together Sauce Notes: You will want the sauce a bit strong in flavor. Remember when you taste-test your sauce, it will need to give flavor to a crust and toppings too. You can make big batches of sauce for cheaper than small batches and freeze them in ziplock bags. Press flat to make thawing quick and easy. Additionally if you don't have large lumps of tomato or something in your sauce, you can clip the corner of the bag and squeeze on the sauce like frosting. Medium/Thick & Troubleshooting Sticky Dough I had to wait for a while when cooking my pizza on the screen since it took up too much room in the oven, so my rolled out crust sat on the warm counter for a while and got quite sticky underneath. While somewhat annoying, this gave me the opportunity to try out methods of fixing the issue. While blowing underneath did help a little, the crust didn't start really moving on the peel until I really heaped on the cornmeal underneath it. This video covers pre-baking a medium/thick crust or for a lot of toppings, and troubleshooting a sticky dough that doesn't want to slide on the peel: http://youtu.be/1mojqZPVyhw Pre-baking the crust for 5 to 10 minutes (depending on thickness of crust) can be done with any pan and is highly recommended for baking sheets, medium/thick crusts, and any time you really want to pile on the toppings. Additional Tips
So there it is... I did say "Excessively Complete" didn't I? Of course, if you made it this far and watched those painfully long videos, the hard part is over... now get busy on the easy part of making your own pizza!
| |
|
POST LINKS FORWARD TO: 2/16/2015 3:03:01 PM - Sweet Tooth Pizzas for Valentines Day | |
|
POST LINKS BACK TO: 1/30/2015 3:15:54 PM - The Five Stages of Grief... Over Pizza Dough | |
Next Post - Previous Post List View | |
Add Your Comment...




Was wondering if you had frozen a pizza dough after you got it ready to bake? (Make and freeze several to be ready to top and bake.)
Your white sauce sounds yummy and especially with the roast beef.