





| Next Post - Previous Post List View
| |
 | 10/20/2014 4:58:04 PM Pipe Freeze Prevention - Installing a push-fit shut-off valve |
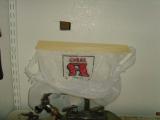
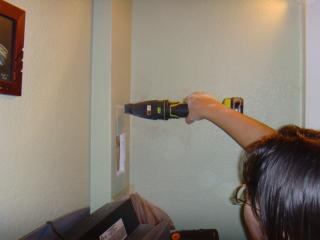
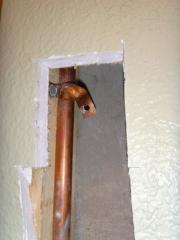
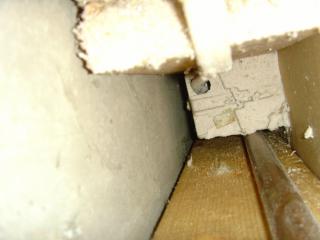
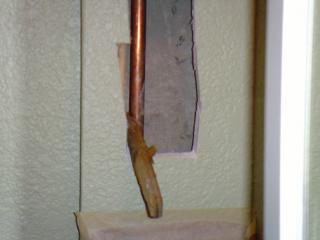
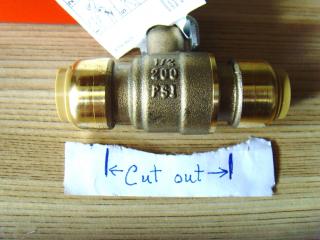
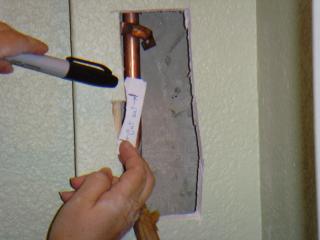
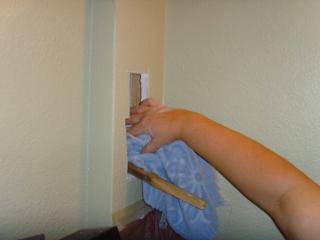
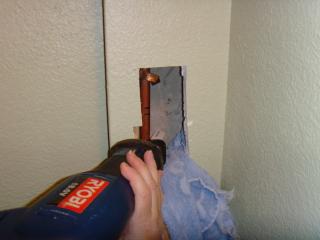
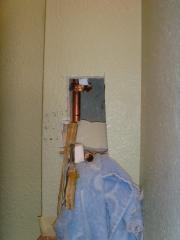
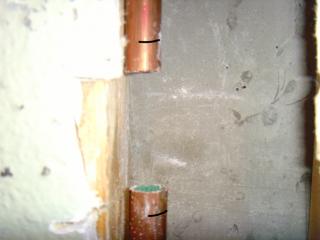
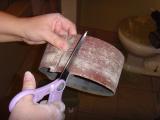
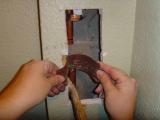
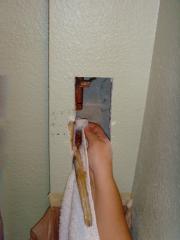
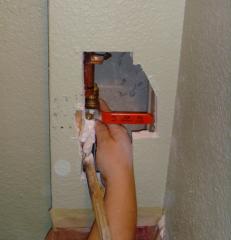
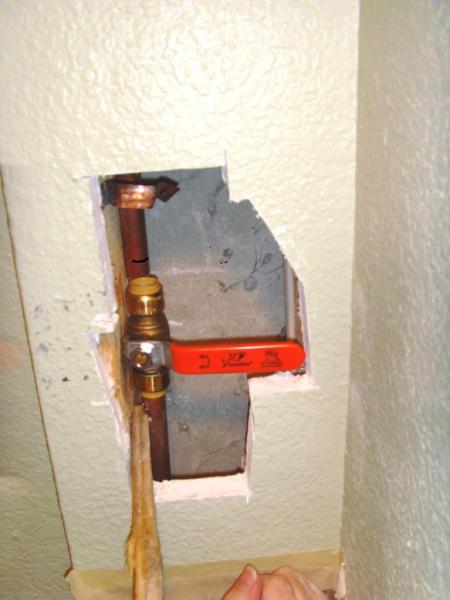
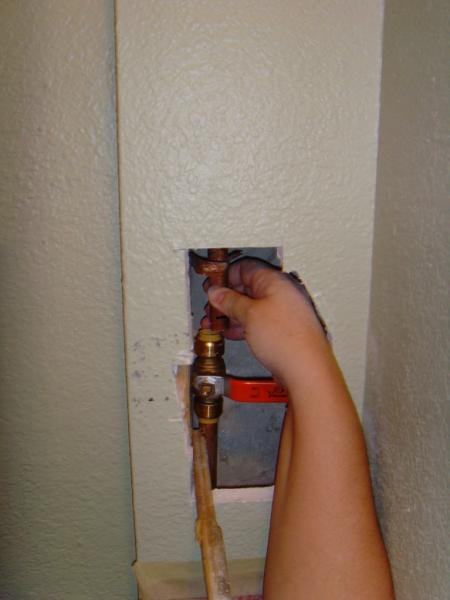
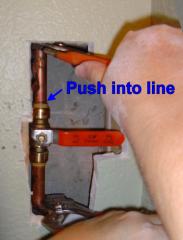
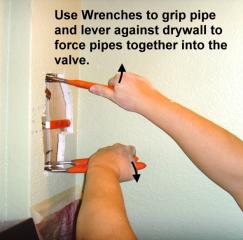
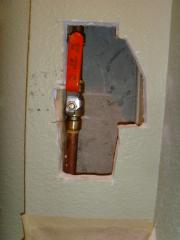
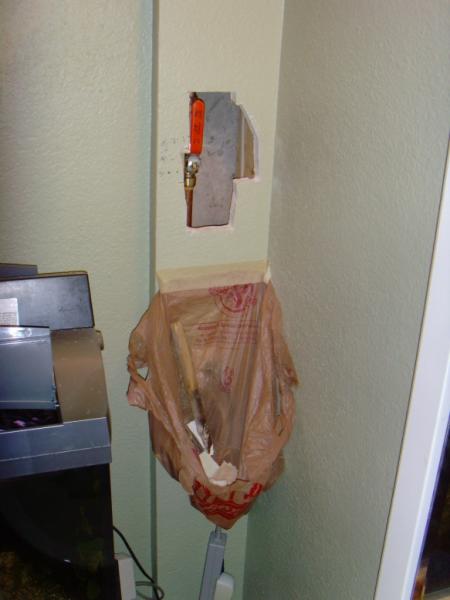
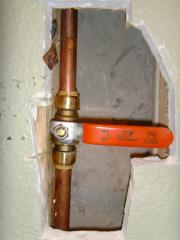
Living in the mountains means wonderful views, cooler summers, and a quieter world, but it also means dealing with the occasional 50-below-zero-wind-chill for a few days or the steady well-below-freezing-temperatures for a week or two each winter. Not something I have any problem with between our gas furnace and a champion wood stove that heats pretty much all the house on a few logs per hour in the coldest of weather. But... the guest bathroom is a story of it's own. ( Skip the story and head to the valve installation here. ) Starting with the fact that some person, with their head where the sun doesn't shine, decided it would be a great idea to install the pipes for this bathroom in the most exposed-to-cold-areas possible. Then to make matters worse... when we purchased the house and these pipes needed to be repaired before it could be sold, the plumber didn't think it might be important to put some freakin insulation back into the wall sections that he repaired the pipes in. What? Yea... this is a perfect example of why I started doing a lot of repairs around the house on my own. But of course, I didn't know there was no insulation until after a bout of extreme cold a couple years ago when I suddenly heard a strange water spraying sound from the far end of the house. We have a lot of fish tanks around, so the mere sound of rushing water activates me from a groggy morning of reading email like a bolt of lightning shot directly into my spine. I sprung from my office chair and made it to the guest bathroom in a matter of mili-seconds. Of course the sight of, not a fish-tank explosion, but a rocket of water sprouting from the far wall and shooting at head-height 9 feet to the light fixture on the other wall, did give me a moments pause. But I managed to realize it was a house water issue in the next second and dashed to the utility room to shut off the water main. Then back to the bathroom I ran yanking myself to a halt at the door when I realized that there was a space heater sitting in about an inch of water in the middle of the bathroom. And not to be one to trust a "protected" outlet to not zap me anyway, I opened the hall closet and started throwing in towels by the arm-full into the bathroom to soak up the water. So much fun to have before my first cup of coffee, right? In any case, I was quite lucky to be able to call my sister and her soon-to-be-husband construction guy to come fix my pipes and later show me how to repair the wall... after insulating it as best as possible. You can check out more about this repair near the end of this picture album. Of course, being on the most exposed exterior wall of the house, and partly running up in the ceiling edge sill meant that the pipes there would be prone to freezing again. So for several years, we have either had to keep the house twice as warm as we would prefer it, or run a space heater in the bathroom to keep the walls warm enough to protect the pipes. And while this worked, the result looked bad with an industrial strength extension cord running across the room to the ceiling where a plug controlling thermostat was stuck halfway into the wall where the pipe was and then another cord coming down to the space heater. And worse, when the roofers did their exceedingly poor job on the roofing trim, they left a gap where cold air was coming right into the area of the pipe, and froze it all again. Luckily, it did not bust the pipes that time, and fixing and sealing the trim helped for the rest of the spring, but I decided right then that something else HAD to be done before winter hit hard again. The Fix... Installing Push-Fit Shut-Off Valves 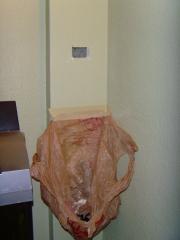  My best guess was that the toilet pipe ran in this oddly out-set area of the wall and then up to the area I knew it was in the near-ceiling. I cut a small hole in the wall to see and sure enough, the pipe was right there. For the shower pipes, I knew they came over the door and to the exterior wall from somewhere in the utility room. A small hole above the utility room sink showed the pipes for the shower heading up the wall there. To catch the drywall dust, I taped a bag under the cut-out. My best guess was that the toilet pipe ran in this oddly out-set area of the wall and then up to the area I knew it was in the near-ceiling. I cut a small hole in the wall to see and sure enough, the pipe was right there. For the shower pipes, I knew they came over the door and to the exterior wall from somewhere in the utility room. A small hole above the utility room sink showed the pipes for the shower heading up the wall there. To catch the drywall dust, I taped a bag under the cut-out.I was pretty worried about my chances of soldering fittings onto a pipe without filling them completely with solder or leaking all over, but my brother-in-law-construction-guy said that the new SharkBite push-fittings would be just fine and needed no soldering. 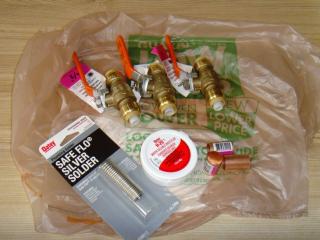 Admittedly I was a bit dubious about whether the pipes would be able to be pushed apart enough to put the fitting in-between, so I purchased some slip-couplings, solder, and flux as well... just in case. The hope was even if it was all worst case scenario, and the pipes would not move enough to put the push-fitting in, and I could not solder well enough on the toilet side of the pipe, at least the push-fitting should go on well enough on the water-main side of the pipe to shut it off so that we could turn the water back on to the house and wait to fix the other end when we could borrow someone to fix it better. Impressively, the pipe did move enough, the fitting did seal well enough, and I didn't even need to try soldering the pipe at all. Admittedly I was a bit dubious about whether the pipes would be able to be pushed apart enough to put the fitting in-between, so I purchased some slip-couplings, solder, and flux as well... just in case. The hope was even if it was all worst case scenario, and the pipes would not move enough to put the push-fitting in, and I could not solder well enough on the toilet side of the pipe, at least the push-fitting should go on well enough on the water-main side of the pipe to shut it off so that we could turn the water back on to the house and wait to fix the other end when we could borrow someone to fix it better. Impressively, the pipe did move enough, the fitting did seal well enough, and I didn't even need to try soldering the pipe at all.I waited to have hubby home, since I thought I might need someone to quickly turn of the water if there were leaks, so since Saturday was another jam-apron-selling day, we started on this project Sunday evening. 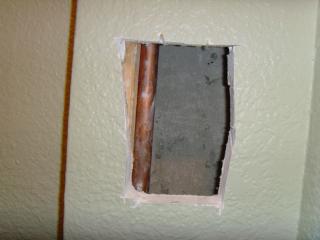 First step was cutting out a larger area around the pipe. (This will later be covered by a decorative vent-cover or a little curio shelf.) First step was cutting out a larger area around the pipe. (This will later be covered by a decorative vent-cover or a little curio shelf.) At first I was pretty concerned that the pipe was not moving as much as I hoped, but a quick inspection with my camera showed that a little pipe bracket was holding it in place just above my hole. At first I was pretty concerned that the pipe was not moving as much as I hoped, but a quick inspection with my camera showed that a little pipe bracket was holding it in place just above my hole.I cut higher and removed the bracket on one side. Nothing seemed to be a problem lower, though the pipe was wedged into place at the bottom with... er... styrofoam? Then I used some scrap wood to carefully wedge the pipe away from the stud it was against. I marked a template based on the valve so that I could mark the pipe for cutting. (I first failed to mark the push-line, but I have added the mark to the pictures so that it is easier to see how it should have been done.) I used my paper slip to mark the pipe with four lines... two for cutting, and two to show how far the pipe needed to be pushed into the fitting. Then time to shut off the water main and open the sink faucet and flush the toilet to remove as much water as possible from the pipe. Even still I expected a decent amount of water to come pouring out, so I stuffed a towel in the wall below the cut line to soak up the water. My handy cordless saws-all with a metal cutting blade zipped right through the first cut, though I had to wedge some drywall and wood to keep the pipe from wiggling all around during the second cut. I removed the burs and smoothed the edges by cutting a piece of old belt sander paper. And then cleaned the pipe with some rubbing alcohol on a rag to clear away dust and make sure it was smooth. Then I checked the fit where the valve would go and needed to cut away a bit more drywall for the handle to turn and re-cleaned the pipe again. The valve pushed easily onto the lower section (leading to the water main), and despite my concern about how easy it went on, it held tight and did not leak when we turned the water back on. With no leaks so far I moved the upper pipe (leading to the toilet) into place and tried to hand-push it into place. The awkward space made it next to impossible to push the pipes together enough by hand. So some handy helpers (aka wrenches) were found, and I gripped the pipe at the highest and lowest points I could reach and then used the wrenches as levers against the drywall to force the pipes toward each-other and tight into the valve ends. And now we have a shut-off valve with no leaks... tested both off and on. And 95% of the mess went right into the bag... All in all... with hubby helping and taking pictures, the valve installation took us about 30 - 40 minutes, though I think it would have taken less than 20 if we didn't have to spend time trying to find the right tools and metal cutting blades for the job in the middle of doing it. Now all it needs is a nice decorative cover of some sort. I am leaning towards a little knick-knack shelf with a back, or maybe a picture to match the others I have on the walls there. Then of course I need to get fittings to run from the sink to the toilet so that we can still use it in the winter without having to play with the valve all the time, and add valves to the shower pipes so they don't freeze in the winter too... but those are posts for another day. Please note: If you install a shut-off valve to help protect certain overly exposed pipes from freeze damage, be sure to shut the valve, then open the faucet or flush the toilet to let the pipe drain of water. It will do no good to have a shut-off if the pipe is still full of high pressure water... though it could prevent a flood of water if a pipe bursts down the line.
| |
|
POST LINKS FORWARD TO: 10/21/2014 4:23:33 PM - More PipeWorks | |
|
POST LINKS BACK TO: 10/20/2014 4:32:48 PM - Weekend Wrap-Up | |
Next Post - Previous Post List View | |
| COMMENTS |
Be The First To Comment...


