


| Next Post - Previous Post List View
| |
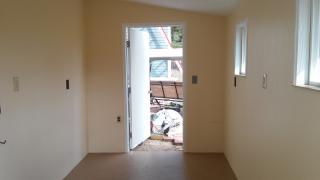 | 9/29/2016 9:29:09 AM Two months later... and the shed is OFFICIALLY DONE. |
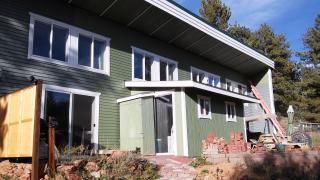
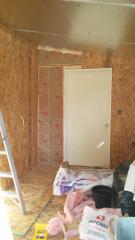
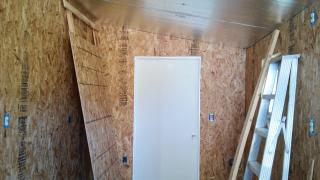
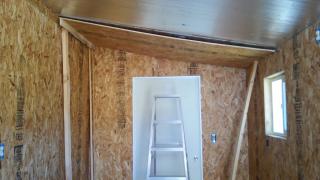
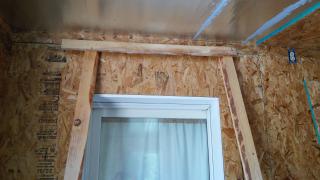
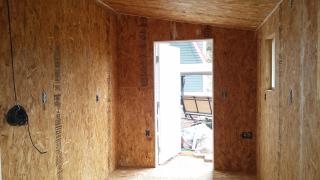
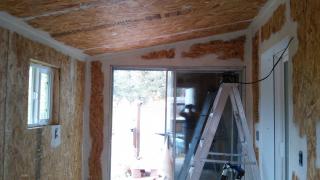
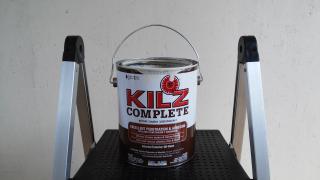
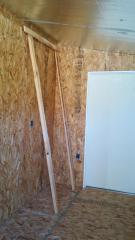
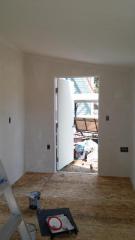
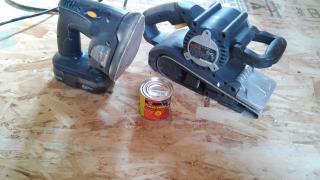
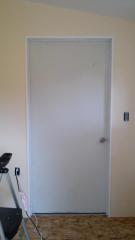
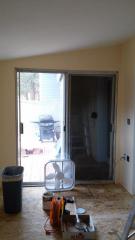
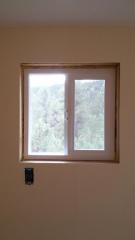
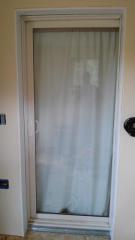
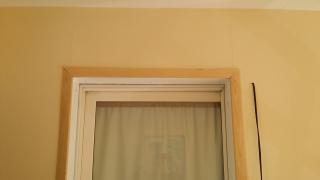
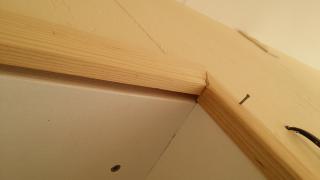
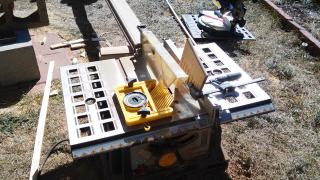
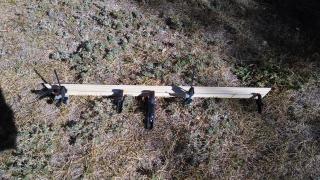
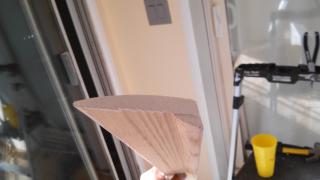
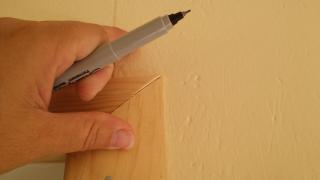
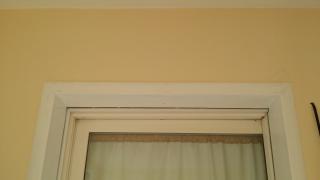
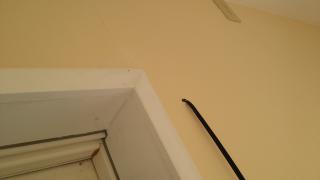
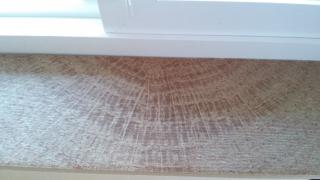
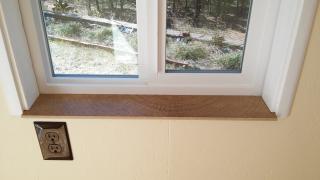
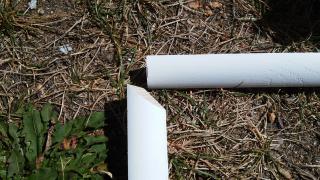
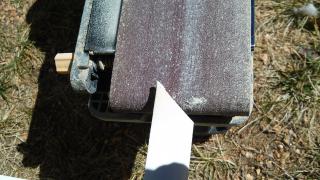
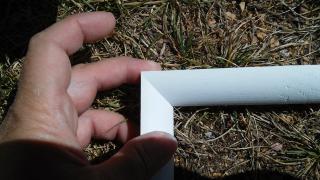
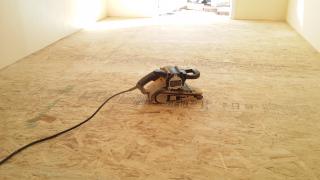
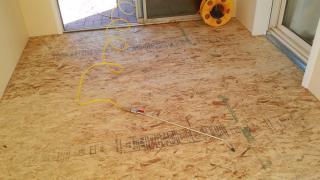
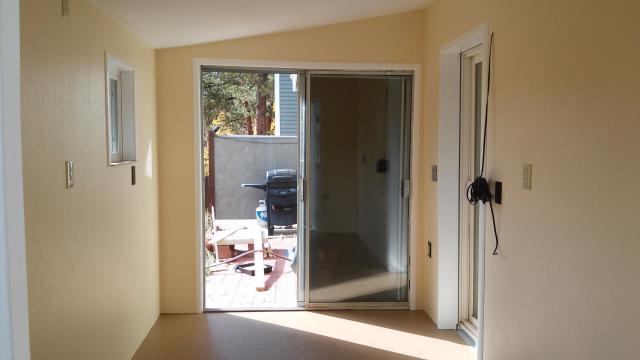
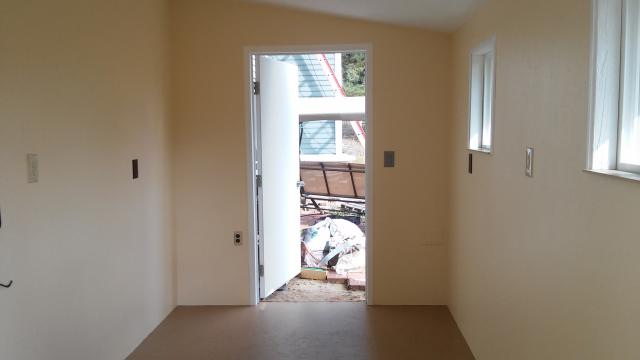
Well, make that two months and four days since this was dropped off at my house... Over that time, and with several days help from my dad, it was turned into this... And now... the interior is done, too... Since the last post, here is some pictures of the progress: Installing OSB over the foamboard ceiling and caulking all the seams... This was quite a task, and despite feeling semi-sure that I would at some point wedge a nearly full sheet of OSB between the wall and my neck... and then getting into a serious problem of my support brace trying to shift as I tried to get the other side of the OSB locked into place.... shifting towards falling into the glass door half an inch with every movement.... shifting another half-inch with every too-deep breath.... and shifting another half-inch as I tried to hold it all perfectly firm while standing on one foot and dragging the ladder over with my toes so that I could climb to the other side while holding pressure on the board and straighten out the support so it didn't fall into the glass door...... I made it... didn't die, and didn't break anything. Win! But I think that is probably one of the many things that should have taken two people to do. After that and a run to the store for paint, I primed the ceiling with two coats and the walls with one. Getting as much paint on me as it seemed I got onto the walls. And I put putty into the sunken screw holes in the floor and sanded them down. (and took a break for a great steak) Then I carefully "cut-in" (painted the edges with a brush) around all the walls and painted them. However, it is just my luck that the paint I had on hand ended up two different shades and I had to re-paint all the edging and one wall. And yet another trip to the store to get trim boards and other shopping done. Unfortunately, on my day of shopping, many things seemed to go wrong (including having to back track twice across town) and even more went awry the next few days. For example, I was very careful to lay out all the wall plates under the electric switches and plugs and then took back the extra stuff to Home Depot... But when installing the plates I found that I had returned a brown two-hole plate I needed and had accidentally laid out a square-hole plate under the two-hole plug. Then I got out my brand new can of plastic-primer spray paint and went to spray the two cover plates I needed painted… and the can sprayed a little, then clogged somehow and sprayed out all around the base of the nozzle and all over my hand. Worse yet, I found out that the top trim for one of the doors must have been in the wrong bin. It was the same width and style, so I grabbed it, but it ended up being 1/2 inch at the depth instead of 3/4. Options were to give up and head back into town to get a new piece... or what I did... cut a thin strip of furring and sand it to shape and glue it to the trim board... and mark differences with a sharpie and use the belt sander to smooth the edge to match the profile of the side boards. One thing that did go right shopping was finding tile I liked for the window sill. Found the perfect one... then had to hunt through four more boxes to find one that matched, since they are meant to look like random boards of wood. The one I found looks like a cross cut of a tree trunk. You would not mistake it for real wood... it is definitely tile, but the design is great and I won't have to worry about water-rings, stains, or damage from putting cold or hot drinks on a wooden sill. I had to have the 6 inch depth cut along the full 24 inch length down to 4 inches to make the sill the right depth. Lowes is the place to go for that, as I don't think Home Depot does tile cuts. Getting the interior trim done took longer than I wanted, but it turned out pretty nice. With small or baseboard type trim, you can "cope" the cut instead of using two 45 degree cuts. It makes the end result look really nice. To do this, you cut the first piece straight, then cut the next at a 45 angle. Then you use a small blade hacksaw or coping saw... or in my case, a belt sander, to remove the wood up to the angle cut. This makes the second piece fit smoothly up to the first and the first extends under the second... thus there is no dark space shown between the cuts. However, with thin flat pieces that meet against the wall, I decided coping them wasn't worth the trouble and I cut them at 45 and just caulked in the inevitable tiny gap.  After completing the last of the trim and paint touch-ups on the nails and corners, I did the final prep of the floor. Lightly sanding the whole thing with my belt sander. Which is a hard job, but not nearly as impossible as it seems. The trick it seems, is to hold the sander by its "tail" (electric cord) and then gently put your other hand on top of the sander to guide it smoothly back and forth in an arc as it tries to run away from your tail-holding hand. After two passes with the sander and several blow-outs with the compressor, it was ready for "Porch and Patio" floor paint. After completing the last of the trim and paint touch-ups on the nails and corners, I did the final prep of the floor. Lightly sanding the whole thing with my belt sander. Which is a hard job, but not nearly as impossible as it seems. The trick it seems, is to hold the sander by its "tail" (electric cord) and then gently put your other hand on top of the sander to guide it smoothly back and forth in an arc as it tries to run away from your tail-holding hand. After two passes with the sander and several blow-outs with the compressor, it was ready for "Porch and Patio" floor paint.Now the shed is DONE... inside and out. OFFICIALLY DONE. And now I have to wait 72 hours before "normal use" of the floor. Gaaaah! While the hard work isn't over... The "shed" now gets to be turned into a "workshop", I am more than glad, more than relieved, and more than sore and exhausted, to have the building done. Now I get to the fun stuff, like putting up walls of french cleats, and building boxes and storage for all my tools, and rescuing my dining/kitchen area from the tornado of tools and supplies that has flooded the area............. Or take a nap and hibernate all winter. I haven't quite decided which.
| |
|
POST LINKS FORWARD TO: 10/3/2016 10:32:09 AM - Back to Bricks | |
|
POST LINKS BACK TO: 9/18/2016 12:33:08 PM - Not Shocking but a Little Bloody. | |
Next Post - Previous Post List View | |
Add Your Comment...










The shed is beautiful and you I hope are beaming from ear to ear and every part of you that aches is also jumping for joy for a job more than well done.Congratulations!!!!