


| Next Post - Previous Post List View
| |
 | 1/23/2015 3:21:23 PM Clutch Pedal Extension |
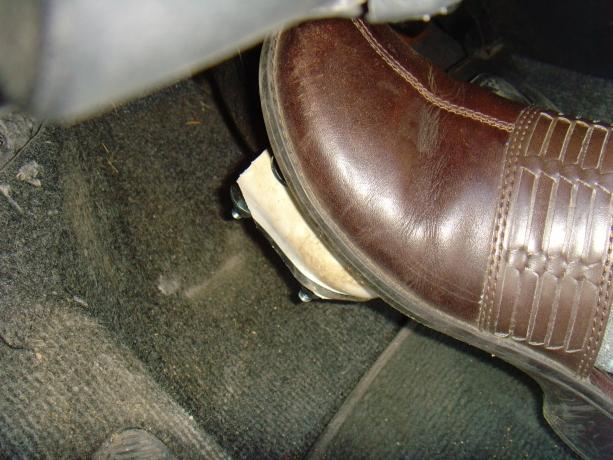
As promised and despite a lingering cough, I am back in the saddle of DIY projects... or would that be the car-seat? The trouble with stick-shift cars is that about half of them are designed with the clutch pedal oddly further away than the gas and brake pedals, or maybe it is just with too long of a push distance? And sadly, my little Zuki is among the clutch-distance-impaired. While I would initially think it is because of my somewhat diminutive height... let's face it, at 5' 2 on my best days, I am not exactly towering over the world. However, hubby at approaching 6 foot, still feels the same about the clutch. While all the pedals appear about the same on the surface, to be at the most comfortable position from the gas and brake, means pushing the clutch with the toe to get it all the way down. Ballerina I am not, and this makes my toes sore in any stop-and-go traffic. On the other hand, I can scoot my seat forward another notch and comfortably operate the clutch as long as I want my other ankle to be constantly sore and bent up over the gas, and the steering wheel is just a little too close for comfort as well. A quick internet search brings up about a million other people having the same issues. So it isn't just me. However, the only commercially available products I could find to fix this are for very short people with a pedal extension of 2 to 9 inches and costing around $100 dollars. Er... What?! Yep. With the exception of some specifically "Corvette" pedal pads, all I could find were shockingly expensive extensions for people around 4 foot tall. Both hubby and I agreed that about 3/4 to 1 inch was all we needed to make the clutch just right. Do-It-Yourself was the next kind of search. And... Um... Not a lot of options. The few I found either used wood (that I fear would crack over time) or metal (because who doesn't have a machining shop?), and most required prying off the original cover and drilling holes in the metal pad... And I am not quite ready for doing any permanent damage to the pedals. 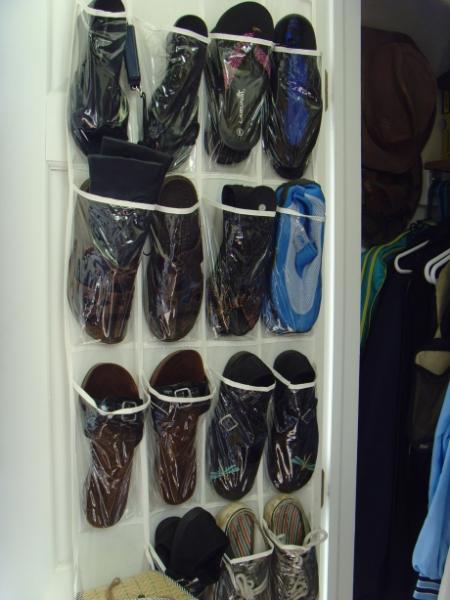 I combined the idea of a clamp-on extension with the add-a-block-to-it method and figured I could pretty easily find some hard rubber instead of a wooden block to clamp onto the existing pedal cover. However, strong but still cut-able rubber was surprisingly hard to find... right up until I was looking in the closet for a scarf and noticed the dozen pairs of shoes that I almost never wear. I combined the idea of a clamp-on extension with the add-a-block-to-it method and figured I could pretty easily find some hard rubber instead of a wooden block to clamp onto the existing pedal cover. However, strong but still cut-able rubber was surprisingly hard to find... right up until I was looking in the closet for a scarf and noticed the dozen pairs of shoes that I almost never wear.So here is it... How to make a Moderate Clutch Pedal Extension / Booster with some Brackets and a Shoe. And just to be on the safe side... here is the blanket disclaimer... Don't Try This At Home... or at least if you do, remember that I won't be responsible for anything, including wild dismemberment of fingers while cutting a shoe in half and/or your car being teased by all the other cars for having a chunk of shoe clamped to it's pedal. More disclaimer here. The shoes I chose had a thick and very hard sole and I had not worn them in years and years. Size 7, but a size 8 may have been just a little easier to fit over and around the clutch pad. If I had not found one in my closet that seemed just right, I could have gotten a pair at a thrift for a couple dollars. I would be sure to find one that is close to the added height I needed, taking in to account the fact that the sole of the shoe will be smaller once the insole is removed. (Of course it would also look better if the shoe was black... but who wouldn't want a scuffed white and tan pedal.)  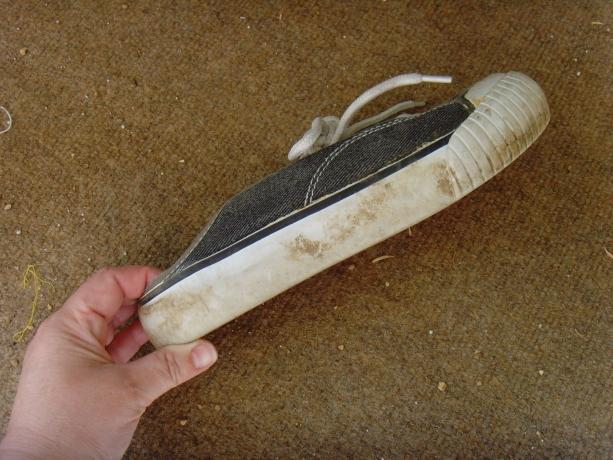 While I could have used washers and thin bolts for the surface, I feared the chances of it tearing through the shoe would be too great, so the first challenge was finding flat brackets that would span across the pedal pad but just barely without being much wider. An additional difficulty was that the top bracket could not be very wide or thick or it would not fit in the small space across the underside of the top of the pedal. 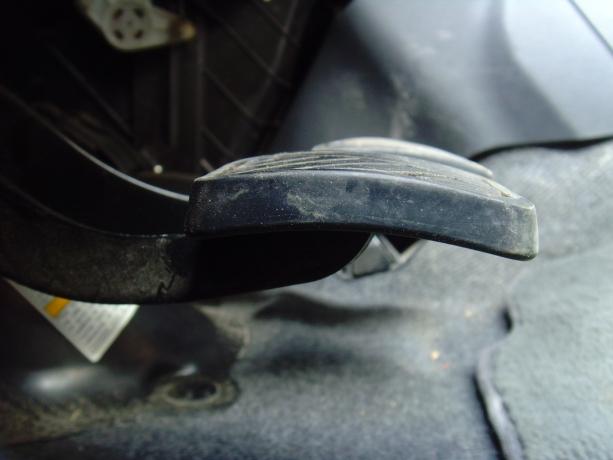 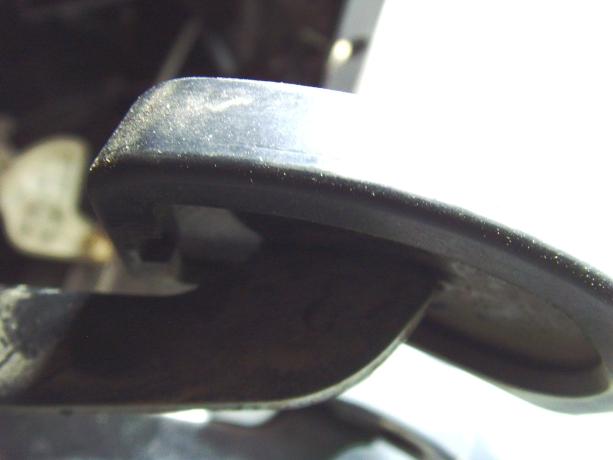 I used a piece of paper torn to the width of the clutch pad to check brackets at the hardware store. The cross brackets on these U bolts were the only ones that a bolt could be put through the holes to the outside of the paper, but not much wider. I also purchased bolts with semi-smooth tops (because that is where my foot will be pushing against and I don't want anything raised more than necessary), and washers and lock-nuts for the underside. The lock-nuts will keep the nuts from loosening over time. 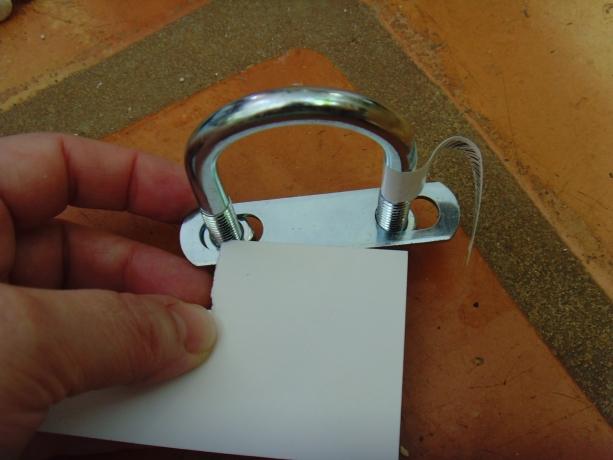 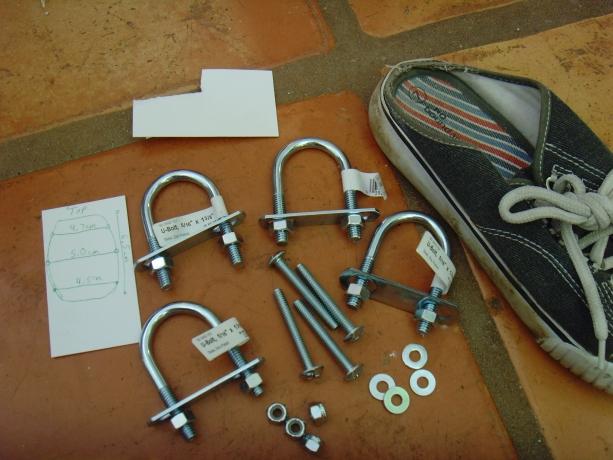 Back at home (and a couple weeks of coughing later), I took careful measurements of the pedal cover. Measuring in centimeters because it is much easier to use decimal points than 16ths of inches. 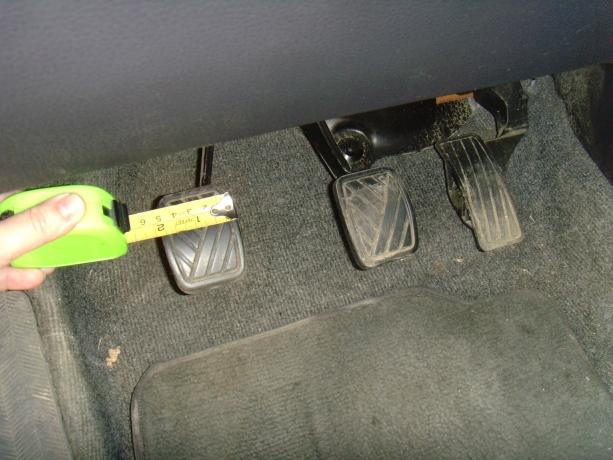 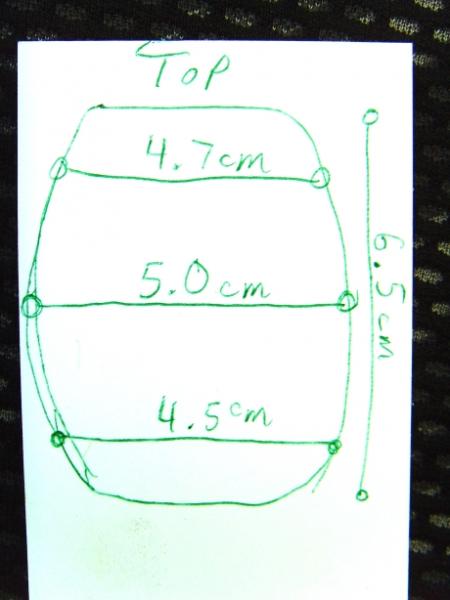 The insole and shoe fabric was easy to tear out after only a couple cuts with a box cutter. 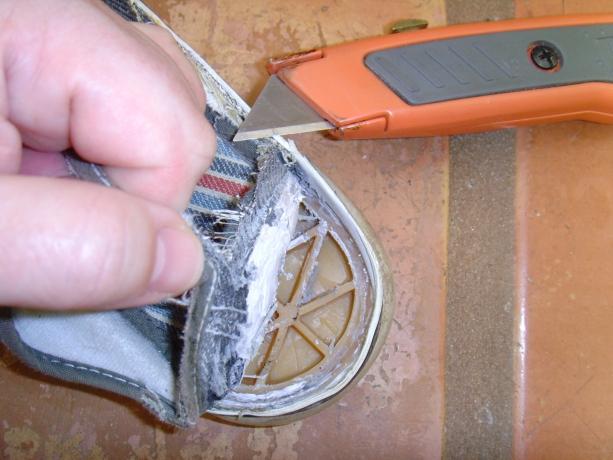 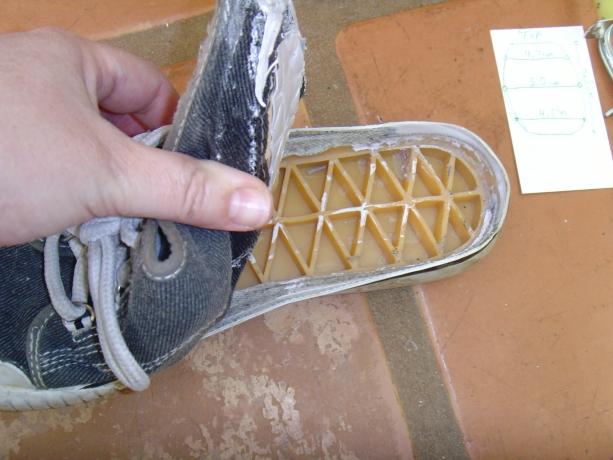 I added about a centimeter to the length and marked the sole of the shoe, remembering to give a little room for the heel to wrap on the outside of the pedal bottom, and was happy to find the inner part of the shoe was curved and just barely wide enough to fit around the pedal cover and bolts. 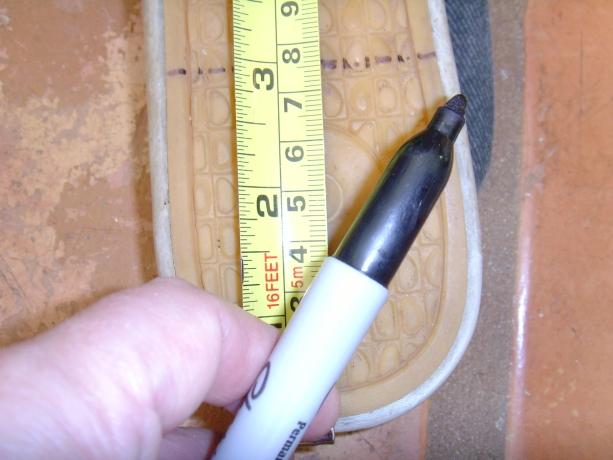  The cutting of the shoe sole was a bit harder and could easily result in the loss of a lot of blood if you are not careful. I took my sweet time doing this and it helped to cut the inner parts of the rubber before cutting across the bottom. 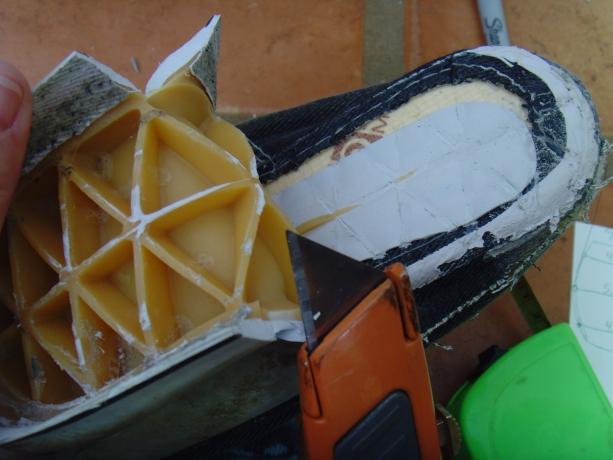  The result was a perfect heel to put over the clutch pedal, but even so, I double checked my inside measurements before marking for holes on the bottom of the shoe.  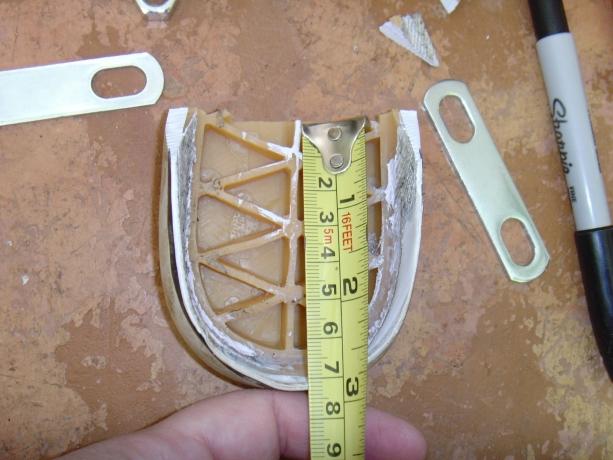 With a drill bit in a similar size to the bolt, I slowly drilled through the sole of the shoe, though it ended up a somewhat more puncture than a perfect drilled hole and I needed to press the bolts through the holes to get them in. 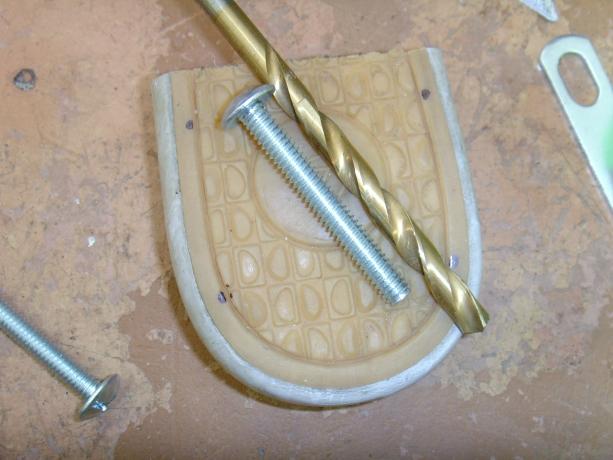 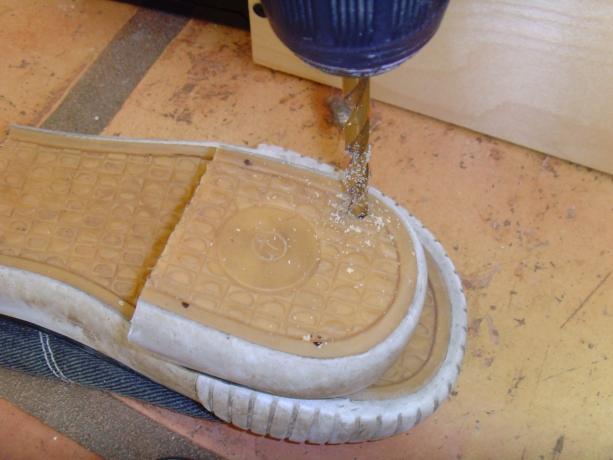 With the brackets and bolts on the sole, it was back to the car to bolt it on. 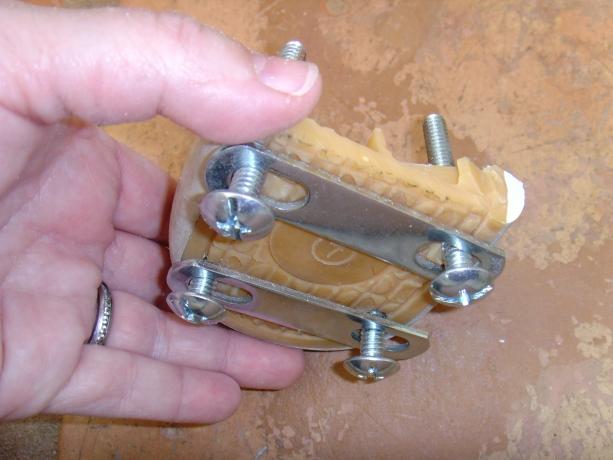 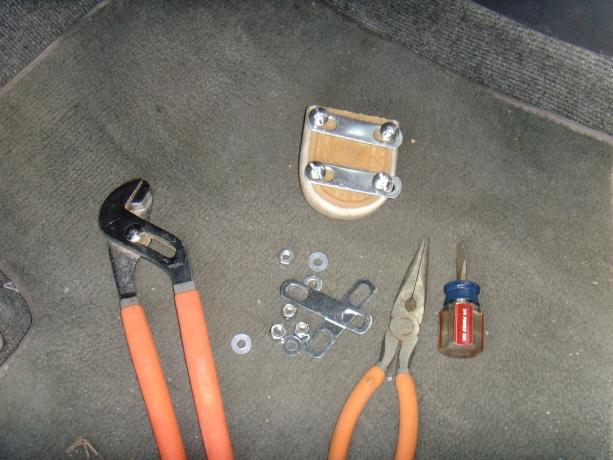 The top bolts were fitted first through the top under-side bracket. 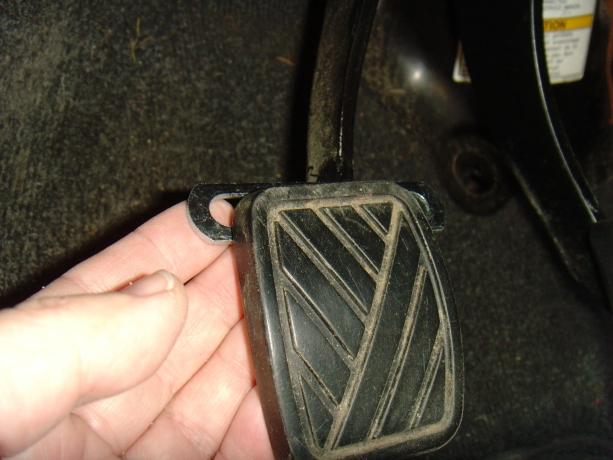 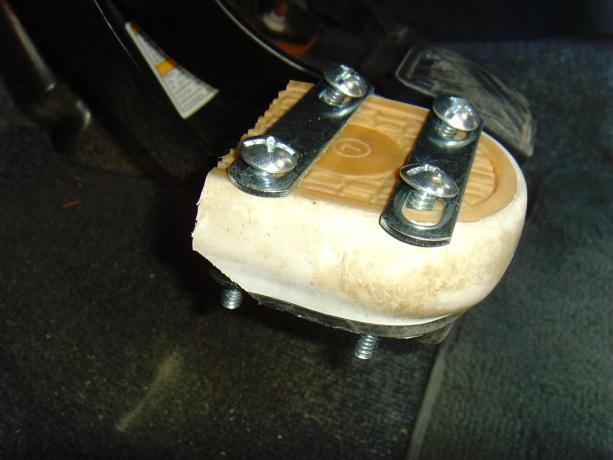 Then the washer and the lock-nut to the top bolts just on enough to keep them from falling off as I added the bracket, washer, and bolts to the bottom. Then I used a socket-wrench to hold the nut at the bottom and tightened the bolt with a right-angle ratcheting screwdriver until everything was very firmly in place. (As should be done with most things, I alternated tightening small amounts to each bolt, so that everything was straight and level at the end.) 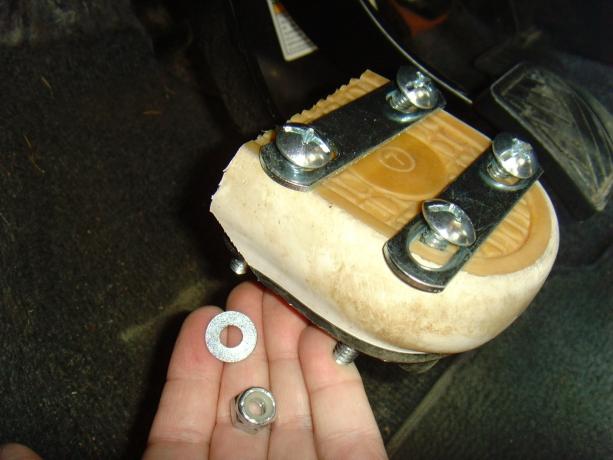 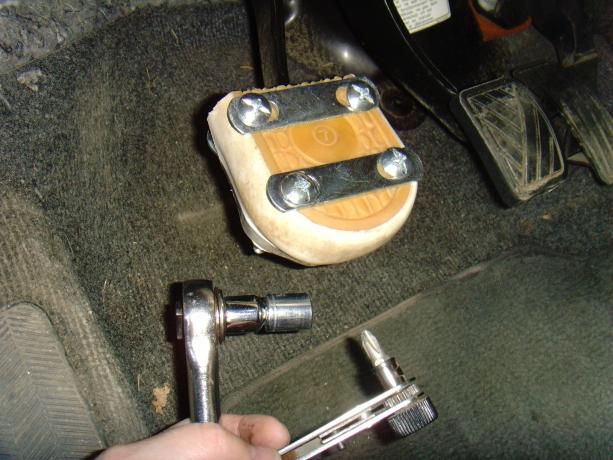 While it doesn't seem like much at all the added 3/4 inch lets me get comfortable with the gas and brake and still easily push the clutch to the floor with my foot instead of my toes. Is it over-engineered with the hard rubber, full top brackets, and larger bolts than necessary? Maybe. But it sure won't rip apart, crack, or shift with heavy use, and that is the side I will err on. Because if you can't sit an elephant on it, is it really worth building? So far it works great. Future-wise, I might get a thin black shoe sole and epoxy glue it over the top just to give added no-slip-grip and soften the contact of the bolt tops... and look a little nicer. But it probably isn't really necessary and I could always take a black sharpie to it instead. | |
Next Post - Previous Post List View | |
| COMMENTS | |
| 1/24/2015 11:38:22 AM Hubby | |
| 1/25/2015 10:19:36 AM TinkerT LOL... okay, so I don't need a machining shop... yet. | |
| 1/26/2015 12:07:05 PM Crash amazing as usual |
Add Your Comment...


I try to keep this woman in tools, but her appetite for them is voracious...
::grins::